iPhone 12 Pro Max - First 12 Things To Do! By sakitech
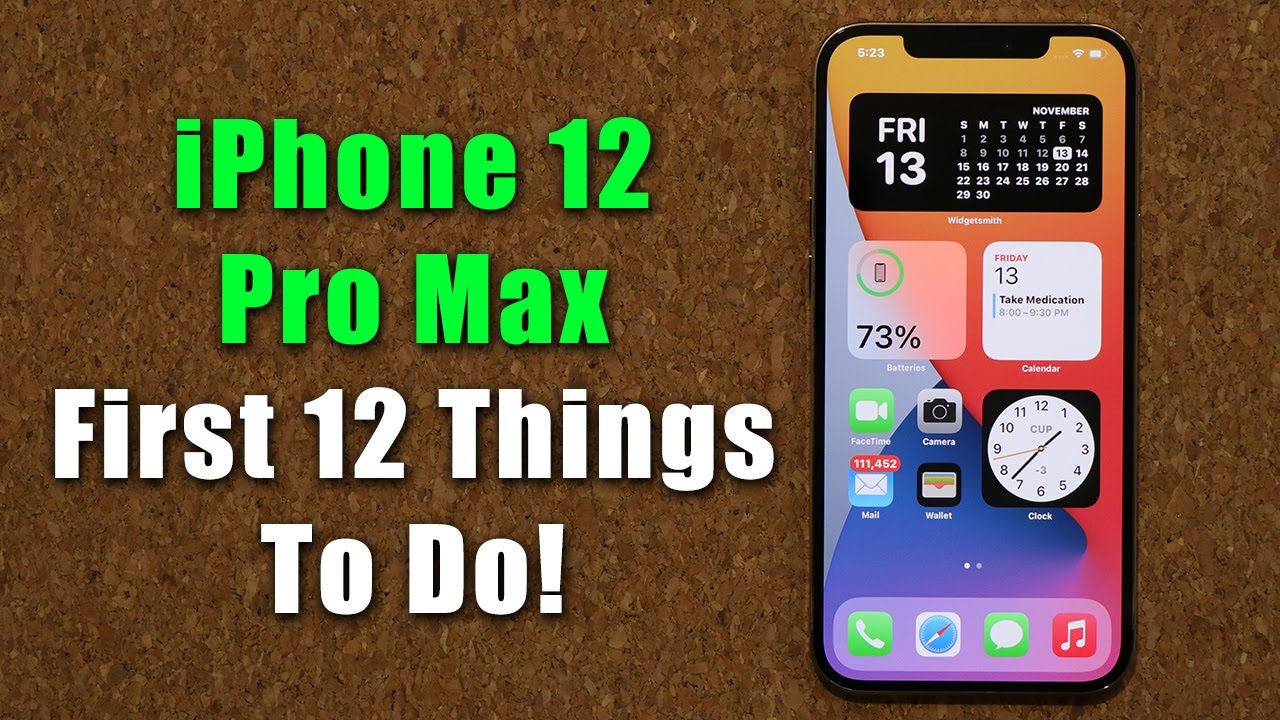
Hey guys soccer from sake taken in today's video, I'm going to show you guys the first 12 things to do on your brand new and shiny, iPhone 12 Pro max. You want to make sure that you tweak all these settings to get the best experience, security and battery life out of your iPhone. So let's dive in and get started right away. So the very first thing you want to do is you want to go into your settings? Okay and once you're in your settings, you want to quickly go into the battery at the bottom. Here you tap on it, and you want to make sure to click over here and look at this number. The maximum capacity should say one hundred percent.
When you buy a brand-new phone, the maximum capacity of that phone should always be a hundred percent for the battery. If this number is any lower than a hundred percent, there is a problem with your battery, and that means you want to quickly return that iPhone and get a replacement again. Even 99 is not acceptable when you're supposed to getting a brand-new product and, of course, over the years, this number will go down a little, but not by too much so from a perspective of a brand-new phone. Even 99 means bad okay. So that's the first thing you want to check now number two thing you want to do, while you're in the same option is make sure the optimized battery charging is in fact enabled.
Let me just cancel that keep it enabled. So, basically, what's going to happen, is the iPhone actually optimizes the charging of your battery? So once the battery charging hits 80 percent, the iPhone is going to throttle the speed of the charging to make sure the charging itself does not damage the actual battery in the long term. So you have a nice and healthy battery for a long time. Now I will let you know one thing when you have this enabled the overall charging from 0 200 takes a hit, so the speed of the charging slows on a little, but the life of the battery prolongs itself. But if you disable this, let me just disable this for one second, here: what's going to happen, is the battery is going to charge a little faster, and it's going to also take a hit in overall battery life overall, longevity? Alright, so let's move on and look at other things to do now.
One more very important thing to set up is: if you go into your settings, okay, and if you go into your display, you want to make sure that you have this raise to wake option, enabled, let me show you what exactly it does. So let me disable this I'm going to turn off the phone now. If I grab the phone and lift it, nothing happens. Okay, if I want to just glance at it, nothing happens, but when you have the lift awake enabled, let me log in here go to the settings enable race to wake. Now, when I turn off the phone, when I grab it, I want to glance at it.
Do I get any text messages calls nope? I can put it right back, but the good thing is, you can lift the weight, and it's going to show you what's happening. If you're not satisfied, you just put it back and move on all right. So the next thing you want to do is you want to go back into your settings. Okay, you want to scroll on just a little go into display and brightness once you're in here scroll down just a little and make sure auto lock is in fact set to 30 seconds now this is going to make sure you get the maximum battery life per charge. So basically, at 30 seconds, if nothing is happening on the screen nobody's touching the screen, it turns off automatically in 30 seconds, but if you have it at five minutes, four minutes or three minutes, it's just going to stay on for no reason, and it's just going to eat the battery life.
As you know, the display is what eats most of your battery so keep that at 30 seconds I'm going to keep it at five minutes. Just for the sake of this video. Let's move on now. The next thing you want to do with iPhones with iOS 14, you have ability to add widgets onto your screen, just like you have on the android phones. So if I swipe over, as you can see, I have a bunch of widgets.
Now it's very easy to add these to the screen. You press and hold the whole screen. Wiggles you click on plus, and then you have a bunch of widgets. You can choose from here for all kinds of applications. Most of these are the built-in widgets.
So, for example, if I wanted a weather widget, I click on this one, and I can choose the various sizes available. So let's say I want to use this one once you're ready, you can click on, add or press and hold and just drag and drop it right here wherever you want it, but these widgets are not going to be enough for maximum customization. What you also want to do is you want to go to the app store? Okay, so let me bring up the app store and search for widgets all right. Let me just uh right here and when you do, that you are going to get access to all these applications that allow you to create additional super customized widgets, for example, the widget submit is right here. Look at this! Let me just give you a couple previews, so you can do all kinds of things with your widgets if you download a third-party widget maker from the app store, so don't just rely on the stock stuff, also go for custom widgets.
Just like this one right here: okay, now, let's move on now. One more thing I like to tell people to do is: if you go into your settings, okay, and if I go into back into my uh display over here, what you want to do. Are you want to make sure that you bold on the text now by default? You get this one now. This is a little light. The actual text is very light thin.
If you want to be able to see better, especially on a larger screen, you want to Golden the text and that's going to give you nice and pronounced blacks. So everything is going to be much more easy to see. Now, while we are talking about the display, there's very important feature that you need to deactivate or activate based on your needs now by default it is activated. So what you want to do is go to the settings scroll down a little and go into accessibility once you're there go to display and text size all the way at the bottom, auto brightness for, for some reason, is hidden here and enabled by default. You want to disable this guy, so you can control the brightness manually.
So if I go over here, I can just control the brightness from here manually uh, when the auto brightness is enabled okay, it is just going to adjust the brightness based on the ambient lighting without your input. Now, if you read this at the bottom, that might have its benefits, but I like manual control, you just have to be on top of the game to make sure you manage your battery life. So if you're, looking at your phone in the bed at nighttime, make sure you lower the brightness, you know that's going to keep your eye safe, and also it's going to get you better battery life. Let's move on the next thing you want to do is you want to set up certain settings in your face ID? So let me go to my settings. Let's go to the main screen.
We have the main screen scroll down a little. Uh, here's the face ID setting. You click on this one, and then you put your passcode in and then what you want to make sure is when you're in this setting, you want to enable all these options, so to unlock the iPhone you can use your face ID to make purchases in iTunes or the app store you can use your face ID and, of course, to use apple, pay and password. Autofills that's going to make things very convenient. Now, that's number one number two things is which is very important for security.
Are you want to make sure both these features? Attention features are enabled. This is going to make sure when you're sleeping somebody cannot bring the phone to your face and unlock the phone with your face. These features are going to make sure that your eyes are open and looking into the camera, to make sure it unlocks the phone, so that is definitely a must-have for security. So your girlfriend cannot unlock your phone at night and see all those nasty text messages that you send out to other girls now. The final thing you want to do here, which is very important again.
This is going to be for security. If I go all the way down right now, when my phone is locked, anybody can access all these options. Today's view notification center control center. All these things listed here. Let me show you what I'm talking about, I'm going to turn off the phone, I'm going to double tap to wake it up.
Actually, let me just click the button here to wake it up. I can access the control center. I can make modifications here. Furthermore, I can turn on the lights on and off in the house right from the phone, even though the phone is supposed to be locked, people can also access. My camera take a photo from here, as you can see the camera just launches.
So what you want to do is you want to go into your phone back into the face ID settings over here? Let's go back here, and you want to disable all these options, so nobody can have access to these options when the phone is actually locked. People can even reply with messages. If you don't have this enabled so now, when I turn off the phone and turn it on, I cannot access the control center. I cannot access anything. Okay, as you can see, all you have to do is log in to get full access to all the functions all right.
The next thing you want to do is you want to go to your settings. Uh you're, going to go back into your sounds and haptics, so you go inside here and what you want to do is you want to make sure you disable vibrate on ring? This is actually going to save you some battery. So if somebody's calling you the phone is going to be ringing, why do you need the phone to also vibrate if the phone is also ringing so by disabling the vibration you're saving battery, because the vibrate motor in the phone actually uses a lot of battery? So if you get a lot of calls, this is going to save you some battery. You can have this one enabled. So if the phone is on silent, then it should vibrate.
So you can feel it because this time you're not hearing anything fantastic. Let's move on the next very important thing is you need to enable picture in picture view. So let me go to my settings. Okay, now, all you do. Are you search for pip on the top? It's going to bring it right here now, even if you don't search it, it is under general, and it's under picture in picture make sure that it's enabled.
So let me show you what it what that does and how cool it is. So let me launch my Netflix application over here. Okay, lets uh pull up a movie. Let me kill the volume real quick, so we don't have to uh, hear anything here and get a copyright strike. So let's play this right over here, so there's a movie playing now.
What I can do with picture-in-picture is: if I pull this up, the movie continues playing on a little window here, and I can do stuff on my phone as that's happening. Let me just launch an application. So if I want to do a quick calculation, something came to my mind. I can keep doing it as I'm watching the movie, which is great and also with this guy. You can actually resize it.
If this is too small, you can just go like this, make it a little bigger, and you can put it to the side. Let's say I want to access the full application, but I don't want to pause the movie. I can just pull it to the side. It'll be right here. I can do my thing here, whatever you want to do whatever app you're in and then when I'm done go back to my movie.
If the movie is not that important to watch again, you can resize it make it small, middle or large, okay, and when you are done, you can exit out or go back to the actual full screen. It's all going to be up to you. Let me x this out now, let's move on now. The next thing, that's very important is the ability to restrict things on your iPhone. So when you give your iPhone to your friends or family members, they can only do so much on it without causing damage or looking into things.
You don't want them to look into. So what you want to do is you want to go to settings? You have to set this thing up from the very beginning, so you scroll down and where you want to go. Are you want to go into screen time right here? You go inside. The first thing is at the bottom. You have to set up a screen time passcode, which I've already done once you do that you want to go to content and privacy restrictions.
You click on this guy and look at all the options on the top. Here I can go here. I can now put in my passcode now this passcode is not the passcode you used to log into your phone. This is a unique passcode just for this content restriction. So I think mine was zero.
Zero, zero, okay, something simple just for demonstration, but I can actually disallow people from installing applications. I can disallow people from deleting applications or making in-app purchases. So here's one example: I'm going to go outside. Let me just press and hold on the WhatsApp here. It's going to it's going to give me the option to remove the application.
I don't want that. I don't want people removing applications when I just hand them my phone, even if it's by mistake, so you go into the settings. Content, iTunes, dumping your passcode, and you say I don't want to allow people to delete applications. Now, when I try to press and hold, I cannot delete that application. Okay, press and hold you're not going to see the delete option anywhere when I click on edit there's no x symbol to delete these applications.
That's one number two back in the menu. If you go over here, you can also go to allowed applications and again disable all these applications, so people cannot use them unless you allow them. So if I disable these applications, just take a look at this. The mail safari camera they're all going to disappear from the actual screen. I don't see the camera anymore.
I don't see the mail application, so you have that option as well. Okay, so let's go back inside. Let me just enable that for now, so we are good to go with that as well. Now, under the same settings, I forgot to show you guys if you go back in here: okay uh, you have all these options at the bottom. You can take a look at these and modify it based on your needs.
Okay, there's! So much going on here! It's crazy! Let's move on! The next thing I want to talk about has to do with your control center. You pull this down, and here we have a control center. Now I do want to let you know other than this top portion here, the first three rows. It is fully customizable at the bottom, so you go to your settings, okay, and you go into your control center over here and from here. These are all the ones that are included, and these are the ones you can also add.
So, let's remove a couple of things over here: okay, you can also change where you want them. So if you want to use the alarms more than anything else, you can push it to the top, so it appears on the top. As you can see, alarm appears on the top here. Okay, now control center again, so let's remove a bunch of these things, real, quick just to make it nice and clean okay. Now look at this there's nothing there.
I can add everything as you desire now. One thing I like to do is like to add the apple remote. If you have an Apple TV, you can use this as a remote to control that add the camera calculator dark mode and now look at that. It's much more customized, based on how I want to use it all right, all right. So that brings us to the end of this video.
I do hope you learned some new things and configurations for your brand new iPhone 12 Pro. If you have any questions, comments or concerns drop them down below and let me know, and for now guys have a fantastic day. Alright,.
Source : sakitech
Phones In This Article
Related Articles


![Realme 8 5G VS Poco M3 Pro 5G Comparison [SpeedTest, CameraTest & AntutuBenchMark]- Para Kanino Ka?](https://img.youtube.com/vi/5sllAimRen8/maxresdefault.jpg )
Comments are disabled
Latest Articles


