How to Shoot on 35mm Film Cameras By Willem Verbeeck
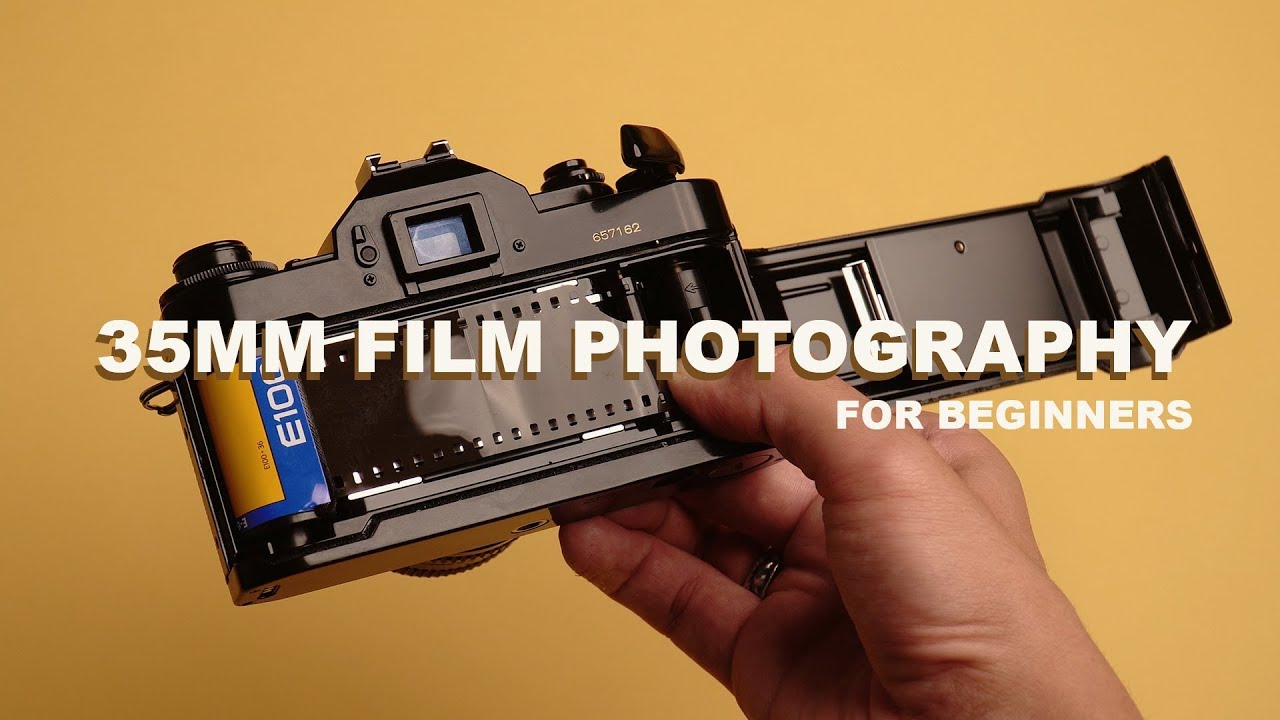
This video is sponsored by Skill share I've, really been enjoying shooting on 35 millimeter film again recently, but I've realized that I've never really covered the basics on this channel, maybe you're shooting exclusively digital photography. You take some occasional photos on your iPhone, or you're. Just looking to try out some film today, I'm going to cover the basics of how to shoot on 35 millimeter film, it always starts with the camera. So look around some thrift shops or your relatives place for 35 millimeter cameras. They were built to last forever and most likely, if they're still lying around they're, probably still working. It seems like in today's world, Sony Canon and Nikon bring out new cameras every couple months with newer and better features, leaving us as the consumers, with the impression that the key to a good photo is more megapixels Wi-Fi capabilities, but I think there's a lot of value to the slower, more deliberate process of shooting on film, whether you're, just starting out or your photographer.
With years of experience, the lack of a screen, a limit of 36 shots on a roll and the tactile process of film has a lot to offer. Cameras come in a variety of styles, like range finders, point shoots and SLR batteries, for these cameras are also readily available and generally only need to be replaced. Every couple of months when it comes to choosing a film stock, things can get a little more complicated. There are three main types of film color, negative film, color, positive film, as well as black and white I recommend you start with color negative film as it's the most forgiving, and it has beautifully soft colors. Most of the films are gonna, give you either 24 or 36 exposures.
The other thing to look out for is the ISO number of the film. The higher ISO films like portrait 800, are better for low-light, while something like Kodachrome 100 is great for super bright daylight set the camera to the correct ISO of your film, and you're, ready to shoot, focusing is done with the front ring, and you'll know your shots and focus when the two patches in the center of the viewfinder match up in terms of exposing the auto exposure mode on most of these cameras will probably do just fine if you're working with color negative film set your camera to a half or even a full stop of overexposure, because it's generally safer to overexpose your film than it is to underexpose it. The next and arguably, most important part of the process is figuring out what you want to photograph document, your hometown, your friends or anything around you. Good stories are rarely ever things that just look pretty think about photographing and experience or something that makes you unique, but most of all just have fun with it as well. Think about things like the light in your scene that you're photographing and what the photos mean to you once your roll is finished.
You can release the film with a button on the bottom of the camera and wind it back. There's a ton of places that will develop your film most likely. If you live in a city, you can drop it off at a local lab and if not, there are plenty of places to mail your film to if you're, feeling adventurous. Why not try developing the film yourself there's definitely a little of an initial cost, but in the long term it saves a ton of money, and it's just really fun, developing your own film and being in control of every step of the process. Then you can enjoy some beautifully grainy photos that will make you feel nostalgic about last week.
I know this video was a little more basic, but I feel like I should have a dedicated video to the basics of film photography just sitting on this channel for anyone who finds it and needs an introduction. I want to thank Skill share for sponsoring this. Video Skill share is an online learning community, with thousands of classes covering dozens of creative and entrepreneurial skills, explore classes in everything, from photography and graphic design. To music production and fine art premium memberships, give you unlimited access to high-quality classes from experts working in their fields to help you gain new skills and live your best life skill show is also incredibly affordable with the name membership starting at less than $10 a month. Skill share has some incredible photography, related classes, but personally I've really been enjoying this graphic design course by chip kid.
He talks about book and book cover design, which is super applicable to the world of photo book making, and it's definitely really fun. Seeing all these different courses and learning something new for me, graphic design is very new, but it definitely influences photography in a lot of ways. You can use my link in the description to get two months of Skill share for free, so why not give it a try? As always, you can check out my Instagram it's at Willa or like the video. If you liked it- and you can, let me know what you thought in the comments down below I try to respond to most of them. That's it for now.
Peace.
Source : Willem Verbeeck
Phones In This Article

Related Articles


Comments are disabled
Latest Articles


