How to Root the Samsung Galaxy S20 Series with Magisk on One UI 3.0 & Android 11 By Explaining Android
I've got the Enos Samsung Galaxy s20 right here and now that this device has been updated to android 11, I'm going to show you how to gain root access on this device using magic as the root method today, so it's been a while, since I've done a tutorial on the galaxy s20 and that's basically because we were waiting for the device to officially get the android 11 updates for enough people to have updated their device and for some actual testing to have happened from both the developer of magic and the community itself. You can see. I have the regular galaxy s20 right here again. This tutorial requires that you have the bootloader unlocked right now. The only way to officially unlock the bootloader is to do it on the Enos versions of the galaxy s20, the galaxy s 20, plus the galaxy s20 ultra and even the galaxy s20 Fe. We can root all of those devices as long as we have the bootloader unlocked first and, if you're unfamiliar with how to do that.
Look in the video description below as I'll be including a link to a tutorial that I did when I unlocked the bootloader for this device. That will walk you through that. So with that done, we need to go ahead and make note of our model number and, if you're unfamiliar with the software version, you are running, make sure that you figure out the CSC region code for the firmware that you're running and again, if you're not familiar with how to find the CSC code for your region I'll, be including a tutorial that shows you how to do that as well, and we need to do that because we're going to be using that information on the PC to so that we can download the firmware that matches the update that we're running on our device. It doesn't matter exactly how you download your Samsung firmware. I know there are people who like to use websites such as Sam mobile and update.
There are other people who like to use community tools like Freya, there's even a, I believe, a new version of Sam firm, like a revival version or something like that. That has been released, so you can continue using Sam firm. You just have to make sure you're using the updated version and in these firmware database repositories we are need. We are going to enter the model number for our device, as well as the CSC region, which, for me, I tend to use the TPA, the panama region code. So all you have to do is download this firmware and then extract that firmware onto our PC.
So this is our downloaded firmware right here. When we extract that six gigabyte file, it gives us a home. CSC file, a regular CSC file, a CP file, a bl file and an app file. What we're going to do is we're going to take this big app file, and we need to copy that to our Samsung Galaxy s20 or your galaxy s20 plus, or your galaxy s20 ultra, whichever galaxy s20 series phone, you have. You need to copy that app file to your phone so that we can modify that file with magic manager.
If you haven't done so already, we need to download and side load the magic manager APK file. I grab this from the GitHub repository the official to download I'll be linking to this in the video description as well. Once you have downloaded and side loaded and installed that magic manager APK file, we can go ahead and open it up. You can see that it is not installed yet magic is actually not installed. Yet we should make sure that we are on the latest version of magic manager.
If you see an upgrade button here, go ahead and upgrade, but to proceed with modifying that app file, we need to tap the installation button right there, and then we need to select the select and patch a file option. Now this is going to bring up your file browser, and we simply need to browse and locate where we put that app file. We can extend this right there if we need to, but the goal is to simply browse to where we put that app file and then select that app file. Once we have done that, we can tap the let's go button at the top right, and you should see some information right here. Magic manager is going to extract the contents of that app file that we copied here.
You can see exactly what it's doing its extracting that boot image. It's copying this recovery image, the DBO image, the super image, etc. It's patching and writing files copying more files and then repacking those modified files into what it labels a magic, underscore patched tar file, and you're going to see some random letters and or numbers at the end, just for keeping it random. Now we need to take this magic patched file. We need to connect the phone to the PC, and we need to copy this patched file back to our computer.
We can just put it in the same folder with the rest of those firmware files, because we need to load those into Odin to complete the root process. With this file copied over to the PC. We can now boot this Samsung Galaxy s20 into download mode, and we need to use the USB method to do this. So you need to grab an USB cable press and hold the volume up and volume down buttons after the device has plugged or is powered off and then insert that USB cable so that we can press the volume up button to enter download mode with the phone in download mode. We can go ahead and open up Odin, and we also need to download the vb meta underscore disabled file again I'll, be linking to this as well as all the other downloads.
In the video description, then, we need to change our attention over to Odin, and we're going to click on the user data button right here and then select that vb meta underscore disabled tar file. With that done, we can click on the start button. This is a very small file. It shouldn't take long at all, and, what's going to happen, is it's going to flash onto our Samsung Galaxy s20, and it's going to cause the device to reboot and then reboot into recovery mode so that we can perform a factory data reset which is required? Phone has rebooted. You can see.
We got a pass message right here, and we're going to get this red message right here as well. That should be noted. If you're not aware already rooting, our device is going to trip Knox. Not only is it going to trip Knox, it's going to make applications and services that Samsung provides it's going to make those inaccessible because they rely on knocks such as Samsung pay such as Samsung, smart or Samsung, secure, folder and more those services and features are going to not be accessible when you root the device. So after we flashed that tar file, we saw the phone reboot twice, and it's going to rebuild us into this android can't or cannot load android system.
This is normal again. This is required because we need to do a factory data reset, go ahead and press the volume down button once to make sure the factory data reset option is highlighted, press the power or Bixby button to select that option, and then we need to confirm by pressing the volume down button again making sure the factory data reset option is highlighted and then pressing the power or Bixby button to select that option at the bottom you're going to see some stuff scroll by telling you that the partitions are being formatted and erased, and then the device is going to reboot. So what we have just done is we have flashed the android verified boot tar file on our device. What this is going to do is it's going to let us install and flash modified images on our device, which we need to do in order to flash that modified app file that we use the magic manager. For so all we're going to do is we're going to wait for android to boot back up, and then we're going to immediately power the phone back off, so we can boot back into download mode.
So again we have put our Samsung Galaxy s20 back into download mode using the USB method. We want to make sure that the Odin program detects our phone so make sure that the added option is right here, and now we're going to populate these blocks right here. So we're going to click on the bl button. Then we're going to look for those extracted firmware files, look for the file that begins with bl and select. It then we're gonna, look we're going to click on the CP button, and then we're gonna look for the file that begins with CP.
Now we're going to click on the CSC button and instead of clicking the CSC button, we're going to choose the home dot CSC button, because we've already done the factory data reset. We need to click on the app button and then select the magic underscore patched file that we copied from our phone before and lastly, so that we can continue to have android verified boot disabled. We need to click on if you, if you don't, have the file loaded here, already click on user data button and make sure that vb meta underscore disabled button is loaded right there. Now with that done, you're ready to go, we just have to click on the start button and be patient. We want to make sure that the phone maintains a good USB connection to our PC, so don't mess with the cable.
If you have an USB cable that is known to have issues maintaining a connection, you probably want to get a different one. You do not want the connection interrupted while Odin is flashing, these important image files to our Samsung Galaxy s20 and, if you're like me, if we kept the auto reboot option, enabled as soon as everything's done, we're going to see the Samsung Galaxy s20 reboot on its own, but we can follow the progress up here, as well as on the phone itself. Both have progress meters and just like before. When we flash the user data file, we just want to make sure that this returns, a pass phone has rebooted, so the phone rebooted it booted to another factory data reset which it then performed, and after it reset it rebooted on its own again, we haven't touched it that red error message is to be expected again, because we have custom images, modified images on our device now, and it's going to take us right to the android activation screen, just finishing up the activation screen. What we're going to do we're going to go, and we're going to download the magic manager, application and just search magic GitHub so that we can tap the magic manager open the APK file and install it.
That's just the standard process of side loading an APK. So once you first open once you open up magic manager for the first time it's going to require additional setup. This is normal. We're going to tap on the ok button. It's going to run that environment setup you're, going to get a toast message that the phone is going to reboot in 5 seconds again.
This is completely normal. This is what we want. This is actually going to complete the root process. We can press the power button here if we want- or we can wait the time period to let it go now. I want to say if you flash a custom kernel, that custom kernel could support the option to bypass that intro warning screen.
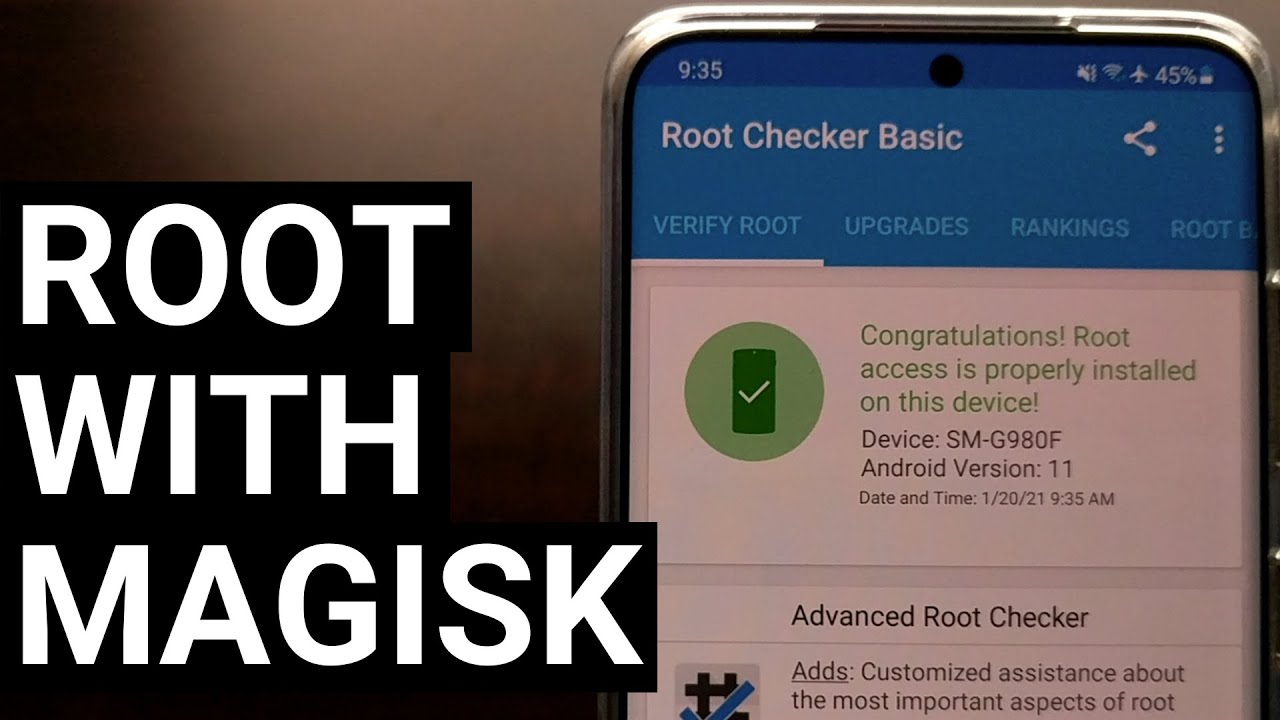
So we just booted back into the android operating system, just going to open up magic manager app, and we can see right there that now magic is currently installed, and we can take things a step further and install a root. Checker application open it up and then verify that we have root access, so that is how to gain root: access on the Samsung Galaxy s20, the galaxy s20, plus the galaxy s20 ultra, and even the galaxy s20 Fe using magic and an unlocked bootloader. You.
Source : Explaining Android
Phones In This Article

Related Articles


![SULIT BUDGET PHONE? | SAMSUNG GALAXY M12 [FIRST IMPRESSIONS]](https://img.youtube.com/vi/rWNsLi1HurU/maxresdefault.jpg )


Comments are disabled
Latest Articles


