Google pixel XL charge port, battery and screen replacement detailed Utah By Tech MD Youtube
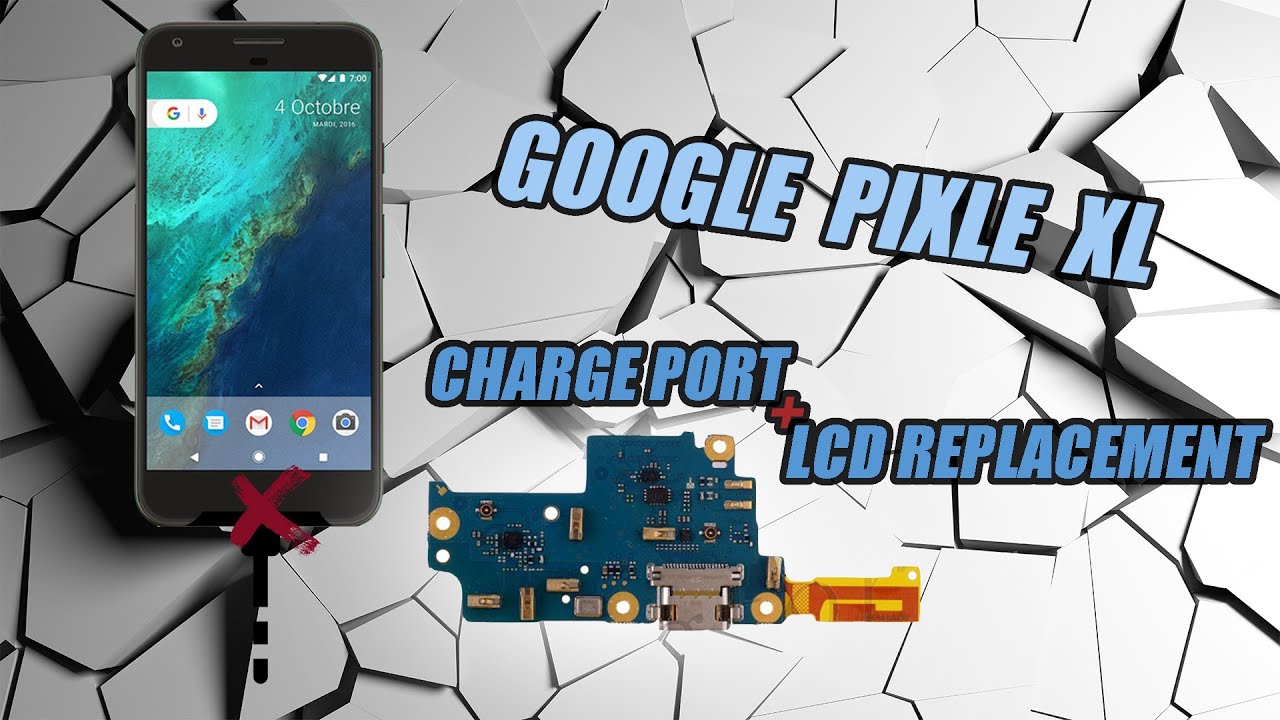
Everyone, its Dustin went uh candy, my hair is looking like a mess. Oh my gosh today is super busy and I have to do a really different phone that I had been working on a week ago. I did the Google Excel for this customer first I fixed his daughters and her daughters was a googly pixel. Just a screen replacement, easy right. So I get to this phone because he says oh yeah, I have a microphone issue, and I was like okay, let's never placed the charge. Port I was like I, don't see any videos online so, and I wish I could report it, but I didn't anyways, opening it up and tearing it down five different times and jury-rigging it literally to make it work.
Except for now this charge board doesn't work again. So I figured okay, we're going to get this on video, and we're gonna actually replace this little piece here. So yeah there's your microphone here and obviously the charge port is right there, and we're going to do this. Now. This is going to be a little easier to open here then the other devices because I've already opened it, but it shouldn't be much of a problem here and just some of the tools we need, I'm, just going to set aside there, just in my toolbox yeah here we go and if you hear any other noises in the background just fixing his device now my setup is pretty crazy.
I love to show it to you. So give me one. Second, as you can see here, get the camera and that here and this whole entire little box thing pretty cool. And then this is on like a little cheap little stand for my phone, and so I got the galaxy, 9, recording and last time, I had camera issues. So this time I'm using the actual selfie, and I'm, not using my iPhone X.
My phone X is still here. So I can answer the phone just in case it rings so yeah anyways we're gonna, get to work on the Google, pixel XL and I use a heat gun on high heat I, just put it on high the highest temperature make sure the phone Bob is set up, and it is because it's dead. This is the most challenging phone ever of course, it's an HTC, that's all HTC, but HTC just needs something challenging and crazy phone to get into we're, going to warm this up and get it hot to the touch, but not to pop, not break this sorry user, ID flex tool here to get in the actual LCD, and this is exactly how I started just dig right into the LCD. Oh, this is a little easier this time around, so you could dig on the other side. And then all you have to do is just slice this back and forth here.
Oh, you know what I think I did that wrong. I did I totally did that wrong, guys, I'm gonna, just jacked up this screen, which sucks, and I just tore this apart, ? yep I did jack. It up darns it. Well, that's! Ok, so you're not supposed to slice that bottom there, and I totally just did that, and so, so much for teaching you how to remove the display. Oh well, next time around guys just uh eighty dollars down the drain, so you get t45 here, you don't want to work, or you might strip the screws, so be careful all right.
After much digging through my supply, Sarah I found a t5 man. I cannot believe I just broke. This $80 display at least they're, not $150 anymore, mattress, sucks, okay, and since this adhesive is pretty much given up on me, we're going to go ahead and replace all this adhesive, but not before, knowing that everything is working on the side, so I was actually having music problems where audio would give out and then also I was having issues with I see here the charge port getting in there lined up correctly and the biggest thing was the mobile antenna. The biggest problem, though, was once you put it all together. You have to test all that, so it was pretty Jacky trying to test all this and say: you'll see what I'm talking about here on a few minutes once we remove all these t5 screws.
So now all of them come out, let's find just meet it out and if it still doesn't want to leave it just leave it in there. So we have to actually have to pop out the frame out of here, so I just like to get my tool in here. Just be careful not to actually get in there too deep. You won't damage a battery or motherboard or any other cables like I totally did I forgot what photo was working on apparently and I- jammed my cable under here and sliced that that's not what you're supposed to do you're supposed to slice it right here and slice it right here and then you can slowly slice up here, but you just got to be careful of these cables. Obviously I'm all sitting right there, all right, so we're going to go ahead and pop out the battery.
This number one take this out here and just bend that out of the way, take our t5 screwdriver here again, all right now we're wanting to go ahead and remove this here carefully. That doesn't always like to remove this way. So the next option is to actually pop out the board, and so, as you can see, my little dinky setup to get this stuck here. I use this tape, and that was my best option. Because this piece would not stay for the life of me.
This piece was easy. It stayed in no problem, but that piece was not okay, so holy holy really stuck in the Newport here there you go just put a little of pressure on it and then pushed out that helped pop it off. Okay. The next thing we need to do is and mind you I worked on this for like two hours and after 9:00 p. m.
it was so late, and I was getting tired, and that was after working all day at home, phones, so I'm glad I was able to have an opportunity to get this fixed again. He was pretty upset about. Obviously his phone not working, and you know we had to get replacement parts and that took a little to come in I only had one of these in static, and so now I have two just in case, and we can't forget this little rubber piece here it's blowing through right on the top, and it just fits its on there, just the right position to which is really just crazy. How this phone is designed, let's see if I can get it from this way, I don't know how many times I'm going to go out of the camera angle and I apologize. If I do, it's not the easiest phone to put on the camera here? Okay, so we're aiming for that.
This hole right here, which it goes into, that hole, there's a little hole that goes into right here, and now we're over the microphone. That was the main reason why we were fixing this phone was because that blasted microphone- and you know I- love a challenge guys, but sometimes these phones are not worth fixing and if you can avoid doing this repair, I'd highly recommend it. Unless you got so much patience but tearing this down multiple times trying to test this, this is the biggest problem here, see this cable, okay. This gets in the way of this. So if it's plugged in good these connectors, sometimes don't connect just right, so it's just a big hassle and then this has to be lined up perfectly in there as well and suffice to say, I wanted to shoot this thing by the time I was done, I was happy, I thought I was working and then come to find out.
It wasn't. So what we're doing is this tape right here is double-sided test tape, which is shown on my other videos as well, and so you just put this cable up through this connection, and I'm, not sure if you guys can see this, but it is right here so hopefully get a good zoom mount on that and then that's connected there. Those cables just like this here, so it's not supposed to go through here. It's supposed to go around this board. You would think it'd go around here, but if you try what's going to happen, is it's going to disconnect and cause problems? So don't try to get it through this because I don't see how that's even possible they'll come close to it, but that's it now.
So we don't even know if that's connected still, it could have disconnected me setting the board down just like this, which is very, very frustrating okay. So our next thing here is to screw it down. Don't put the other screw over here. I left it out last time, but we're going to put it on okay. So now the battery's disconnected we're gonna, actually try the USB type-c cable to make sure that's sitting in there flush leave me you want to make sure, so it doesn't want to go straight in, but I'll go in crooked.
This is unbelievable. Makes me wonder if there's something wrong with his connection here: hmm, that is Jacky because I'm just like norm on this one was given the same issue. So this is the problem in having guys, even though it's sitting in there all flush still doesn't want to go in the house incorrectly. Now, I'm thinking that the screws will hold it down and press down from the housing, but still with that, it's still kind of angry, we'll see how that works and see if it's now sitting in flush. Once again, this is work, we're not even sure if this works we have to test everything, so I'm going to cook these cables back in here and go ahead and get a replacement okay.
So now we found the Google Pixel excel display here it is ready for prime time still kicking myself in the foot for that, so you don't have to screw everything in to test it. Just we're going to do a couple tests here. You do three tests, especially when replacing this charge border and I need to go, find the password, so I'll be back in a few minutes. Well, that's good I've heard no lease. That means that that's connected.
Oh yes, Ted, okay, we're gonna, wait here for it to charge. Okay, a moment of truth, so we got to test the microphone test. The loudspeaker test them antenna make sure it connects on a call all that fun stuff we got put it all together. Make sure it works again, then we're going to seal. It makes sure it works again.
You think that's easy, and it's not okay, so I can hear audio. There is whatever you call. It sells your service, so everything is working here, which is good. I need to test the microphone, so I'm going to make a phone call to myself real, quick test. Okay, so everything is working as of right.
Now we're going to shut it down, and then we're gonna screwed up in here, don't pop out the battery and pop out the LCD. Okay put the battery back in now. This is going a lot easier, this time around, but last time I actually struggled with getting that cable in is because I had to figure out how to take down that cable. It just doesn't want to stay. You have to have perfect alignment, and it's just banging about so that white cable just be careful, I swear, I've had it put together just like here, and I screw it all down, and it stops working so yeah.
It's kind of frustrating yeah. Another reason why this foam is challenging. Obviously, you have to take off the screen without breaking it, which I totally just I, don't know what I was thinking anyways all for YouTube, right, I, hope. A lot of you have good success with these repairs and get something good from them. Oh, that's supposed to be a screw there, anyways! Alright, no I stole it from another thing: okay, Oh No! Here it is okay! Alright, so we got the new screen.
We have to transfer the stupid fluff. Sometimes you have to sometimes the new screens come with. It depends on if the manufacturers evil or not this one apparently is so. This is how you do a screen repair. So if you need to know how to do it, you can watch the video starting right here and what we need to do is take out all the old adhesive, and then we're going to reapply it with some TASK tape.
We're just gonna not really talk between this, because I'm going to have him my video, editor or fast-forward through this. So what we're doing here is just inspecting all the excess clumps. You don't want anything sitting on this frame, or it'll just break your screen when you press it in hey, everything seems good. I haven't put the tape on, yet that's the last step, and then we'll stick it all together, but we're going to do one more test and see how well that charge port goes in okay, so we got touch. We got signal, that's good test.
Oh my gosh, I think we finally got working now. The last thing is we're going to make sure it goes up a few percentages. So we are going to leave it here and wait because I can't tape it up until I know for a fact, that's charging, so we got a semantically or sufficiently charged go ahead and turn it off here, and we need some adhesive, which is right here. Everything's working I wasn't giving me any more problems. Away I swear from these guys.
This is very challenging, but maybe if you use my little tape method, you might work. This is the problem with texts out there is you got to your want to be like part of tech candy or do your own thing. You got to be a problem solver if you're, not you're, you're, not going to figure. It out, you know, go figure how to do this kind of work. It's just not going to come to you a little act knife and some Tessa tape, and we are gonna, be golden.
Furthermore, it's my web developer or not my web developer, but my video guide, texted me I, just showed him this new setup that I got. Would you guys seen earlier on this video he's pretty cool? If you guys ever need a video editing, and you're too busy like I, am he's worth every penny can always hit me up. I'll give you his information, he's a young guy, but he's notice what he's doing, and I'm proud to have him on the team. I actually upload my videos to a Google Drive, and then he edits in uploads everything to YouTube and does that all for me, and he's in another country, sometimes pain, sometimes I, don't know some other country I can't pronounce sort of the knee he's, probably laughing right now, because. He watches the videos, of course, and edits him Wow.
Let's play arts and crafts I'm, always just tedious non. Just nope I, don't want anything, that's kind of work ever, but I have to. Unfortunately, okay um, let's get the bottom here. These are the kind of pieces of tape. You can't miss guys.
You got every little spot, every little crumb weightless whatever this is get rid of it. Okay, never mind it's just tape, examine it really close. Let's see you again, let me little piece. That's in case every little one of these little pieces gone, so I was getting some tweezers here, come help the tape sit down on those edges, such a pain you get thinner today, but I don't want to get that stuff out. I like this stuff.
It's better my red tape, it's okay! The test tape is pretty awesome. Well, hopefully, here going to get some kind of separation, it's not the best, but it's a start. Then I can see it's just, just plain old messy to work with it's the only thing: I don't like about the test day. Okay, one side done it's not perfect, but it's good enough as long as you get a little of it on there. Let's try to go from bottom side here, I think if I get in the way.
This is another technique. I think these techniques, a little better than the one I just was trying to kill it up. I just push it down after pressing it down the first time just along the sides here has to be pretty flush, but this is pretty thin. Tape too, so should be fine I've done this several times. Actually so, I know what time just getting a little excess little air balls I missed.
Okay, oh we're! Not going to pull these pieces of tape off something under this blank tape. We going to remove it figure it out now just lining up the cable here and connecting with my fingers I have once seen on the Google Pixel the battery Tupelo and cause the screen to go bad. Okay, sorry about that phone ring! Oh, look at me. Putting this see! This is what happens when you work too long many hours you put the screws in before you put the racket in okay, so I put the racket in and that's point you can test it one more time. Then you can test it before sealing it.
They're all legitimate options here do I. Have this thing upside down, I do oh jeez has to because it's not going in right, baby, yeah, folks learning. For me, these are all the mistakes you can make, because I love to make them sliced off the display, let the bracket in backwards. Next, you know what I don't claim to be claimed to be a master technician. That's about it, I'm perfect at fixing phones, but I am NOT the best of the best.
You know, I, don't claim to be I've been doing this for a long time when you seal this, just be careful not to press too hard, because you don't want to break the display if there's something in the way and make sure your plaster doesn't get stuck under like I. Just did for me play annoying okay, let's see if I can transfer this temper last firm, probably not the sorts of shot. Usually I just put my finger on it, and it releases it usually there's a really tight temper, glass, I, don't know what this is: it's not tempered glass, something else. It's like glued on really heavily! So what did they cut me like a cutter, No Oh? Have you ever seen it superglued on tempered glass like that? Not me! Well he's going to up here, jeez, so much for doing that. It's some kind of glued on product! That's weird: okay, anyways, that links functioning signals working its charging.
The cables going in like we already tested that perfect, and we already tested phone calls so perfect anyways. This is a Google Pixel, Excel charts board, I'm, pretty sure the regular Google Pixel is going to be just as bad these little antenna connectors here or just plain evil under the cables here. So I don't recommend this at all for any technician. Unless you have lots of experience and lots of patience extremely challenging in even doing battery replacements or these charge boards, you can break the screen, so it could get really costly. So my verdict is, you know the fixity verdict, I would say, is 1 out of 10.
It's them. It's the worst of the worst. Hopefully I made it look a little easy, but just be aware that it can be very, very challenging to do this repair, so I recommend avoiding it at all costs. If you want to send this to repair and for me to do and deal with the hassle I'll be glad to do that. Currently, we'll be charging $150, considering that these ports are pretty expensive for the only imports anyways.
This is Dustin with tech MD. If you liked the video, please like it, if you dislike it, please don't and make sure you guys tell me what I did wrong I, always love hearing that I'm sure there's plenty of in this video where I went wrong, so I always try to improve and always try to show my mistakes and I always do every little detail as much as I can so you guys can learn and become better technicians yourself, anyways thanks for watching you.
Source : Tech MD Youtube
Phones In This Article
Related Articles


Comments are disabled
Latest Articles


