Galaxy Note 9: Camera Tips & Tricks & Hidden Features You Need To Know By TheFonoGuy
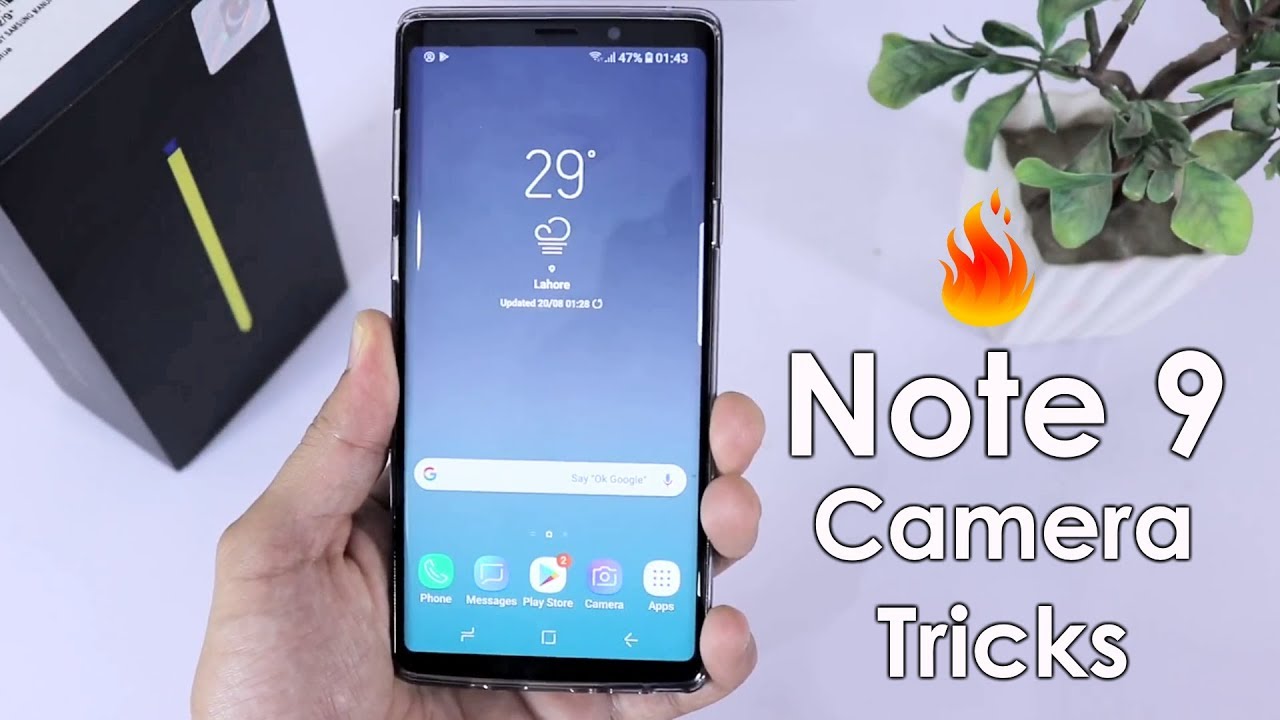
What's up guys welcome back to the funnel guy and in this video I am going to talk about the features which are present inside the camera of Samsung Galaxy Note 9, and this is the device itself. I have already posted the unboxing and 25-plus tips and tricks to customize the device, and many other videos will be coming shortly, as I am working on this device to bring as many things as I can in the short period of time, which I have this device with me. So right now, I am just going to talk about all the features which are present inside the camera of this device and I will cover them one by one and tell you guys about all the things which you can just use inside the camera, and it is going to be very great experience to use the camera of this device. You know it is to 12 megapixel sensors, one is 1.5 and the other one is variable. Aperture with F 2.4 and the front-facing camera is 8 megapixels. So we have some other minor details which I am NOT going into.
I am just concerned with the features which we have inside this camera, so if I have just launched this camera so before launching the camera, let me tell you the simple trick, which is just enabled when you, whenever you buy any Samsung device. This is a built-in feature, and this is just you have the toggle also for this feature to enable, but this is actually coming by default. Just double press, just double press, this power button and your camera application will be opened, and you can see directly. My camera application is opened, so that is a great feature to use. Whenever you just want to launch your camera right quickly, you can just simply press this power button twice and your camera will be opened, so that is great to use and next up, let's move to the camera features.
Now, in the experience version 9.5, the layout has been completely changed in the note here, the layout was different, but now we have a different UI and the layout has been change. You can notice on the top. We have these features previously. We have to swipe from here to bring out these features, but right now these are present on the top right. Now we have the auto feature, enabled we have the live focus.
We have the pro mode. We have the panorama and I will be talking about all these later on in detail and moving to the right side. Furthermore, we have the super-slow-mo AR emoji, which is the new feature and I will just give it a touch ?, and we have the hyperlapse going back to the auto mode to talk about the features which are present here. You can see right away. We have a menu which shows we have the 2 X optical zoom and 1 X optical zoom, for example, I just focus on this plant, which I have and just press the 2x zoom you can see the camera goes right away to the 2 X, and it comes back to the 1 X.
So this is just a simple way to enable the 2 X zoom for the live focus and the normal camera mode, which is the auto mode, and next up we have the big View button and I have enabled the Bigamy and you can use these Bigamy features. There are a lot of features and if I am going to cover these features, it will take a lot of time. You can yourself a check it out. You can see if I just bring the plant, it will detect it and the object and will tell me which kind of plant. This is anyone in give me detail.
This is very handy feature which you can check out yourself and learn more about in many other videos which are available on the internet, because this it been present in know. The and same features are present in this device too. So no need to re, explain these features, and next up we have this the camera button. We can press it, and it will take us to on the right side. We have this camera button, you can see, and we can press it, and it will take us to the front-facing camera.
You can see it takes it to the front-facing camera and if we go back in, and it takes us back to the rear camera, even I can just swipe up. You can see swipe up like this, and it goes back to the front facing camera swipe up, and it goes back to the rear camera. So that is one trick to use and next up we have these different effects, which you can use. The recent ones will appear here. If I have used any recent effects, they will come just here, and we have a list of effects which are present here.
You can see I just choose the Apple one and changes the colors and I have some different effects too. In this lineup and I can remove the effect by just simply tapping here, and even I download more effects. You can see just press this button, it will take me to this menu and, if I just will have to update and bring that so features to use where I can download more effects. But right now, I am not downloading more effects. I am just concerned with this.
If you want to download you can just simply press this button, and it will take you to the download section next up. We have this flash. You can turn it on turn it off or when turning on you can just simply tap, it will take you the flash photo and turn it off, and even when you are on the auto mode, it will detect if the light is low it, but automatically you turn the flash on and take the photo with the flash. So this one is actually to take the camera to the full screen you can see. The camera is right now in the full screen and if you just simply press this button again, it goes back to the normal mode.
This is just easy to use with all the features present on the downside, so these were the features which are present on the screen and one more thing right now. I have enabled the effect, so I can choose the beauty mode. You can see the intensity of this effect and the color temperature too, so you can just play with this effect and set it according to your requirement. The next step, one very handy feature to use is that you just press this shutter button. When you have just pressed the shutter button, it will take the burst photos.
You can see contact burst while the effect is applied. So I have to remove the effect, so you can see, let's go back, and you can see just you press this button, and it takes the burst mode, so it is taking the burst photos and these forty photos will be present here. I am just removing them and if you just press this button and slide it away, you can see you can zoom in and zoom out. So that is great to use. So you can even go up to 10x zoom and come back to one x zone, so normal is 1x.
We keep it on the 1x and going back to the video section here. I want to talk about one or two things, and you can stop the video by this button and even when you press it, it will begin from this, and you can take snaps even when you are recording the videos. So this is just a simple thing: to talk about the videos and to preview your photos and recently taken photos, school and dab that button, and you can just preview them and if you want to delete them directly, delete them from here. These are the features which are present on the outside. Now I am going inside the settings to show you guys what we have inside the settings inside this phone.
Actually, there are lots of features and I will be covering them one by one, so starting with the first one, which is to take pictures. So, let's see the picture size, we have different picture sizes available and right now we have selected the best one, which is 20 megapixels with 4 by 3 aspect ratio. You can save the photos in the raw and JPEG files. If you want to enable this here, you have this feature to enable right now, I am NOT doing this, and we have the video size options that you can see. You can record in Ultra, HD 60 frames per second now we have, and we have the ultra HD quad HD and Full HD at 60 frames, Full HD at 30 frames, 18 by 9 1 by 1, HD and high efficiency, video.
What it does it will just do not allow the slow-motion videos, but it will save the space inside your phone by taking the high efficiency videos, it is actually a format which just uses less space. It is better to turn this on when you are not concerned with the slo-mo videos. So right now in Full, HD is actually the best one and video stabilization will work here and remember that video stabilization will not work on Full HD 60 frames per second. It is also written on the downside. If you can read so going back- and this was the feature about video size and screen scene optimizer.
It is the new feature which was not present previously. What ever seen you have it will? The camera is actually now an i. e. , and it will detect the scene and change the color temperature of the device to that specific scene, and it will. We have actually a bunch of different scenes available here, and it will take that temperature to that level you can see it is showing that that will be the temperature.
When certain things come into play, you can see it is continuously showing those colors. So that is great to use. I have just turned this toggle on and next up going to the settings and I have the timer option. What it does. It just allows me to set up a timer to take the photo if I am going to take a family photo and I just want to put a timer and I want to be in that photo just support the timer and take three shorts so that you have multiple different shorts available, and you can choose the best one.
You have set the timer I just go back and turn, and you can see it will start the timer, and you can just simply disable by pressing this back key. So that is cool handy feature to use the timer. If you want to turn it on, you can turn it on in the settings of the camera and the HDR reached on very old feature. HDR gives the very beautiful colors to your photos, and it is good to have this feature turned on because it gives the best photo by turning on the SDR tracking autofocus is actually very helpful. Many people do not know this feature, and let me tell you today that how to use this feature when you turn this on, just simply put anything into you can see if I just press this here, you can see.
Let me tell you that I have just purchased the camera for my YouTube channel, and it is the canon d 200. So this is with that camera and, if I just press this right now are to focus, so the autofocus is actually on this Canon and when I am moving this device, you can see the artifice is moving on that Canon. It is not going anywhere. This is because of the tracking or to focus that is very handy to use. So you should turn it on whenever you are just going to use your autofocus, so this was all about the tracking focus and moving our next.
We have this slo-mo, the super slo-mo take single shot, you take multiple shots, and you can just choose between these two, whatever you like, and we have some few details to talk about the front facing camera, the picture size is actually maximum 8 megapixels the video size is actually quad SD and, as your tone, timer is available. So next up we have this save pictures as previewed. Now you can see when I turn on this feature, what it does whenever you are taking the picture with the front facing camera with the safe pictures as previewed it will not flip the pictures. Usually it happens that when you take the pictures with the front facing camera, it flips them and with this feature it will not flip, and it will just keep the photos as they are in this way, so show palm what it does actually take the photo when you show palm on the front facing camera and face shape correction. This is the new feature, and it will automatically program the face which is in distortion in your front-facing camera and next up we have some other features to use.
We have the Edit camera modes, and you can see we have the rear camera. We have these features, the slo-mo is disabled, we just enable them, and food is disabled. Furthermore, we enable them front-facing camera. Furthermore, we have all toggles enabled. So what is that previously? I told you that you have to swipe from here, and all these tools will come and right now they are on the top and I just turn on the slow motion and I turn on the food mode.
You can see the food mode is also present here. So that is how you just turn on all these modes inside the camera. Next up I have the floor detection. This is the same thing to whenever someone blinks- and there is some kind of flaw in your video. You can just simply turn this feature on and that flaw will be removed by the help of this camera because it is now AI detected and the motion photo what it does when you turn it on.
It takes a short trip of your picture which you are taking, for example, I just take the picture, and let me show you- and we have this short video captured with this one I just play, and you can see my hand will be moving if I can show you correctly. I am just going to play this. You can see right now. It is playing that clip. Actually, it took me a lot of time to play it, because this was my first circling and previously the button was here.
They have changed it in experience version 9.5. There are a few changes which are very noticeable in this. So let's go back to the camera and scroll down so motion photo I am turning it off right now, I do not need it. Grid lines are actually very helpful. People don't know how to use them.
So let me tell you how to use them, and what is their purpose? It shows that what is the level of your camera? That is, the purpose of the grid. Actually, so, whenever I put something in here, you can see it will actually keep telling me. What is the level of the camera and how you are holding the device at what angle your device is, so that is very useful when you are taking photos at tilted angles. You should turn on this great feature. So location tags are always helpful.
This should be turned on whenever you are taking photos, because when you take photos the location tags are available and when they go into the gallery they will just be organized according to the dates and the locations, so that is very handy to use and preview pictures. That is not. Why useful play over your feature when you take photo, it will just show you a preview and I do not find it handy. It is just useless to have this feature. I have already shown you the quick launch, which is just double tap the power button, and it will quickly launch the camera, and we have the floating camera button.
When you turn it on, I will come to a back to the wise control you have can see. We have the floating camera button. It is very handy when you just want to take snap now you just you can just you can just put the floating button here. You just snap it, and it keeps on taking photos, and even you can just move it around the screen you can see this button is just static, it doesn't move. So this is the floating camera button and wise control is actually, when you say, G smile capture, shoot I, record video, saying record video.
It will just do that and let me show you: how is its done so, for example, I am going to say cheese. You can see it has taken the snap, so that is how to use the wise controls. So these were few features and whole camera button to take burst. You can create a Jeff and take a picture hold camera button. I just showed you how to take a bus.
The same is the thing you can change it to create jiff and the volume rockers can be used to take a picture to record to zoom. Zooming I think is helpful. Let's go back, and you can see we can zoom with the volume buttons. So this is all about the camera, and these are all the features which are present inside the camera. One thing is remaining.
Let me go to the live. Focus. I have not shown you how to use the life, because, right now we cannot. Let's create the light focus with this one. For example, I just bring it into the focus you can see.
I can change the background blur. This is Unfocus. You can see, it is saying me already in life focus. It is not allowing me to change the blur actually so yeah. This one is good yeah you can see.
I can now change the blur. You can clearly see so it is the device is actually in focus. Let me take a snap and let me show you that snap does. It is the background you if you can perceive in this video, it will be difficult to perceive. The background is actually blur and the photo itself is looking very beautiful.
You can clearly see, so that's how you use the live, focus and going to the pro mode, and pro mode is actually the camera in your hand. Even the way you want to use the camera, you can use it with the pro mode, and we have different features available in the pro mode. You can see starting on the right side. Let's start on the right side. This is the exposure.
You can increase the exposure and in brightens up the screen. Usually the exposure is actually decreased when you are in a very bright environment. So when you go into very bright and wide ?, where light is too much, you just have to decrease the exposure to make the photos crispier. So we have this white balance. This is auto, and you can choose the incandescent cloudy.
You have the daylight, you have the fluorescent, you have the Kelvin temperature, you can change the temperature, so that is very handy feature to use, and this is the autofocus you can manually control you can see. I can show you can. If you can perceive, the autofocus is actually changing. You can see. So this is the manual focus if you just do not want to use the autofocus feature, and we have different effects to use here, and we have the art of aperture size and if I decrease the aperture size, it does not capture the light.
Increasing the aperture size will catch more light. Going up means you are catching more light, so keep it lower and according to your requirements, what you need and ISO is always better in the normal ranges you can see. It makes a very bright photos when I go up on 800 maximum, so it should be around the best mark right now. This is the best on this environment. If I take a snap, let me just increase the manual focus you can see.
This is in focus and I have taken the snap, and this snap is actually looking very great. You can see. So this is how you use the pro mode, so this was all about the camera of this device. These are all features which are present inside this camera. Same features are present on the front facing camera, and I am forgetting I.
Think one feature which I just want to tell you: let's go back to the bottle and go to the air emojis, so you can see you can create your own emoji, and you have different tags available. You can just put them on the screen. When you take the photo, the tag will be available. You can see the tag is available, I have taken the photo, and you can just put different things. You press it here, create my emoji, and it will just create your emoji, and we have different features to use.
Furthermore, you can see. I can use these whenever I have a face in front, it will detect the face and put this icon on the face. So these are multiple features available and my visions will appear here, and even I can remove the stickers if I want to remove, and I can download new ones from tapping this button, and there are multiple new ones available right now. So these are all the features which are present inside the camera of this device, and this is very handy device, because the camera is great, and you have lots of features to use inside the camera. So that was all about the features of this device to use and have this great experience using this camera and I hope you enjoyed this video and many videos are coming about this device stay tuned on this channel for those videos and I hope you enjoyed this video and if you did then give this video a thumbs up and apply next video bye, bye and peace.
Source : TheFonoGuy
Phones In This Article

Related Articles


Comments are disabled
Latest Articles


