Galaxy Note 9 - 22 AWESOME CAMERA features and tips you must know By Tech Guy Charlie
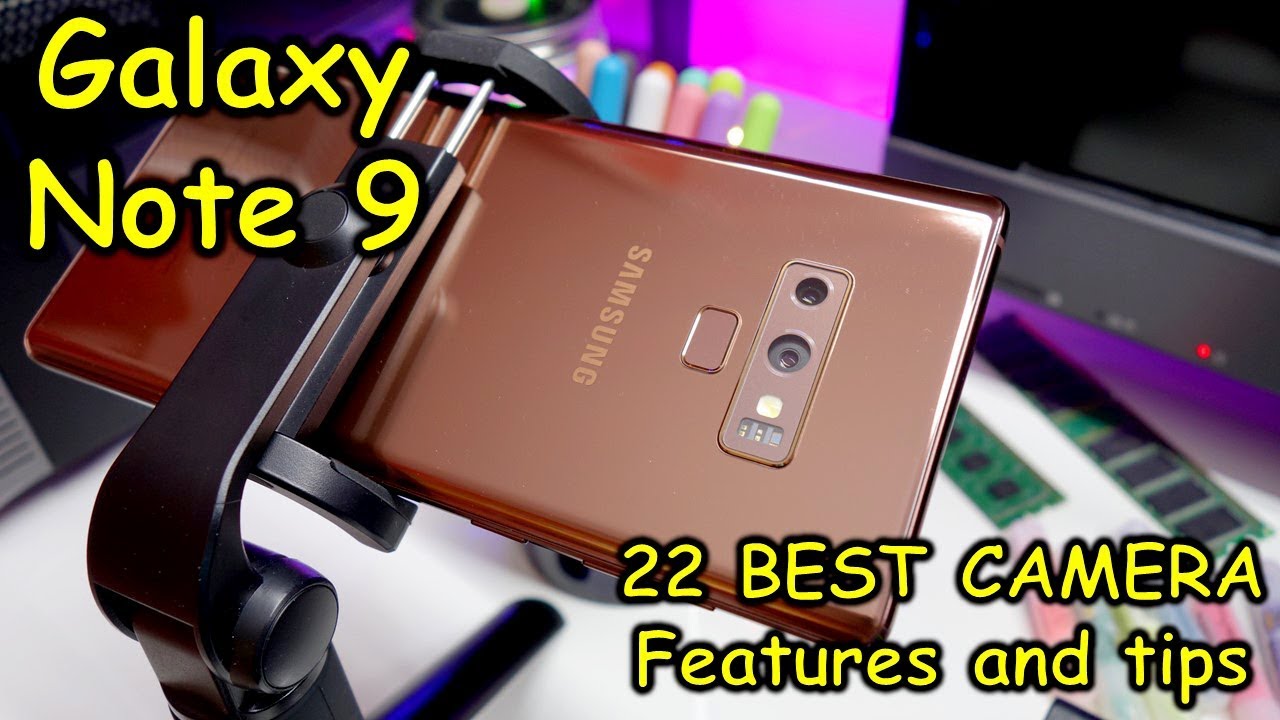
Hey guys it is Charlie here and welcome back to another brand-new video on the Samsung Galaxy note 9. So in this video I will show you trying to awesome and the best features of the Galaxy Note lines camera, and these are the features that you must and absolutely should know about. So guys, I have been reading comments on the previous videos and someone said that I explain the easy and obvious features, but, to be honest, my goal and motivation behind these videos is to cover a wide variety of audience, including the ones who are new to the Samsung Galaxy phones, particularly new to the Samsung Note 9 and I also want to help people get to know their phones, who are not tech-savvy, because not everyone is aware of all the different features, even the simple ones when they buy their phone. So that is why I'm going to go over the S Pen functionality, which is one of the most simple, yet the most overlooked features of this phone. Let's begin alright guys, so the first awesome feature I'm going to show you about the camera. Is the ability to take pictures using the S Pen, so this is new to the Galaxy Note 9, the Note nines S Pen has Bluetooth remote control functionality, and you can use this little button here to take pictures, and you can use this to launch the camera switch the camera mode, and you can also configure this button to record videos.
So first we need to make sure that the s-pen remote control functionality is turned on now by default. It will be turned on, but in case, if it is turned off, you'll need to go to settings tap on advanced features, tap on S Pen and tap on S Pen remote. You can see it was turned off on my phone, so just insert the S Pen inside your phone, and it will reconnect alright. So it takes about five seconds for the S Pen to reconnect to the phone once it is disconnected so by default. If you long press the button on the S Pen, it will open up the camera.
So if I long press the button, you can see camera launches and if I press it again, it takes a picture, and you can reconfigure this by pressing this pen button. So, if I press this you'll see this is a menu down here. S Pen actions for camera single press takes a picture. You can set it to switch camera. You can set it to record a video, or you can set it to do.
Nothing and double press switch as the camera records, video or does nothing and I. Think by default. Whatever Samsung has set over here is quite, and I wouldn't want to change these. So if I double press this, it should change the camera and if I press it once it takes a still picture that will press such as the camera. Single press takes a picture and this can be used in scenarios like.
If you have the phone set up on a tripod stand, you can use the S Pen to take pictures remotely, or you can take selfies using the S Pen remote and the range is also pretty decent are tested. The range I can just sit on the other side of my room and take pictures with the S Pen I'm, going to show you how to get the autofocus to log on to a certain distance, while you're recording a video. So let's fire up the camera, oh and if you want this feature to work, make sure that the tracking autofocus is disabled. First, so just go to the camera settings and scroll down yet disable tracking autofocus. Now it's already disabled on mine, so I don't have to do anything.
Let's just go back here and start recording. So when you're recording a video just tap on a particular object to get the autofocus system to lock onto that particular object distance. Now you see this AF icon here on the left side. This shows that the autofocus system is locked and this also works while you're recording a 4k video. This is not tracking autofocus.
So even if I move the phone you can see, the focus will not readjust and the phone does not track depends. So this is one advantage you have in case. The phone is constantly readjusting the focus you can just tap on a certain object on the screen to get the autofocus system to lock on to that objects. Distance, and you also notice that whenever I tap on a dark object, the exposure also readjusts- and fortunately for that we have this lighter here, and you can just dial down the exposure very, very useful feature in case you're recording a video in a complex lighting situation, or there are just so many objects that the phone's autofocus feature gets confused, so just tap on a particular object in order to get the camera to lock on to that particular objects. Distance now I'm, saying distance, because even if you remove that object, the phone will not track that object and, secondly, it will not readjust the focus the focus system will be set to that particular distance.
In order to disengage the autofocus lock to step on this AF icon and now the phone will adjust the autofocus system to whatever it thinks it's correct, recording to the scene focus lock, while recording videos is a great feature, but one disadvantage of that is. The focus is locked on to a particular distance, and you cannot change it manually so in case you're. Moving the surrounding camera'll need to constantly readjust the focus by tapping objects, but what, if I tell you, you can have full manual control over the phone's focus system. While you are recording a video? Yes, you can do that so for that you'll need to go to pro mode head over to the pro mode and then start recording video, and you'll see this button here. Originally it will be set to auto.
So you'll see this AF button here just tap on this button, and when you slide your finger around like this, you can see you have full manual control over the phone's focus system. While you are recording videos- and yes, this feature also works when you are recording 4k videos and on the top here, you have the exposure control, so you can make the scene dark, or you can make the scene bright. But really the best part here is that the phone allows you to control the focus manually no-strings-attached. This is complete manual focus. While you are recording videos and by using this feature you can get some stunning footage now.
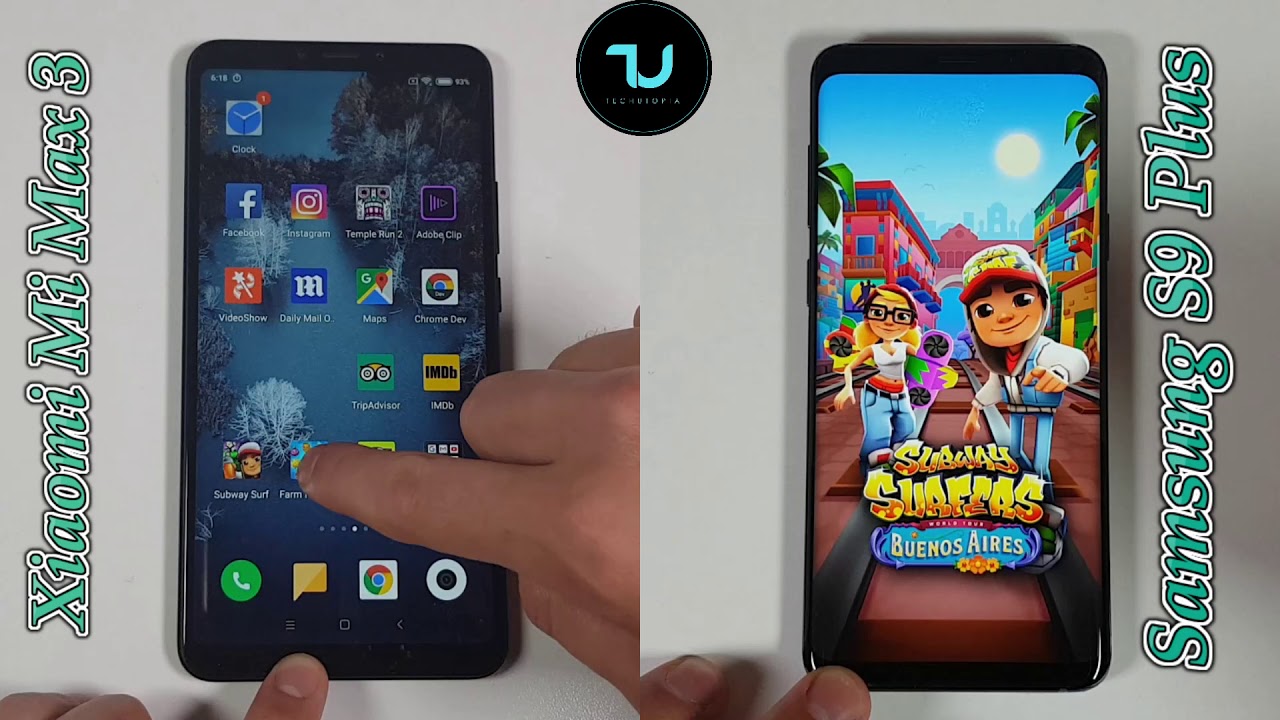
One difference I noticed while I was comparing my s9 plus with the note 9, is that the focus system is much smoother on the note 9 compared to the s9 plus, and you can see this video I've captured using this particular feature, and it's just perfect. Now, I have shown you how to lock the autofocus system and change the exposure. While you are recording a video but for still photographs we have a slightly more advanced feature. So first I'm going to show you an auto mode, then I'm going to show you in pro mode. So once you are in auto mode, just long press an object on the screen and the phone will lock the autofocus and the auto exposure, so you might be able to see or to focus an auto exposure lock this circle over here and yes, it is locked.
So if I move the phone around and change the and change the position, the autofocus and the Otto's exposure will be locked on to that particular distance or an object or very wherever you set it to and if I want the autofocus and exposure lock to be on this bright object. Long pressed and the focus and the auto exposure will be locked here. So even if I move the phone like this to a darker object, you see that the focus and the exposure will not adjust. But if we head over to the pro mode, it makes much more sense to use this feature here, because here we get to choose the exposure and the focus system completely separate, and you can place those two circles anywhere on the screen. So just long press like this here you can see we get two circles.
So this is, one of them is auto exposure, lock, so KE lock, we can have that set on a bright object, and we can have the focus set on a darker object, say, for example, over here, and this gives you much more control over the phone's camera. Great little feature I love this, and this is very, very useful in case. You want to focus on a dark object, and you want the auto exposure to be set on a brighter object so that the whole picture does not go up in brightness. Have you guys ever been in the situation where it is impossible to reach the camera shutter button? For example, you have your right hand on your friends shoulder and you guys are clicking selfies. Now there is no way.
I can have my left-hand touch. The camera shutter button at the most I can have my thumb breech over here. Fortunately, Samsung has provided a feature which allows us to just take the camera shutter button out like this, and now you can just place this second camera shutter button wherever you want on the screen. For example, I can place it over here where my thumb can easily reach, and I can take pictures, and this also works in the front-facing camera. So if you are taking selfies, and you're holding your phone with your left hand and your right hand is on your friends shoulder- you can do this and click selfies.
Alternatively, I would recommend that you just take the S Pen out and just use the shutter button, which is on the S Pen, but hey it's nice to know that you can just pull out the camera shutter button and place it wherever you want on the screen and once you're done just place it back here, and it will be gone so when you're taking selfies. If you show the camera your palm like this, it will take a picture very useful if your selfie stick does not have a shutter button. So if you enable this tap on the Cure icon and make sure that show palm option is enabled so once you enable this, just show the camera your palm like this, and it will take a picture I, don't know if you guys have noticed or not, but Samsung phones do not have a separate video recording mode to record a video. You just press the red button and the phone starts recording now. This is good because it reduces one step, and you don't have to change the seeing mode in order to record a video.
But here's the thing: if you have the phone set up on a tripod stand like this, and you have framed your subjects properly in this still mode. First, for example, you can see the Nutella n is in the frame, but as soon as I start recording the video it goes out of the frame, and this is completely normal. The picture gets slightly cropped and this might be a little of problem if you have set up your phone like this, and you're, using the remote shutter to record videos, some of your subjects might get cropped, and you need to manually adjust the camera now to prevent this. Okay. So first, let me just stop recording so to prevent this and frame your subjects beforehand, just press and hold the video recording button, and this gives you a preview of what the phone is going to record.
So the phone is right now not recording the video it. It is just showing the view that will be recorded in the video, and now you can easily go ahead and frame your subjects properly. I can just move back, and now my subjects are framed, and I can release the button and start recording the video. But if you press and hold, if you move your finger out of the button area and then release, it will not record a video so once again just press and hold to give yourself a preview of what you're going to record frame. Your subjects then release the button to start recording a video.
So here's a tip you guys might find useful. When you are recording a video you can actually take still photographs. So whenever you press this little camera button here, the phone will actually take still photographs, even when it's recording videos. So just press like this in order to take still photographs, even while you're recording a video and everything will be saved in the gallery. So if you go to gallery camera, you can see this.
What this was the video that we were recording and these were the still photographs that we took inside while we were recording a video nice little feature, if you don't want to miss out on still photographs, while you're recording a video smile, cheese record video- oh hey, guys, didn't see you there, so you can have the Galaxy Note 9 record a video or take still photographs just by saying phrases like cheese, smile or record video. Let me show you how, so first you'll need to go to settings so just tap on this gear. Icon, go to settings and scroll all the way down here and make sure wise control is enabled so once voice control is enabled. You can just tell the camera smile, cheese capture or shoot to click still photographs and for video just tell the camera record video to record a video gee record video, and you can see it works quite well. So by default, if you long press the camera shutter button, it kind of takes bursts images, and these are full size images, and it will take hundreds and quick succession, and it will save them in the internal memory now to individually select those pictures.
If you need to go to camera pictures, and you'll see, these are 100 burst photos just half on this icon, and now you can select whichever picture you want. So there are a hundred pictures in this, and you can save them individually and if you tap on save image, it will save the image over here. So this is the image that was captured using burst capture, and this will come in very, very useful if you are clicking pictures of a fast-moving object or if you want to just click pictures of someone playing sports now did you guys know you can actually create a GIF image right from the camera. Now this works by long-pressing, the camera shutter button. So by default you guys know it takes burst images.
So we need to change that tap on the gear. Icon, go to camera settings scroll down here and locate an option which says: hold camera shutter button -. So there are three options you can have it take picture, take burst shots or create GIF, so select the third option, and now you'll be able to create a GIF whenever you press and hold the camera shutter button. So it's just like this. You can have the camera, create a gift, so thirty pictures it will combine, and it will create a gift.
So, let's check that out go to gallery camera, and here we have the GIF image we just created and guess what guys you can set this GIF as you're? Always on display so press these three dots select the third option. Resize this. If you want and tap on done now, whenever you put your phone to sleep, you'll see that little gift that we just created, if you guys, are wondering how am I able to get the camera view in full screen. That's because I'm using this option called full view just tap on this button, and it will take you to the native aspect ratio of the Galaxy Note 9. Alternatively, this option is available from settings so just tap on the gear icon and tap on this option called picture size, and here you can see I'm shooting pictures in eighteen point.
Five is to nine words, and this is perfect if you want to view pictures on your phone, but if you're shooting pictures for a widescreen 16 is to now invite zooming then select this option, but once you select this option, you can see the edges of the phone will now have this black bar, and this is how it looks like on a Windows PC, especially with this 16, is to nine display, and you also have the option to record videos in this period. Eighteen point five is to nine option and again this is how it looks on a Windows PC with a 16 is to nine display, and one thing: I, absolutely love about the Samsung camera app is that we have the ability to save pictures in raw and JPEG. So if you turn this option on the phone, will capture picture and save it and draw, then it will convert it and save it into JPEG and if someone's a pro photographer, they already know the advantages of shooting in RAW. So here's a tip. If you use all this on display, you can launch the camera by double tapping the home button.
Just like this. So to enable this feature, we will need to go to all of us on display settings so go to main settings tap on display, scroll down and tap on always on display here again cap on all those on display and scroll down here and make sure this option. Double tap home button is set to quick launch camera by default. It is set to turn on screen. So if it's set to turn on soon, it will just turn the screen on.
But if you set it to quick launch camera, then you can just double tap the home button and the camera will launch. Do you see all of these different camera modes? On top, you can shuffle between them. If we swipe our finger like this, but I think there are just too many camera modes and I would like to remove some of them, especially AR emoji and hyperlapse. It will just make the interface less cluttered so just tap on the gear icon, scroll down here and tap on edit camera modes and then tap on rear camera and I would like to remove food panorama and, let's see I would like to remove hyperlapse and AR emoji because I'm not using those now super slow motion is 960 fps. You guys already know, but slow motion is regular.240, FPS, slow motion, but I kind of like using the regular slow motion more than the super slo-mo, because there are no length limitations here and in super slo-mo you get 12 seconds. Slo-Mo are 6 seconds no more.
Depending upon the quality you select. Oh, let me show you front camera options, so we have selfie focus. If you want to blur the background, and then you have AR emoji now here, emoji I'm, not gonna, use, I know I'm not going to use it. I've tried it on my Samsung Galaxy s, 9 I didn't like it. So that's why I have it disabled, and then we have white selfie.
So, let's go back here, and now you will see a regular emotion option. So this is our 240fps LUMP. Then we have super slo-mo, Auto life focus life focuses for blurring the background, and then we have the pro mode. You can see it's less cluttered now. You can have these stuff that you use rather than having all those different camera modes.
Now you might have read somewhere in these specifications that the note 9s camera has this dual aperture lens. That means the lens can alternate between F 1.5 and F 2.4, depending upon the lighting conditions, when it's in the automatic mode. Now, like I, said if you are in the auto mode, this switch happens automatically, but if you want manual control over the cameras aperture head over to the pro mode and here inside the pro mode tap this button, which has this little aperture here this one and here you'll, see an option to change the camera's aperture right now it's at 1.5. If we tap it goes to F 2.4 and F 1.5. Let me demonstrate, so I hope you guys can see that right now the camera is at F.1 point 5, so the aperture is opened up all the way. So, if I tap on this button, F 2.4 the cameras' aperture will close down and once again F 1.5 F 2.4, F, 1, 4, 5 and F 2.4. Now you guys already know if you use F 1.5 setting, it will allow more light to enter the camera, and it will give you a better result when there is a low light situation, but as a side effect. If you use a wider aperture.
So if I switch this to F 1.5, you will see that the glass jar becomes a little more blurry. So you get slightly more blurry background images when you use a wider aperture. So this is right now at F 2.4, F 1.5. Did you see how that thing changed? F 2.4, F, 1.5, F 2 points for F 1.5, and this is not artificial blood. This happens.
Naturally, if you use a wider aperture, it will blur the background image. If you use a narrower aperture, say, for example, f 2.4, then you're going to have less background blur. Once you combine that super wide, aperture and manual focus + low is oh, you can get virtually noise, free, low light videos and photos, and this clip was shot on the note 9 in the Pro Mod 50 manual, autofocus setting and F 1.5 aperture, and I'm very happy with the result of the camera and from the looks of it. The optical image. Stabilization is also doing very well here.
I love, the camera of the note 9, just like on the galaxy s, 9, plus the secondary camera on the North 9 is a 2 times optical zoom camera and the secondary camera is also 12 megapixels, just like the primary camera, and we also have optical image stabilization available on me secondary cam. So you can perform two functions with P secondary camera number one. You can use it to zoom in into your subjects and number two. You can use the secondary camera to perform light focus which allows you to blur the background objects. Let me show you so launch the camera, and you see this 2 X button here.
This press on this button and the phone will now use the secondary camera to zoom in onto the subjects, and the picture will be captured in full, 12 megapixels and if you want that variable zoom just use the camera shutter button, and here we have variable zoom, so you can alternate between 1, X and even 1.5 X and then click a picture. Now, if you want to use the secondary camera for blurry backgrounds, select the live, focus option and then just tap on a subject which you want the phone to focus so our tap here, and it's telling me to move further away from the object. Okay. Now the light focus option is ready press on the shutter button and that's it let's go to the gallery. So here's a close-up shot here is the original wide-angle shot, and you can actually go ahead and adjust the background blur.
So you have this option here so tap on it, and now you can adjust the amount of blur you want. So this is at maximum background blur. This is the least amount of background blur, and you have the couple of filters here and the background blur is fairly accurate. You can see there are no error whatsoever, so everything is in focus, so these pens are in complete focus, so is the cup and everything else is blurred out. So in the selfie camera, this option is called selfie focus and this will blur the background of the picture.
So all of this would be blurred out, except my face. I, don't think it's going to work, because the camera is right in front of me, but anyway, let's try it out. So you see how the background is blurred out, but my face and the camera is in focus, but you should really try this out properly without having all of this equipment in front now. Let me give you some tips that you might find useful while recording and super slow-motion mode. So let's switch over to super slow motion, and this flickering you see on this screen is completely normal, especially when you're recording your videos inside your home and when you have LED lighting and if I use these USB LED lights.
You can see there is absolutely no flickering, because this is running off DC current, but I think it's best to go out and record in direct sunlight, because you need a lot of sunlight if you're recording at home using one of these USB lights, there is gonna, be degradation in the quality, and you can see this exact same flickering also happens on my Sony phone. So this is not an issue related to Samsung, so first I'm going to explain the manual and the automatic mode. So right now we are in manual mode means you have to trigger this super slow motion recording by yourself, but trust me, it's very, very difficult to record super slo-mo video in the manual mode, because you have to get the timing right and the window you have is less than one second. So the second option we have here is the motion, detection mode, just tap on this manual button, and it will go into the automatic mode so inside the automatic mode you get this little square and the phone will detect motion inside the square, and you can reposition this to wherever you want. So whenever the phone detects motion inside the square, it will record a super slo-mo video, and you can actually go ahead and resize this if you want.
So, let's try this out, and I'm just going to drop this little highlighter. So just press the e record button and there you have a default, accorded a super slo-mo clip. So this was the auto mode, and you saw how easy it was to record the video, because the phone does the guesswork by itself. So the second option we have here is 0.4. Now 0.4 allows the camera to record slow-motion and super slow-motion in extended mode. That means you're going to get double the length 0.4 seconds of video in real life. That is stretched out to 12 seconds or so did you guys see how much of a difference bright light makes while I'm recording super slo-mo videos? Okay, so the second option here is inside the setting.
So first you need to be inside this super slow motion, video recording mode tap on the gear, icon and scroll down here select super slo-mo. Now we have two options here: I was recording a single tick single, take records, a single super, slow motion, video and saves it to your phone multi. Take records a full video clip and record super slow motion. Videos as you trigger the record button or if an object passes in front of that square. I showed you, but, according to me, I think single.
Take is a much better option. Do you know you can use the camera in multi window mode, so fire up the camera? Just do this to resize the window, and now you can see the camera will run in this windowed mode option, and this allows you to do your work. For example, you're browsing the web. So let's minimize this, so the camera gets minimized. You can go ahead and browse the web or, if you are texting your friend, so let's find out what's up you're here and what's up, but the camera is still minimized over there.
So, if I want to resume the camera, if I quickly want to take a picture, just fire up, the camera shoot a picture or record a video and whenever you are done just minimize this and return to your texting or whatever work you're doing so to make the camera app work in this pop-up window, you need to enable multi window and then turn on pop-up view. Let me show you how to do that. So first you'll need to go to settings tap on advanced features and tap on multi window and then make sure pop-up view action is enabled so next time wherever you fire up the camera. So let me just close this so next time you fire up the camera. You just do this gesture to make the camera run in a windowed mode, and this shows you how powerful the Galaxy Note 9 really is.
You can run multiple apps like this and switch between camera web browser or whatever you want and minimize these apps like this. Furthermore, you can minimize the web, and they will be over here on top the Galaxy Note 9s camera app has some inbuilt filters. Now you see this little icon here, just tap on it, and you'll be greeted with all of these different filters. So let's try out a few of them, so this is blossom, grayscale, cookie, cream evergreen. This looks supersaturated, freeze, Auto, cream, deep riddle, and we have some more filters here.
Nostalgia, sunshine, I think these are the same filters, and you can actually go ahead and download more of these. So you just press this plus icon. So new effects are available. You just press the download button, and it takes you to the Samsung store, and you can download a wide variety of filters from over here and the filters you download will be stored over here, just press, this plus icon. So this is the one which we downloaded a little more warm retro, and these will also work while you're using the front-facing camera.
But just so you know, I think this one looks quite nice, but if you tap on this button here, you also get some enhancements for your face. So we have this one now, I, don't think it's going to work, because this camera is right in front of me but yeah. You do get these face, enhancements in the camera app itself and if we tap on this button we can edit some of these tools here. So you have skin tone I'm, not sure if it is if this is going to work. But let me just take this out so skin tone.
You can change the skin tone, oh yeah, it does work contouring, and you can change the color of your lips if you would like to change the color of your cheeks, but it's not working properly because number one did LED lights on. The top of the table is like interfering with the camera. So if I have, if I cover this, you see that the image quality does improve. So this feature is exclusive to the Galaxy Note 9. So the S line plus does not have this feature so again: tap on the skier icon security settings and tap on scene optimizer and turn it on now.
Initially I had this feature turned off, but I have noticed that it does enhance the pictures quite a bit, especially when you are standing against sunlight now. It does have backlight correction. So that's why I do like to keep it turned on, and this does give you a slightly more saturated and enhanced picture. But if you want complete natural pictures without any enhancements turn it off, but I like to keep it turned on. So this will stay on also, while you're added turn on HDR and turn it on and select the auto mode.
The Galaxy Note 9 also has this tracking autofocus feature so just tap on the Settings icon and make sure that the tracking autofocus is switched on so once you switch it on tap on an object and the phone will track. That particular object. So you can see the phone is now tracking these pens and these pens will always stay in focus because we are tracking them and the phone tries its best to keep them in focus. And if you want to change just tap here so now, the phone will try and track that Ram stick, and this particular part of the picture will always be in focus. Okay, so check this out, I clicked a couple of selfies.
So let's open up this one press, these three dots and open in photo editor Pro, now tap on this portrait option. Now earlier you saw that the portrait option was not available because there was no face for the photo editor to detect. So here we have a couple of option. You can brighten your face likes you can soften your face. You can make your eyes large.
Furthermore, you can make your face, slimmer, although not sure. Why would you want to do that, and you can blur the background? Okay, so this one does not work that well, but it's nice to know. We have options like these in the advanced photo editor, so guys I, hope you have enjoyed the video as much as I enjoyed filming it and I would really like to thank each one of you for all the love and support you guys have given me, honestly. This channel would not have been possible without the support of you guys. So thank you all so watch and as always, if you found the video to be helpful, please hit that like and subscribe button and do follow me on Instagram.
All the links are down in the video description, and I'll see you guys next time.
Source : Tech Guy Charlie
Phones In This Article

Related Articles


Comments are disabled
Latest Articles


