Dueling Heat Pipes & Pop Up Buttons?! - BlackShark 3 Pro Teardown! By JerryRigEverything
Hello there. Today we're going to take apart the Black Shark 3 Pro. We're going to see what's inside. I've personally never filleted a shark before, but there's a first time for everything. There's a lot more glass shards on this desk than you might think. But this is a gaming phone and it has two pop-up buttons on the side.
Looks like this phone has already been through a lot... let's hope it survives whatever we're about to do next. Let's get started. First thing we want to do is take this over-sized hairdryer and heat up the edges and hope the phone doesn't melt. Personally I think it's a bad idea and a rather strange hobby to have, but here we are.
Apparently a suction cup and razor blade are like real tools. Personally, I'm going to wear a glove because a) I like my fingers, and b) it seems like a smart thing to do at this point. And you'd kind of have to be crazy not to wear one. You might have noticed something's a bit different today and you are correct. I'm doing everything left handed.
The whole goal today is to take the Shark apart, put it back together, and hopefully have it still be alive when I'm done. The glass panel on the back of this phone is a way different shape than we normally see. But the heat and gentle prying with my metal tools seems to do the trick. I feel like the Shark and I just got thrown into the deep end together. I'm adding a lot of heat because I've been told that glass is glass, and glass can break.
Apparently the heat gun can also burn the table if you're not careful. But after a whole lot of razor interaction, the back glass finally comes away from the phone revealing a whole lot of inside stuff. There is one metal plate keeping the back from coming off completely, and at times like these, you might suggest another pair of hands to be helpful. But I'm sure with all of my experience, this will turn out just fine. With the plate gone, the ribbon can unsnap just like a little Lego... a very expensive and fragile Lego.
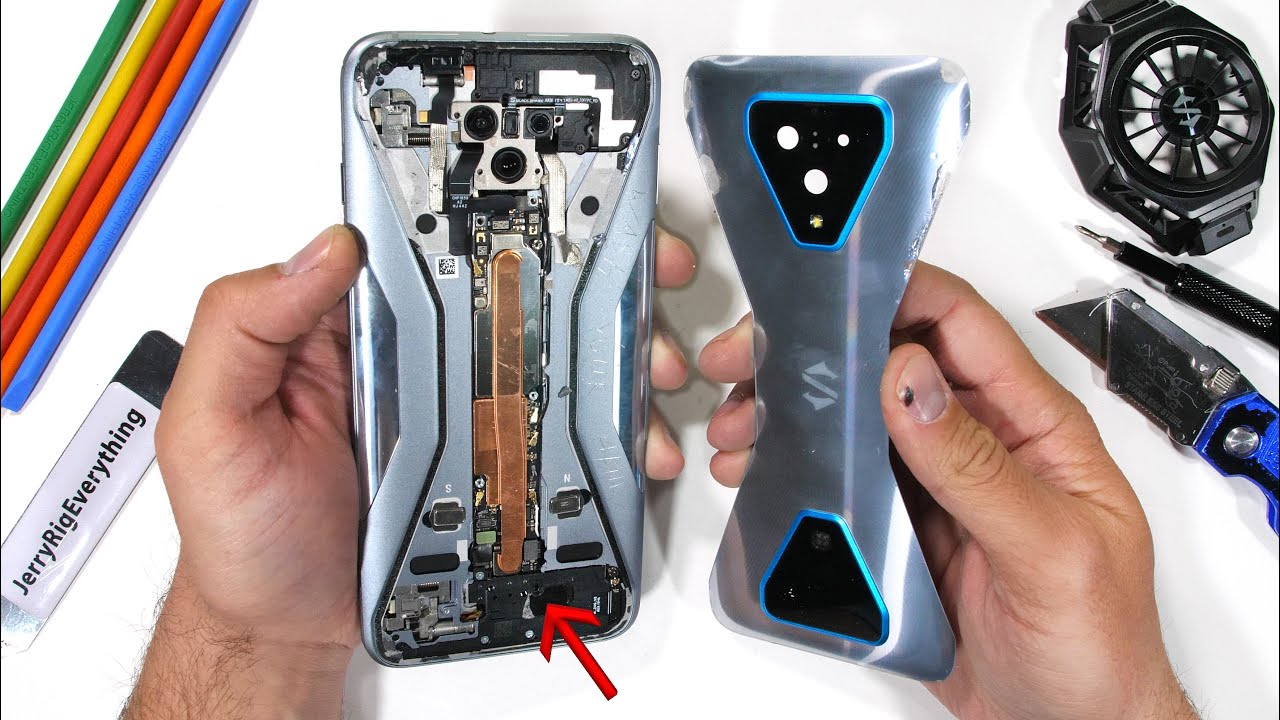
Now that the bow-tie shaped piece of glass is off, we can delve into the Shark's epidermis... stressful. I'll just set this piece down... somewhere. Where am I gonna put you? Right off the bat I can tell this is not a normal phone.
The Shark's chances of survival have diminished significantly, but the show must go on. There are 4 screws holding down the metal plate over the oddly shaped and oddly placed motherboard. The whole thing is sitting in the spine of the phone. I'll remove the plate while trying not to break it because that would be rather unfortunate. So this is the battery, right? What?! - Those long copper things? - Isn't it like the cooling system for the battery? That's what you cut open and there's liquid in it right? And there's a big cooling copper system because it's a gaming phone.
Is that real? - It's real, yeah it's real. - Thank you. I've watched a few videos. With the back off we can see a copper cooling system. Okay.... since this is a gaming phone, it's got a big one.
Thumbs up for that. Now we can take out the camera, the three more Lego ribbon cords, and 5 more screws. Plus, we get to pull the razor blade out for an extra dose of impending catastrophe. I'm not nervous... you're nervous.
Now the tri-cameras are free and we can see that none of them have OIS. This is stabilization happening right here... or not! Which is disappointing. I was looking forward to that jiggly part. Okay.... let's see what else is interesting about this phone.
The top loud speaker comes out next. Okay. You might be thinking to yourself, 'Hey Jerry, why don't we see any batteries yet?' And that's a good question. I have no idea. I do know that there is a piece of black plastic down here that needs to come out.
Watch this. One cool trick is if you hold the screwdriver still and just rotate the entire phone the correct direction, the screws come out eventually. Science. There's a little bit of black tape and a small snake connector clamping onto the black bits. And then the bottom loudspeaker can come away from the phone.
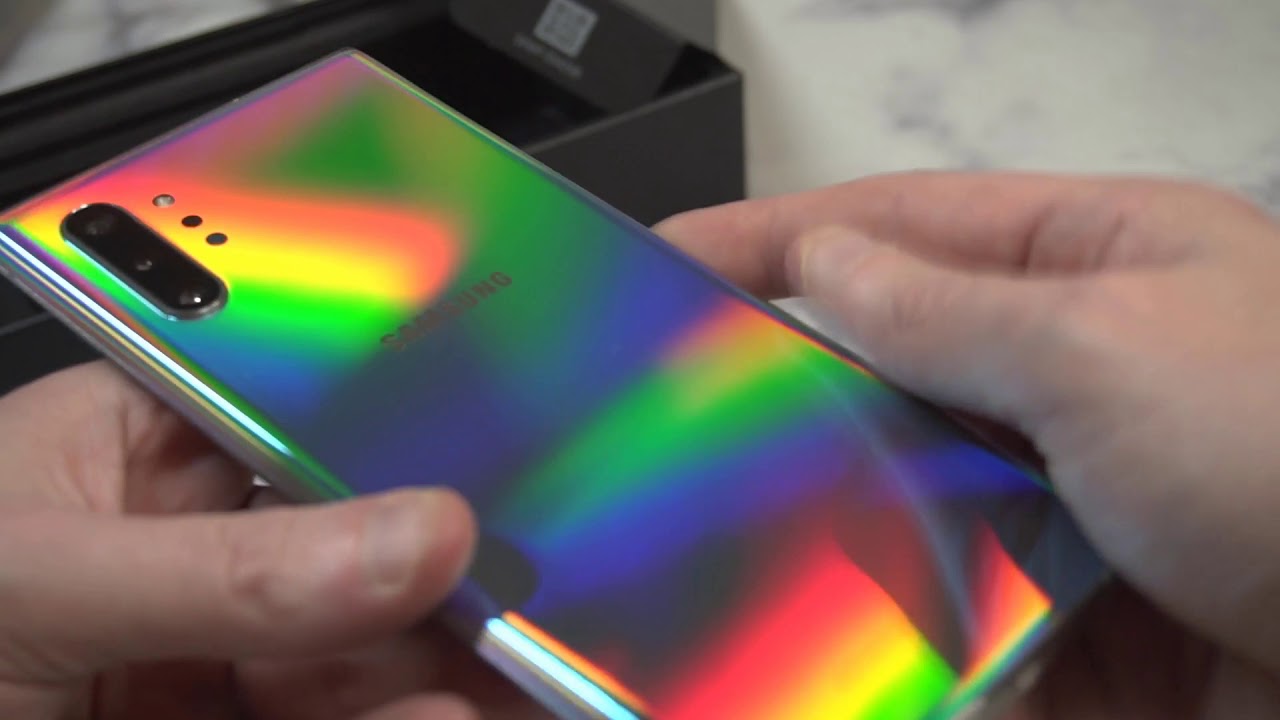
What is that thing? It also has little balls inside like we saw in the Galaxy S20 Ultra. They look like spider eggs, which is kind of gross. Thirteen more connectors on the motherboard makes this feel like an old school operation game I played as a kid. Which means I'm basically an expert. Finally the motherboard only has 3 screws left holding it in place.
These are essentially screws with a screw hole inside of the screw so that a screw can screw into the screw. Okay. Unfortunately, even with those mega screws removed, the motherboard is still stuck, which means we have to go in from the other side... under the screen. This is way more than I signed up for at this point.
Gloves are back on and the blow dryer is back. And I might have had help with the initial incision. The tricky part is that if the razor pokes too far into the screen, it can crack the display under the glass, which kills the Shark, and if you remember, we are trying to avoid that. The fragile glass on the outside of the screen is stronger than the display underneath, which is saying something. So I'm keeping my razor blade only on the very thin sliver of glass along the edge.
And just like the back glass panel, there's yet another ribbon cable for the screen guarded by a metal plate. Smaller this time with just one screw. Like a little Lego. And the screen is off, with it's pretty copper backing and built-in fingerprint scanner. I'll set that off to the side since we're still on the hunt for batteries.
I will never ask to do one of these again, just FYI! There is a massive black sticker still covering the phone at this point. I'll peel off the sticker bits that are connected to the copper. One perk though of removing the screen is that last screw was the final part that was holding the motherboard in place. And now she can finally be free. I'll be very careful since this seems like an important piece of technology.
Gotta admit though, it looks pretty cool with it's copper arms on each side. Sandwiching the brain together. I can literally see through the phone at this point, but I still don't see any batteries, which means it's time to remove... wait for it...29 more screws! Right?! Who does this?! With the metal plate finally gone though... it has 2 batteries... which makes sense.
In order to hit that 65 watts of fast charging. It's just like charging 2 batteries up at the same time. Interesting. Double the batteries, double the charging speed. We can also get a closeup look at the mechanical pop-up buttons at this point.
If I push on this thing here, I can get the other thing to pop out there. Which is fun. And finally, the vibrator motor is over here next to the charging port. Finally now that we've seen the insides, you should just play this video in reverse to see how it goes back together. Just kidding, I'm not a quitter.
I want our Shark friend to live. Twenty-nine screws later, I can put the motherboard back into it's cubby and gently place it back into the spine of the phone and start reattaching the Sharknado of connectors all over the place. Then the bottom plastics go in. And the top plastics get set down. Along with the triple camera.
And the metal plate over the top of the board to screw everything in tight. Then we can take the back glass panel and plug the rear LED into the motherboard again. And we get the final moment of truth, after we put the screen back on. I'll clip the last ribbon into the phone and remove the suction cup that I forgot to take off. What?! And trust me, I'm just as surprised as you are! It's alive.
I did not see that coming. And everything still works. The screen is on and functioning like normal. And I didn't have that many screws leftover either. Definitely a good one time experience.
Enjoy the rest of your April 1st. Did you enjoy seeing the insides of this phone? Let me know in the comments. Come hang out with us on Instagram and Twitter. Hit that subscribe button if you haven't already. And thanks a ton for watching.
I'll see you around.
Source : JerryRigEverything
Phones In This Article


Related Articles


Comments are disabled
Latest Articles


