Apple iPhone 11 Pro Max 512gb Set Up Guide By Tech & Design
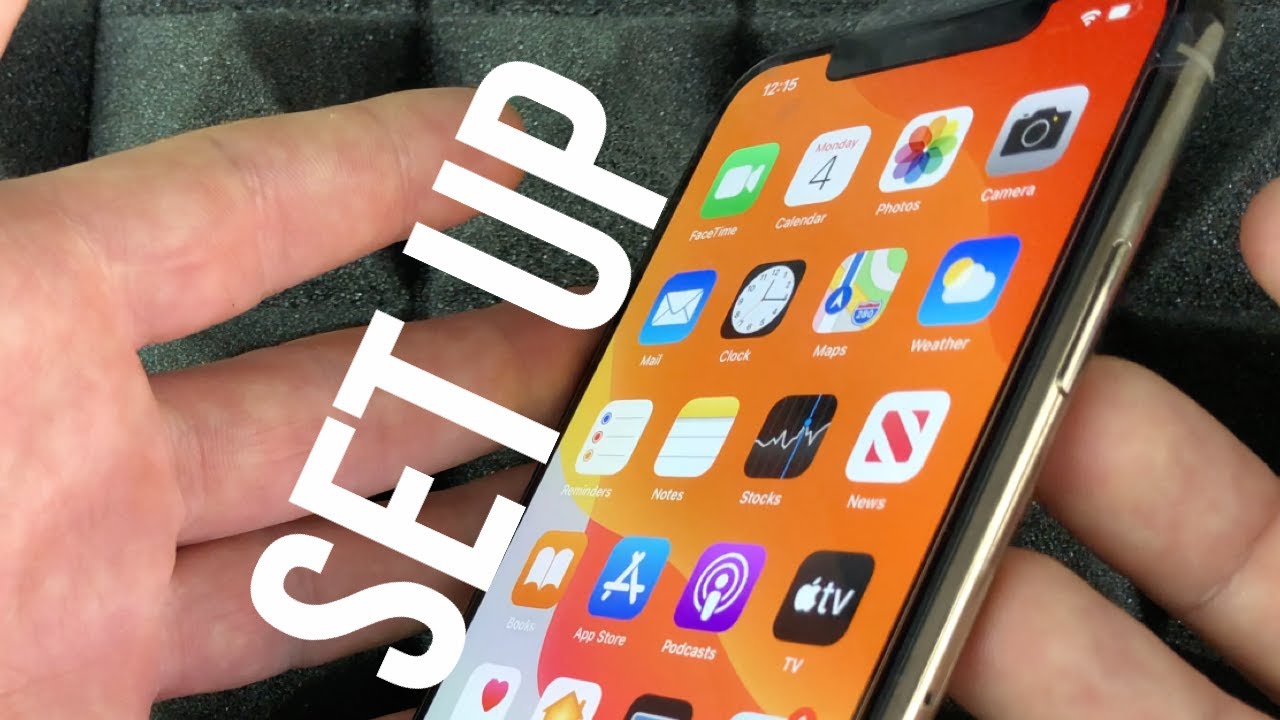
Hey guys on today's video, we'll teach you how to set up your iPhone 11 Pro Max, so it doesn't really matter which color you guys have how many gigs it's all the same for all of them. So that's this one right here: iPhone 11, Pro, max anyways. Let's just get started with your power button right here. Let's just hold that power button, and we're gonna power this up. If you guys have inserted your SIM card, that's going to go right here. You guys have a pin in order to open this up.
I have a separate video about that, but it's just inserted. Pin this tray will come out putting your SIM card, and you're done. Most of you have it already in there anyways by the way. I have this because I haven't bought my screen protector yet so this will stay on, so I get my screen protector and then, and only then I will take that off anyways right now, we're going to see here low swipe up it's exactly what we're going to do. I'm going to select our language.
So let's go ahead with English, yes, I said any other language. At this point, we're going to select our countries, so we can select the US or any other country for that matter. Right here, I'm, just gonna, select Canada for now and QuickStart is pretty neat and not need at the same time, if you guys have another iPhone or maybe an iPad for that matter, you guys can't place it right beside this just turn on Bluetooth and that way it's gonna transfer on some information, very basic information that we don't need that much it's not that much faster, this Quick-start, so let's just set up manually, and we're going to set up our Wi-Fi. Once you put in your passcode your password, it's gonna. Take you to the next step, so you're supposed to have a check mark right there just going to next, and then it's going to tell you to take a few minutes.
It's not really that long! Okay, the whole process of the set-up. It really depends on what type of setup you guys are doing if you're transferring everything from iCloud from your other phone, it might take longer, because you have to transfer and redownload everything if this is your brand-new phone for the very first time, it's going to be really quick and if you guys have to create an Apple ID for that matter, it might take a little longer just because you have to put in a little more information, anyways right now, data privacy. We have to continue on right there face ID, that's the easiest part about setting up my phonics. All you guys do a move. Your head up and down inside side, so I'll show you that right now, let's just continue on from here, get started one teeny, one! So right now it just can't your entire face.
Okay, so it needs to know all the angles on your face in order to get that perfection with face ID once we're done with that. Let's just continue on right here. Your passcode there are other options. I just want to show you that, so, if you click right here, you will see these options right here, so just in case you're not stuck just with this, but I'm just going to set something up. Don't do something this easy when I use anyways.
So again it doesn't suggest something this easy. Unless you don't care about your passcode, which in case later on in settings we can actually get rid of your penance codes, can just access your phone freely right now. This is the most important part from this whole process. Okay, in the setup right now, if you guys have another iPhone restore from iCloud backup. This is the most important thing just put in your Apple ID right here.
So I'm going to click right there just to show you're putting your Apple ID. It's going to transfer everything to your phone, except for passwords, some passwords for emails. You will have to reenter them, so that's the option you will have to put, and it's going to transfer your contacts, pictures everything really right now, you guys could do this from a Mac or PC as well. It's your second option. You guys can transfer directly from iPhone that's another option, and then we have don't transfer apps and data.
I'm kind of skipping transfer from Android doesn't work that well I, actually even prefer to set up fresh if you're coming from Android, just because if I don't think it just doesn't work that well anyways right now, I'm just going to put something like don't transfer, apps and data just because I'm, assuming you guys, are brand new into iPhone. If you guys are not, you guys had an iCloud ID from your iPad or something that you could put it in right down here. Okay, if you guys never had a device before just select the second option and right here we can create an Apple ID, which you need to download every single app and just keep everything backed up. That highlight is just create an Apple ID. If you don't already have one, you just have to fill out this information.
I'm, just going to go back. Okay, oh and one last option. So if you click on here, we can always set this up. Instead, however, it does tell you right here exactly when you're missing out, if you don't set it up already, but I do want to fast it up right now and just get already done with you guys could set up later in settings just by getting that option. We can just use not use right now and all we're skipping.
Are you guys saying? Yes, this is my iCloud and transferring your data or just creating that Apple ID and just ready for that, of course, we're going to set that up later anyways. So this is going to agree right now keep our from today. Well, this is a tough one. I usually just goes and say: yeah I continue on. Why not, but updates are never 100% glitch free, so I do suggest actually going into stall updates manually and that's because you guys want to choose which updates are actually installed on your phone and which ones you may not want to, or maybe which ones you want to skip out on, because sometimes there are glitches.
So it's better to have to control yourselves anyways right now. We're just going to continue on enable, if you guys don't want to enable, and you won't have GPS, so it doesn't really suggest that series really cool kind of works like if you guys had go home. So you guys can say: hey Google same deal with hey Siri, you guys can say hey Siri without even touching ever your phone, and it's got a response. You so right now, in the background, I have another iPhone which responded to me, so I'm, just going to turn this one off for now. So it's not going to get in my way, so I'm going to shut down there we go, and then we're just going to continue on to set this up.
Hey, Siri, hey Siri, send a message: hey Siri how's, the weather. Today, hey Siri set a timer for three minutes: hey Siri play some music, and we are all set so again if Siri is not working, for some reasons are responding to you. You can always just tap on this button and that's your Siri button. Okay, just continue on screen time. This is something that I suggest if you have kids.
So if this is the phone for one of your kids, then yes set it up, so you guys can have some parental controls right here. So you guys can see some restrictions into what apps they can download, how much time they can spend on games and stuff like that. However, for most of you, you guys don't really care how much time you spend on your screen. So that way, it's kind of useless for adults to set this up so puts it up later, and this is up to you guys I just want to share with app or not I just say, go ahead and share it. This is kind of cool if you guys can see the difference.
So it's pretty cool anyways continue light more dark mode, well, I'm, a dark mode type of guy, so I do like this dark appearance. However, for this setup we're just gonna, do it late? It's going to be the same thing. It just makes the background dark, but for a video, it's not that great. So we're just going to continue on, and we have display so standard. It's not small, really zoomed in I find it's really, really big.
So for me standard it's good to go from soon by the way, if you guys need it even bigger than what that soon is you guys can mess wrong with that and make it really, really big if that makes it easier for you, so we're going to continue on so right now, it's gonna, give you a quick tutorial. How are you guys are supposed to do things right here? So just continue, so I highly suggest watching this quick access right now we're pretty much done with your phone, so we're gonna, swipe up, and I'm going to show you some quick things. So, let's say you guys open up this app minimize it open that up minimizes it open this up, I mean: why is it open this app minimize it? That's all you guys have to do it minimize any app and yes, I, said minimize, because I'm not fully close to fully close an app. All you guys have to do is swipe up and you guys will see these are coming up, which we just open right now and all we have to do is swipe up on each one, and they're actually fully closed right now before there were just me twice. So that's perfect to know other than that this right here, you should know that, so you guys can show up your brightness your volume.
You know a jazz calculator, pretty useful, sometimes anyways. Apart from that, you guys should know if you swipe this way. You will see this plus your search, so you guys can search anything really. Let's just go back on that and if you swipe up already show you what happens there, but if you swipe from the middle down there are other options, so you guys will get such as notifications right here, your flashlight camera. So there's that quick access anyways.
That would be it for my setup, video, that's it, but there is a manual video that it did for this, which shows you a lot more in depth into your phone and more tricks and tips about setting up your phone. Anyways, that's it for this setup video. If you guys have any questions comments, you guys can write them down here in comments area and don't forget subscribe and rate. Thank you.
Source : Tech & Design
Phones In This Article
Related Articles


Comments are disabled
Latest Articles


