Alcatel Idol 5 6060C Teardown and LCD Repair From Start To Finish. By Fix It Planet
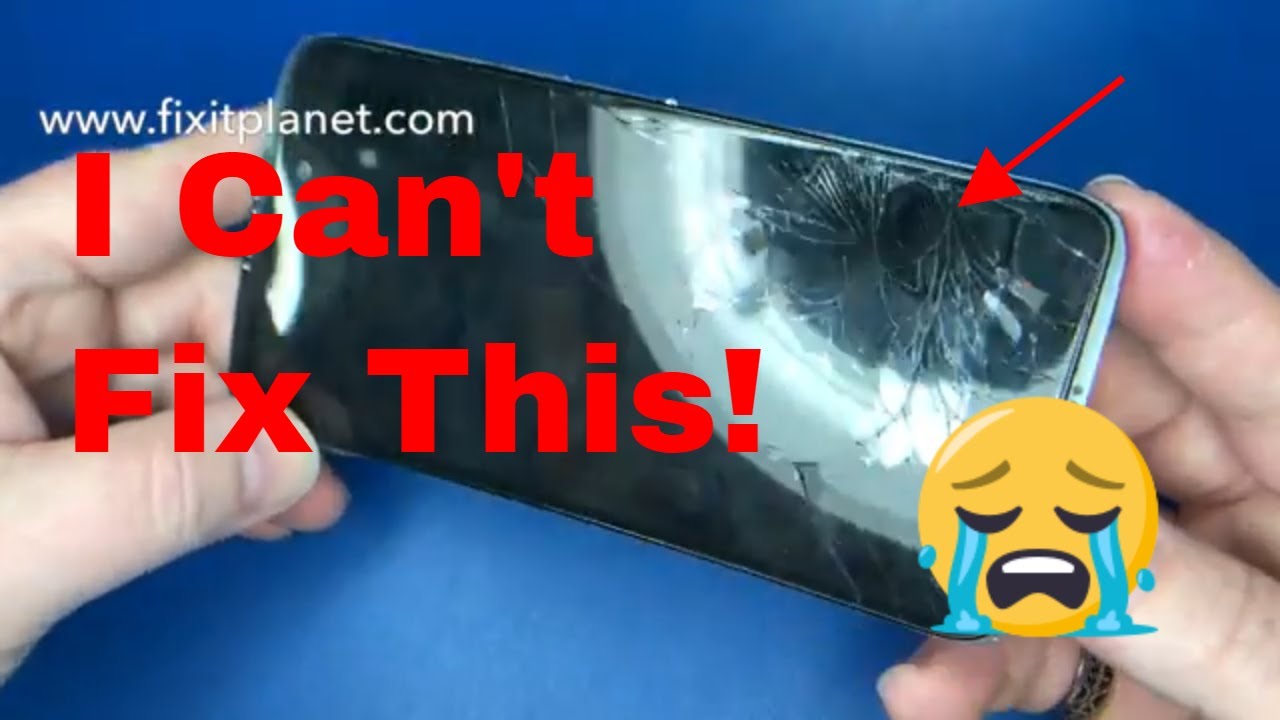
Hi, this is John with fix-it planet. Today we're gonna work on this Alcatel idol 5. This is the 6/0 6/0 c-4 cricket, and we'll start by popping out this SIM tray, because we're going to take the mid-frame along with the display out of this rear housing so slightly different design. Instead of having back glass and that kind of thing now, there are some buttons that run along the side. You can see a little crack in there. We're not worried about that.
That's not getting fixed today so and now, I'm getting my hand in the way, and it's blurry, so we're going to back that off you can see. The display is completely damaged right now the battery is not charged. So there's no power. You can see. We have a awful display here, no good anyway, along the side.
Here you want to get a small tool in there and just barely in there and do not run it along the side as you've got as you can see these little buttons along the edge there. But you want to get that started and pull it from the top, and then you can slide out the bottom from the rear housing, so the charge port and headphone jack are inserted into the bottom first, when you go to put it back and that's your rear housing not much to it. There set it to the side, so I'm experimenting a little with trying to see just how close can I get this trying to keep my hands out of the picture as much as possible to help with focusing and to try and prevent from blocking your view. So there are three screws that hold this metal bracket right here above the battery that is holding the battery connector down and that is actually stuck to the metal bracket. So you really need to get underneath it closer to the connector, and that will help get it up.
So you can see there's the connector stuck to the back of that bracket, so we're gonna just kind of push that out of our way and get these other pop connectors loose and try to get our hands out of the way here. We'll just use a spider as much as we can now hear this button here and another one on the other side, those have to come off and get transferred to the new rear housing I mean the mid-frame. Sorry and the one on the other side is a little longer, as you can see now, all, but two of the screws are virtually identical. So if you pay close attention, you'll notice that the heads on all the screws, except for this one and no no it's on the other side, sorry down at the bottom, about the charge port. All of these screws are the same, disconnect our antenna.
So there's a couple of places where the motherboard are gonna is gonna, be a line, so you're having a little post there. I just pointed out, there's also going to be, will have I'll show it here in a second. Well, let's get this speaker assembly out of the way, so we'll slide just a little underneath the speaker there and pry that up now between the two pop connectors, there's a metal tab and then there's a plastic one right here and that we're going to have to pull it back out of the way to get the top of that board out so right there, and you have to be careful because when you have components and a rear camera right there, we need to be careful that we don't damage the pop connector for that, and we've got another connector here that we haven't disconnected yet for the sensors there. We need to remove, so that's disconnected and out of her way. We can go ahead and pop this out front, rear cameras, all back and staying together.
Now we'll remove this rear, this lower speaker assembly and what I was saying earlier about the screw heads if you'll notice near the charge board, those two screws on either side of the port are had smaller heads than all the other screws. So be sure you keep track of those this one and this one and there's our lower speaker, assembly and vibrator, and then we'll get rid of this antenna. So we're gonna, pull it out of the channel that it's tucked in to disconnect it and get it out of our way and the lower charging circuit board has a one pop connector right here and another one for the headphone jack over here, and then it's tucked down with some adhesive, so I'm going to show the best place to get in there to get it started, is right behind under the charge port or that metal is so that you don't scrape anything up and then underneath there's really nothing but adhesive, but right there is a good place for it to break. So you want to be careful, you don't force it, and it may want to be stubborn and not want to come up. So we're gonna, warm it up just a little, not too much since we still have a battery there, and I'm.
Just gonna use this metal tool to kind of persuade this board to come out. We're going to be very careful. Very gentle, once we've got that freed up, we can get it out, be careful because some of that adhesive may still be stuck to it. So underneath you can see it's nice and smooth and then the headphone jack is stuck down with adhesive and just pops out now, there's some pull tabs for the adhesive holding the battery down. You can grab those pull tabs and pull them out if you'd like.
If that works. For you then bonus no problem I just tend to find that they always seem to tear or break for me. So I'm just going to put some alcohol in there and let that soak for a little and that's going to free it up. So I can just take it off nice and easy and not do any damage to the battery in the process. So we're going to put a little alcohol in there and let that soak for a little, and then we're going to get out our new housing.
Our new I keep calling it a housing, the new mid-frame here and just take a look at it. So, in this case it came with a few things: this cable here and the sensors are there, so we don't need to transfer any of that, but we are going to need to go ahead and put some new adhesive down for the battery, so we'll go ahead and do that while the battery is soaking, then I got a little too long on this piece. We're going to cut that get that out of the way because that's a little too much, then we'll pull the masking off. Now we're going to go back to our original phone here and get this battery off of here. As soon as you can see, the alcohol is kind of eating through some adhesive made it nice and easy to take off just going to inspect it make sure everything's, okay, everything's fine, get a few wrinkles in it.
No big deal. Okay, we'll come back to that housing in a little. We're going to go ahead and put our battery down, get it seated on the new mid-frame. So that's just fine. This is an original screen, and it came from working phone probably had a bad eye.
Me I number or something, but the screen in the mid-frame were good. So it's an original screen now we're just gonna. Take these buttons off of the side of the mid-frame here using our tweezers, we're going to get back behind there and pry them loose, they're stuck down with adhesive. This one didn't want to come off, but we finally persuaded it and the cameras not cooperating. It's all blurry, sorry about that, didn't get a very good close-up of that, but it's fine, and then we're gonna work on this other side.
Here, just warming it up a little, but this one has some Tapton tape on it, and it's fold-over over the edge a little. So we want to be careful. We don't tear it, and it looks like a little of the alcohol got into in behind there too. So that's nice that'll make it easy to come off nice and pretty it's a little of Tapton tape on that one still get rid of all that, and still a little of residue from the old adhesive I think's in there kind of in my way. So I don't want that there because I, want that to sit flat up against the edge and then that piece tucks in between the battery and the side.
They have little notches that they fit down into as well. So they sort of slide into place now we'll put the single power button in there. It also has some gunk on there that out of our way this sensor here is it's already on this mid-frame. So we don't need to transfer the other one. Yours may or may not have it, and so you may or may not have to transfer the old one so be sure to check and look anything.
That's not there. You'll need to transfer we'll put our headphone jack in first, and then we'll seep. This charging circuit board go ahead and put our pop connector back in make sure it's seated and the headphone jack, as well so trying to keep my hands out of the way as much as possible. Didn't work out very well for me, sometimes that if I just couldn't help it. So we're going to put this antenna back in its place.
Reconnect it and run it down through the channel nice and neat alongside the battery, making sure that it is tucked in nice and neat. So we don't want that sticking out where it doesn't belong, runs alongside their inside a little channel, there's some little clips that hold it into place on the boards. Now, when you put our speaker back we'll start with the two smaller screws on either side of the charge, port and the rest of them are all the same. You can see the size of the heads are smaller than these. In comparison, these all have bigger heads, then I believe the threading is a little different as well, so don't try to force it one of the other ones.
Now this one right where my index finger is covering it up and hiding it, you can't see it has a metal tab right there. The motherboard has to go into that and fit over this little post, and then you've also got the plastic tab at the top right there. The motherboard has to fit underneath that as well and got out of off camera there. Sorry about that, but we want to get that underneath, so I'm using the tweezers to pull that up a little and get the board down and then push it back into position all while trying to make sure that we don't start putting fingerprints on the camera and stuff things like that. You know it kind of matter.
If you do you're going to have to clean it, so we're going to go ahead. Put this antenna back where it goes on the main logic board here, and it also has some little clips that hold it into place and go ahead and plug in all our pop connectors and put our speaker back. There are two speakers, one on the bottom, one on the top in case you haven't already noticed, and then we'll plug our battery back in and put the three screws back hold that bracket down again, so we're gonna, take the can see this sticks out and that sticks out. So these have to be put in first they're going to go right there. You can see that watermark and a little of water on it.
Didn't it so we're going to slide. Those in first and then we can snap it down into position inside the rear, housing, make sure everything's snapped back into place. Put our sim tray back in, and we're going to plug it in because. Just remember: the battery was dead, we'll just polish this off a little our fingerprints off of it all right, so don't expect it to power on yet because it's not going to have a charge, and so we waited a few minutes, and we got enough charge to start it up. Just going to do a couple of little tests here make sure the buttons are working and screen looks good.
Everything is working, so the customer should be nice and happy anyway. Hopefully this was helpful for somebody out there if you liked it like and subscribe share, and all that good stuff and I appreciate you guys watching, and we'll see you next time. Bye, bye now.
Source : Fix It Planet
Phones In This Article

Related Articles


![Apple Iphone 8 Plus [Unboxing & Early Impressions]](https://img.youtube.com/vi/tDpOsEcqWQY/maxresdefault.jpg )

Comments are disabled
Latest Articles


