TOP TRICKS for SONY Xperia 5 II – Super Options / Hidden Apps / Best Features By HardReset.Info
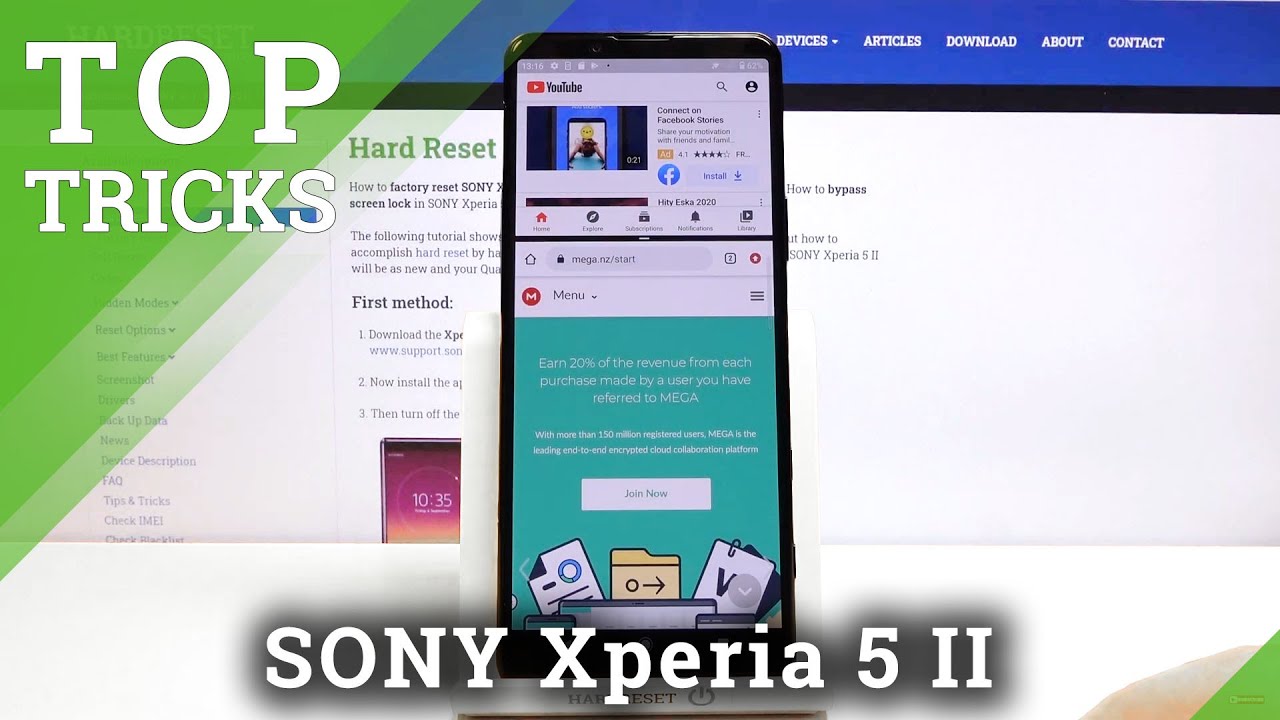
Welcome, let me say, Sony opera, 5, mark ii, and today I'll show a couple tweaks and tricks that I can do on this device. So we're going to begin with the auto split screen now which on here I don't know if you can see, but there's a tiny little bar on the side and what it allows you to do is double click on it. Just I'm watching it for the first time. So let it go to the animation. So once you open it up, you will have this tab basically button right here for split screen. Uh again, let's give it a second once you do, you can see right here.
We have several apps that will be auto split screen. Now you can create your own um. You also have basically apps that you can launch automatically, but I really like the option right here to have it auto into two apps. So once you tap on it, it automatically just splits screen for you, the two apps, and it really makes this experience way better. So when it comes down to resizing, you'll have to do it yourself, but the fact that you actually have to open up the two apps yourself, you just click once and there it is it's really nice.
So obviously every split screen you can use two different apps at the same time and I choose YouTube and chrome, because these are probably the two most used apps, at least for me, I'm listening to something and, for instance, I'm browsing web and the benefit of this is. I can continue to listen to something without actually being forced into the app itself um now normally to achieve this, you either have to download some kind of third-party application or pay for the uh YouTube. What is it music, application or whatever, and that will allow you to basically leave the app and make it usable as almost a media player instead or music player instead of like a video player? So this is basically a nice alternative to that which requires no monthly fee. So, let's close that now and go to the next one, which is going to be the 120 hertz refresh rate. Now this display comes with 120 hertz, but for some reason, by default, it's it is disabled, so you're not going to be getting these buttery, smooth, animations and just overly experience of 120.
Now before I actually enable it, I will mention that on the camera, unfortunately, this will not be visible in any kind of way on the camera is recording at 60, uh frames and anything above that will just go and record it. So right now it's gonna as it is at 60. If I change it to 120, the camera is still recording at 60, so it won't see the difference um, but by all means I advise you to go into the settings and change it up and then see the difference. As you seen, I went to the display section and from here we should see high refresh rate enable this, and now we have 120 hertz, and this just looks hey just better. It's just super smooth now, like I said.
Unfortunately, it is not going to be visible here, but you almost certainly see the difference once you enable it now moving on to the next one. It's going to be a simple dark mode: again, it's going to be under the display uh. If it's also not in here. Let me quickly check, so I don't see it in here, so we can go to the display, and- and here we have a toggle for dark theme and there we go now. This will turn notifications all completely black.
As you can see, uh default apps will also be affected by it. Now, unfortunately, they went with this grayish color for the majority of the uh areas, but, for instance like right here where you have the notification panel, and you have fully black background uh, because this is an OLED display. Every pixel here is self-lit, so anything that is completely black is actually not being lit up whatsoever um and because of that, the display will and won't need to waste as much power to light up basically entire screen. It's just gonna lit up the parts that it needs to and that will save you a little of battery as well, but, like I said it only works on a fully black pixels like they are right here and things like this, where it's grayish it doesn't really affect it. At that, it's like.
I said it's a little of a shame. Now, moving on to the next option. Uh, it's going to be the image quality. Now this is more for the people that want to have as much of an as accurate, color and representation as possible, and you can enable that again under the display. It's going to be.
Let me quickly disable this, so we're looking for image quality settings right here and by default set to standard, but we can change it to creator, and this will give you the most accurate, colors uh possibilities on the device uh phone now, as you can see, it also makes them look a little less saturated. Obviously, you can hopefully see this. It seems a little darker now and a little less colorful. If I re-enable the standard, I can see that it is a little more greenish now but, like I said uh, this is gonna, be more accurate color scheme uh. So this is how the image usually should look like um.
It might not be as flattering, but when it comes down to the actual like accuracy of the color. This is what it supposed to look like now when it comes on to this option, it is complete preference and if you don't like it, then by all means just disable, if I'm pretty sure you're not going to be editing videos on the phone um and because of that it, this option is like I said primarily just. However, you like as long as you're, not editing videos and not looking for the most accurate colors on your phone uh. Because of that, then this section is purely cosmetic-wise. Now, when it comes on to the next option, it's going to be something that I personally like, which is the industrial navigation, as you can see by default, we have the buttons, but we can change them to gestures, and they are fairly nice on here.
So we need to go to system gestures and system navigation and change it to gesture navigation. As you can see, it creates this bar right at the bottom and if you never use gesture navigation, I'm going to give a quick guide on it. So you swipe up to go home, as I just did you swipe up and hold to go to recent, and you swipe from sides to go back. As you can see, there is an arrow popping up, so you can swipe from either side and overly. You won't have any kind of any kind of icon or anything to basically signify what you can do.
You only have this bar, which, since you can slide on it, to the sides to switch between apps quickly, swipe and hold, and after you're somewhere, where you can't go home because you already are home, the bar disappears and the side gestures are completely invisible until you actually try to interact with them. Assuming you can go back and moving on to the next one, it's going to be the sensors off now. This is for the people that want to have complete privacy with their device or on their device. What it allows you to do is basically turn off sensors on the device, so microphone cameras, all that stuff just gone turned off, and if you try to use it, while the option is enabled, for instance, camera will either show a black screen or just crash so to actually get it enabled. We will need to go into the settings and enable developer options.
So if you have already enabled developer options scale by like 10 seconds, but if you have never enabled them, you will need to go into the settings from there. Actually not here settings about phone scroll. All the way down to build number tap on that seven times, as you can see for me, tops no need you're already a developer. So once you see that message, uh simply go through system, advanced and developer options, and from here you scroll down to quick settings, developer tiles and enable sensor resolve option and simply quit. And now, if you pull down the panel, you can see that the toggle sensor is off is right.
Here as a first option- and all you need to do is just tap on it now I kind of missed it, but that's: okay, I'm gonna first off actually show you. I guess it is on that's interesting. Let's see if something has got what's going on here, so it looks like it's already enabled oh yeah there. It is yeah not sure why it logged out for a moment there, but, as you can see now it's enabled, so there's the camera, or it's disabled and camera is working. Obviously you can see it and if I now enable this backup, um camera is gone now and if I try to relaunch it, you get the error message and again, if I disable it again, go back, it should work just fine and now, like I said it, disables, camera and microphone, and when it comes down to call you will need to disable this before you pick up call or otherwise the person that is calling.
You won't be able to hear you so because the microphone is disabled yeah. He can't hear you so a little of a downside of this, but still it is a fairly nice option to have for privacy concern and moving on to the last option that I want to show it's more of an alternative along with a couple different options here. So if you never used a Sony Xperia phone um, then you probably aren't aware that, apart from the normal camera application, you have the cinema pro and photo pro now when it comes down to the photo pro. For instance, it is a really nice uh application, with a downside of it that it needs to be set manually. And if you try to capture a quick photo, it might be a little of an annoyance there, because you need to basically align everything.
So exposures focuses and all that stuff, so the photo comes out good um. So that is a little of a downside. But apart from that, if you have a controlled environment where you have lighting and more of a like a studio kind of shoot, this is an amazing app along with the cinema pro which allows you to record along again. It has a bunch of amazing functions here, so let me just go through it. So obviously you can see it right away a bunch of options right here, resolutions frame rates, uh look, so this is more of a.
Can change like the filters? Basically um ISO levels. That's ah, then we have the balances. What I really like here is also the or is it the focus so by right now it's a manual and, as you can see, there's the a and b options, so you can slide a and b and then, when you're recording, you can just type between a and b, and it will automatically go to each point smoothly, and you can also change the speed of it at which point it switches. So by now, right now it's set to be one second, so it takes one second from a to b and vice versa, but we can, for instance, make it just almost instant and 0.1 seconds. Let's go to ok, so you can see.
This is right now at 0.1. Second, so it's almost instant, but when it comes into like filming um, something and having this like super smooth transition and focus change, this is really nice like. I said I really like this. Apart from that, you can also change the lenses here. So if you want to choose a different lens and because we have three, you can simply choose a different lens, you're free to do so, and you can shoot whichever one you want with a downs uh.
Well downside of this, if you, for instance, go for 4k as an example, 60 uh you're only locked to the 24 millimeter lens, and you can choose other ones. So keep that in mind. That is basically the reason why you can't change it, but I would say that it's an amazing app and, like I said it works best and controlled environment. Now, apart from that, as you've seen, there's the typical camera app from Sony and yeah, not much more to say it's just a typical camera right here. It works okay, uh, but another thing that I want to show is that you can also easily install the g cam.
So the same camera that uh, the Google Pixel phones use and all you need to really do- is search for the Guam online, and you will get like the DA website where you can download the file. It's just a simple APK, and once you install it, you can freely launch it. As you can see, this is the app from basically Google Pixel. I have focus is right here you can record if you want to and for some people actually really like the e. g.
cam uh, the way it captures color and just the specific way it's set up, and this is similar right here. It's going to keep those similar appearances of like the Google Pixel uh, but, like I said um, some people will be okay with the typical app some people will like GCM, it's more of a preference. What kind of color aesthetic you like of your photos, and how do you, like the exposures and stuff like that, because each camera will application will deal with exposures and just overall colors of the photo a little differently? So it's more of a preference thing here, uh, but this would conclude all the tweaks and tricks that on this show and if you found this video helpful, don't forget to hit like subscribe, and thanks for watching you.
Source : HardReset.Info
Phones In This Article
Related Articles


Comments are disabled
Latest Articles


