Samsung Galaxy A52 Set Up The Camera To Take The Best Photos and Videos By The YouTube Tech Guy
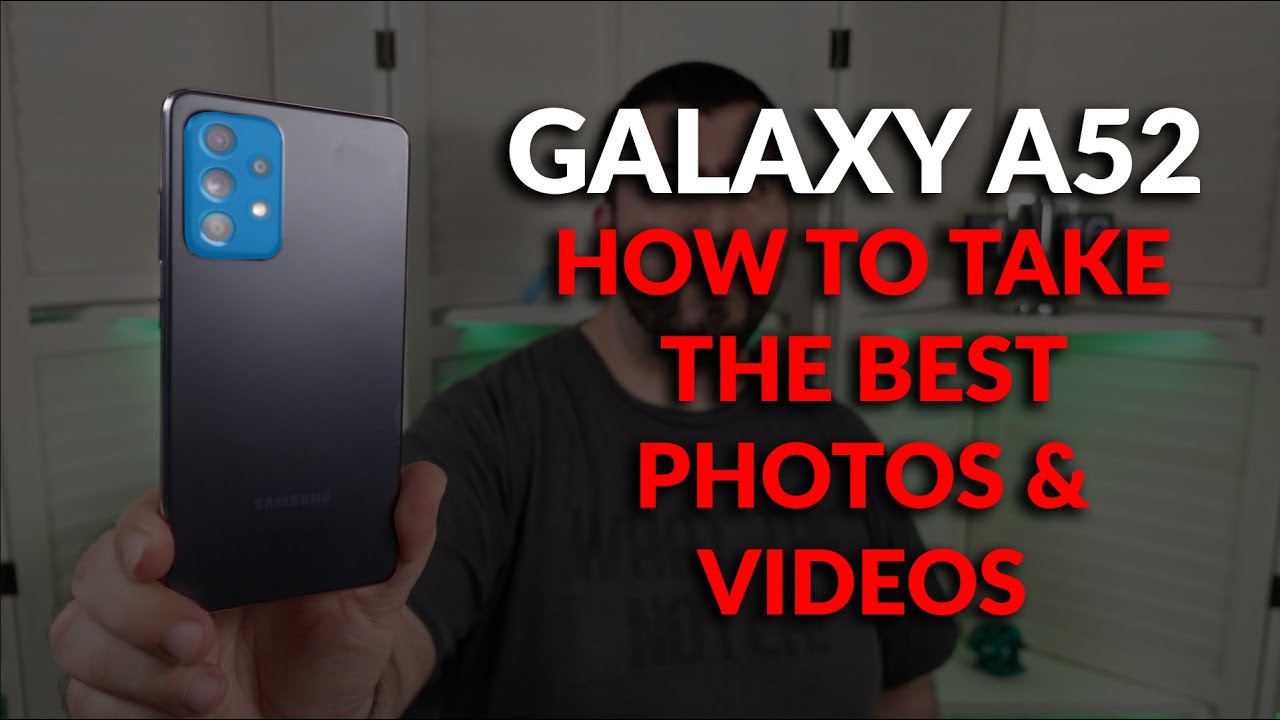
Hello, this is Ricky YouTube tech, guy, hey guys. So today, I'm going to be showing you how to set up your camera for the galaxy a52. These will give you the best photos and videos possible on this phone. Now I do have the international version with dual sims so, depending on which version you have, it might be a little different if you have the 5g model in the US or another model, but all the basic settings should be about the same. So, let's get started. First, we're going to go to settings, and you're going to hit this 3x4 button.
Now you might want. Oh, what about these 64 megapixels? Isn't that going to be a better quality? Actually, this will not be a better quality if it is not well lit, if it's not still and if it is in any type of low light situation, you're just not going to have a good photo. So I would just stick to three by four. This is gonna, be your best overall photo quality. Keep in mind too, if you do switch to 16x9 one by one.
These are all lower resolution as well. So if you want just the absolute best video quality six to three by four, then we're going to go to in this magic part right here, and you're going to see a couple of things. Filters allow you to kind of change overall, colors or tones to things, and you also have the ability to change faces. So when this is on, this is what gives your smoothness, so it gets. Rid of wrinkles gets rid of a stubble on your face and can change your tone.
It can make you slimmer it can make you have bigger eyes all this kind of stuff. I usually keep this off, but this is available to you right when you do that button on your rear camera or your front camera or both, and then we have all these different modes down here. You have fun mode, you have single. Take you have all these different things. Fun mode just basically puts these filters kind of on here, and if you want that sure, but it's really just for fun- I guess, then you have video mode, and then you have more now the main modes that I would say that are going to be more important for most people are going to be the ability to do night mode and pro video, and you can actually edit these.
So you can hit the plus icon here, and then you can move things away. If you don't use them, so I'm not going to use single take or fun, but I will definitely use pro video and I will also use night mode now. You can all do all these other things like macro shot you can, which is for really up close shots. You can do food really make it pop. When it comes to slow motion, I would only ever choose regular, slow motion.
Super slow motion, zooms in a lot and doesn't look as good slow motion is 1080p quality and does look good in video mode. By default, you have it at full HD at 30 frames per second, the best quality. You can actually have on this phone is right here, 1080p at 60 frames per second now I know what you're saying what about 4k? What about 4k? This is actually going to give you a visual difference that you can see on any screen, whereas the 4k version you're only going to see a difference on a 4k TV, so that will be the best resolution you're going to want to go with. You can also change it to steady shot, which basically is like going to zoom in on your video and give you a really more stable shot, not as much movement around, but this does bring it back to 30 frames per second, so just be no, knowing that it's not going to be the best video quality possible, then from here you're going to want to go back to photo and just know how to use your multiple cameras. This is your main camera, I'm just so good indication here.
Here's your main camera! This is wide angle camera. So this is going to give you a much wider shot. It won't look as good in low light. Just so you know, but for daytime that's gonna really look good, just to give you a much wider shot without needing a backup and then from your regular shot. You also have your zoom shot, so this is two times, and you can see right here.
You have four and ten times obstacles or sorry ten times zoom. So two times, though, is the optical version. Basically, four times or ten times will not look as good. It's gonna start to get pixelated, and it's definitely not going to look as good in terms of 10 times. So I would just always go to between two and four at most, but never really go to ten.
It's just not going to look as good and then once you have one of these, you can actually slide instead, so you can go like this and slide to zoom as well. So, whichever one makes you feel better and easier to use, then you should also know how to focus on something or keep the lighting from changing different colors. So if I want to focus on this area, it's darker, so it's going to brighten up the screen. If I wanted to focus on this area, it's going to darken it a little because it's a setting, so you can actually manually do this so, and this will really make your photos. Look so much better if you do so.
If I do this and then swipe this little sun icon right below this is going to give me the ability to have a much better shot. Samsung tends to overexpose when you tap something, and it makes it brighter than it needs to be. So if you just go a little less, that will always give you the perfect photo, usually now what you can also do is you can hold on to it and then that what that does be it locks the brightness and the focus so right now it's going to be out of focus because it's still having the focus of a further distance. So if I go like this, and then I tap here, I can hold it and then now this will be blurry. So again you take some playing around with, but definitely if you just even stick to this part of brightening and darkening your photos, you are going to get better overall photos.
Most of the time now, let's go over selfies so for selfies, hello, you're going to want to automatically go to the wider one. I don't know why Samsung continues to zoom in on theirs, but it's literally just cropping it. So this is going to be where you want to stay, and then you're also going to want to change this to off. If you don't want to, I personally don't use this, but if you want to go ahead and change it up, how you want, and then you're also going to have the ability to have 32 megapixels again only well lit very still shots. You would want to use a 32, or else just use a 3x4 and for your video.
Unfortunately, the front camera cannot do 60 frames per second, but what you can do is 4k at 30 frames. So if you do want to up the quality, you can do 4k on this one. Unfortunately, again it's just not going to be the best overall quality that can be without the 60 frames, but again good way to go. If just a quick adjustment and then again you can turn the filters and smoothness off here too, and just so you know for quick selfie takes you can actually just swipe up and down to go between your selfie and now, let's go into settings to change everything else here. So first thing I recommend is screen optimizer.
I usually do like this, but it's up to you. If you want, if you want a more manual control turn it off. I like to have that on suggestion shots this one. I don't usually like. Furthermore, I don't like guidelines as much, but if you do, you can have those on scan qr codes.
This is just great to have on by default. If you ever see those qr codes to scan, you can do it very quickly swipe on the shutter button, so you can swipe down and either do a burst, shot or a GIF. So if I want to do all these multiple photos, I can just swipe down here like so and take all these photos- and I just took about 13 photos so, and I could see every single one of them on here so really great for something like for kids, I would say, then we have the format options. Make sure that this is on for your wide angle shot. So this will correct any bending.
It would typically get and make sure that this is off, so you can share photos easily, okay, so this is something I always personally turn off it's up to you, but basically, when you're taking a selfie, all the words you see in the shot are reversed because it's taking an image of you. I turn that off so that that way, in my photo, you'll actually be able to say, read a t-shirt that I'm wearing or read any signs behind me. I just like that overall, as a much better experience, and I think you will as well okay you're going to want to have auto HDR on geotags if you want to have those on for shooting modes. So this is going to be something that I always recommend doing and that is turning voice command on. You can actually say capture, shoot, smile, cheese or record video to actually record your shots.
I find this really helpful when you're kind of doing it at a weird angle, and you can't quite hit the shutter button or the volume rocker. This is really a great way, especially when I go behind electronics. I always use this specific setting. Also, you can do a floating shutter button, so what this will allow you to do is actually have a shutter button that floats around. So, if you do have that odd angle, you can actually just be able to move it around and bam.
Take it from whichever angle you are using. This is really great for that ability just to have it and then, if you want to put it away, you can just put it back where it belongs, and that's how you can grab it too, quick and easy and then settings to keep. So I really like to have this exactly how I want, so I love to have the selfie angle. Remember the way I have it, so I always like to have a wider selfie. So this way, it'll remember that you can always remember what last camera setting you had, although I always like to go back to photo.
If you don't, though, this will be a great way if you're always doing video, it will automatically go back to the last one you did, which would be video or whatever else you were using and then show Snapchat lens filters in fun. So, basically, if you want to use those Snapchat filters in fun, you can have it. So it's simple and easy. If you are a snap chatter, this phone is really made for that all right guys, and that was all the settings you need to know for the galaxy a52's camera. Let me know you guys thoughts in the comment section down below, if you have any other questions, make sure to check out our video on how we made this phone have a five-hour longer battery life as well as make it much faster.
Thank you, as always for watching this has been rick y, the YouTube tech guy. Thank you for watching our video. If you liked it, why don't you go ahead and subscribe up there make sure you follow us on social media right here and, of course check out our latest video up there and right down here, you're, going to find the perfect video for you, or at least that's what YouTube tells me thanks again.
Source : The YouTube Tech Guy
Phones In This Article

Related Articles


Comments are disabled
Latest Articles


