Initial Set Up ASUS ROG Phone 5 – Activation & Configuration By HardReset.Info
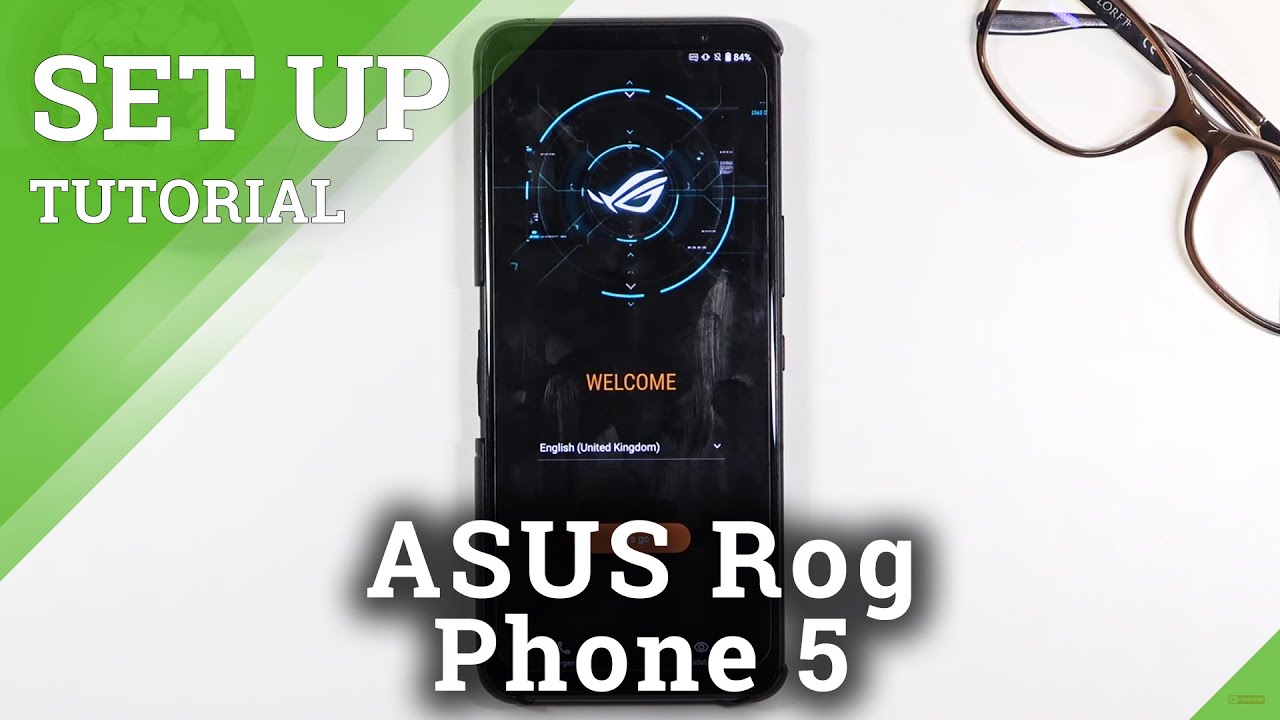
Welcome and follow me is a ROG phone 5, and today I'll show you how to go to the setup process of this phone. So when you put it up for the first time, you'll be presented with the welcome screen, at which point you can choose your language. So honestly, I'm going to stick with English, but, as you can see, I have plethora of other choices we can pick from here from there. Let's select, let's go and choose that we want to either use a mobile network and Wi-Fi, or only Wi-Fi, to set up our device. Honestly, I'm not going to use either of those if I can, but if you want to you, can select either one of them and honestly to be perfectly honest, and the first one has basically zero benefit of being picked, because even if you don't select anything right now, you insert your sim card will pop up with the, for instance, a screen lock to insert your pin for your sim card, which you'll have to do. It's not like.
You need to select it to have to be blocked by it or whatever, and once you insert it, it will start working normally anyway, so this page has basically no benefit. So, let's stick with the only Wi-Fi select continue and from here we have the Wi-Fi selection. So, let's see if I can skip it, and I can now normally- and here you could select your Wi-Fi and by doing so uh your time and date will be set automatically and also throughout the setup. You will have the option to log into your Google account and if you choose to just skip it like I did, we won't have that options, so there will be no option to log into google throughout the setup and date and time will need to be set manually. Now I'll also mention that after the setup is complete, you can still go into these settings and log into your google connect, Wi-Fi and all that stuff.
So it's not like this is just kind of like one and done option. I can change it later on if you decide to connect to Wi-Fi or stuff like that, so we have here ended user license agreement. So obviously we need to check that we have read it and acknowledging whatever and then let's stop on next. I know your privacy rights um. Obviously yes and there's no no option.
I guess I think, can I confirm yeah we do have to agree to it. Then we have Google services so location scanning and send user and diagnostic data. Now, if you're interested on what each one of them does, you can simply tap on the arrow, expand the list and simply read what it exactly does and at the end of the day, if you don't want it, you can simply disable it like so scroll down and tap on accept. Next we have protected your phone, so this page will allow us to set up a couple different ways of unlocking our device or overly protecting it. So number one will be pen pattern, password, also fingerprint and face recognition and for the face recognition and pattern or not pattern, but fingerprint um.
You will still be required to set up pen pattern or password one of those three, and only one, because uh those two options have subject or can be subject to change. So as an example fingerprint, if you drop your phone and your screen cracks as an example just a fairly unfortunate one, but could sometimes happen uh. That would cause you to not be able to use your fingerprint to get access to your phone. So that's why there would be a pattern which you can most of the time draw anyway and face recognition again same thing: if something happens to the camera or whatever, you would lose access to it, or if someone beats you up uh, that's your finger or whatever you kind of lose access to your phone, so this will always provide you with additional means of accessing it. So anyway, I'm going to go with that pattern here.
So let's select pattern and draw our pattern and tap on continue, draw it again confirm, and there we go. It's now set notifications. This is how notifications will be displayed when the device is locked so on the lock screen. If you want to show them hide them or just show partial you can choose. Whichever one applies to you and then next page we have protected your phone uh.
Okay, it has been set up. I guess that's! It just tells us that we have set up a protection to our device, and here we have attention um, so it basically tells us that there's two different c ports here, as you can see, based on an image that refers to this little thing right here. So if I pull it off, you can see it right here, um so yeah. Now, let's have one! Okay go to the next one uh some information about the air triggers, which are these buttons here, maybe not buttons, but like touch surfaces so and here we can set up the intensity of it now this is for the squeeze intensity. So when you're holding the phone, as you can see, when you start holding it or squeezing it in this case, it will show you how hard you have to squeeze it to actually actuate it so yeah.
So you can choose whichever one you want, how hard you want to squeeze to activate whatever it you set it up to activate, stop on apply. Okay, I just select done uh. Then we have air triggers and some an ASUS registration. Now you can skip this if you don't want to, and it really serves no purpose here apart from maybe warranty, so I'm going to select next uh, he says data transfer, I'm going to set it up as a new device. So I'm going to skip this, but if you want to restore your device, if you have an old one, and you want to move all the data to this device, then simply tap on continue and go through the two the guide that provides you with.
Lastly, we have to choose system style. Basically, a theme you can tap on the image to actually see how it looks like I'm personally, not a fan of this gamely look, so I will go with this one, and you can tap on it to just see how the icons look like in the home screen and stuff like that. So just select classic right here and confirm it, and next thing: uh choose a theme so dark or light. This is something that can change fairly quickly and easily choose whichever one you want. Dark or light honestly provides no additional benefit, maybe um.
So I'm going to go with dark anyway, and there we go setup complete now, when you finish up the setup, it gives you this thing and if you're wondering what the heck this is for, I would actually have yeah. I don't give me a second I'm going to grab it just to show you this quickly. It's basically a gimmick, but if someone is interested, I'm just going to show it. So you do need a box for this on the phone that came in and let me just kind of move this out of the way- and you can see this kind of comic here so once you tap on it and just put it down, so you can see it, so it asks us which kind of box we have uh. That is because there are three different versions of this phone um.
We have the ultimate and stuff like that. This is the first one, the normal one, so this is the box that comes in obviously tap on, allow and give it a second continue. So now what you need to do is simply scan whatever is shown here. Come on. Let's try it again.
Some reason doesn't really want to work um. Normally I don't know when I did it's the first time it worked without any problem, so I'm not exactly sure. What's going on come on yeah, I have no clue so yeah, let's just close it. But basically what happens is it starts animating. These images make them move, and then it switches to basically a pre-loaded game that is on this device and that's basically it but for some reason didn't want to launch and like I said, I'm not sure what happened, but that is kind of what's supposed to normally happen which it didn't.
But anyway, as you can see, this basically completes the setup of the device and yeah. If you found this very helpful, don't forget to hit like subscribe, and thanks for watching.
Source : HardReset.Info
Phones In This Article


Related Articles


Comments are disabled
Latest Articles


