HTC U Play Teardown Repair Guide - BATTERY CHANGE - OPEN By GSM DIY
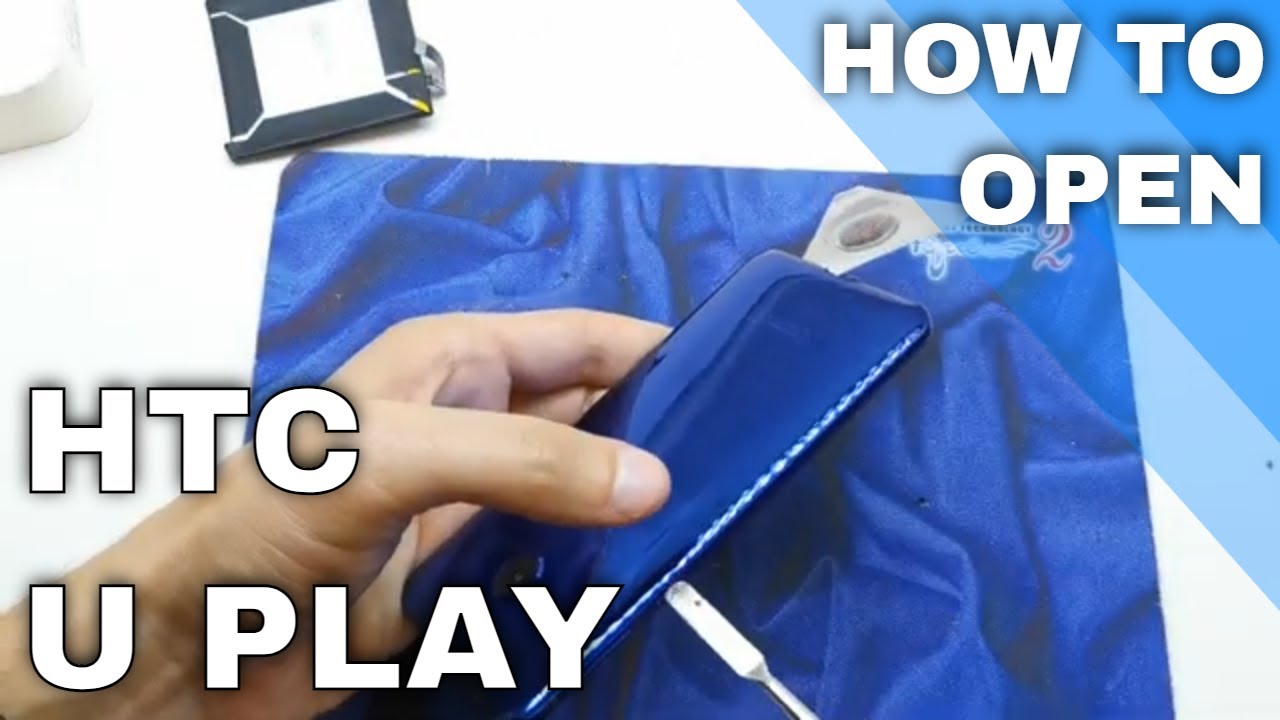
Hi welcome back on. Do it yourself channel today, going to show you how to open your HTC play um in this case we're going to be open it to change the battery we were it has here. This is the battery which we need to replace that in our phone. So we need to open it. You can show this operation um. I've seen this and replaced many of parts here, for example, a mine board, camera and others flex, speakers and many many many more so.
Firstly, we need to hold it like simply this hairdryer and get some plastic to all metal like this, but we going to be opening this bath cover so start. Okay and now we're going to be open it by sliding this tool around cover and if we need to cut off all the glue, which is not simple. As you see, you need to have some experience, but I hope you do it well with me, foreign uh. Now we're going to try to lift but very carefully, because I destroy so many back cover, and now I won't be. I want to destroy it like the knife.
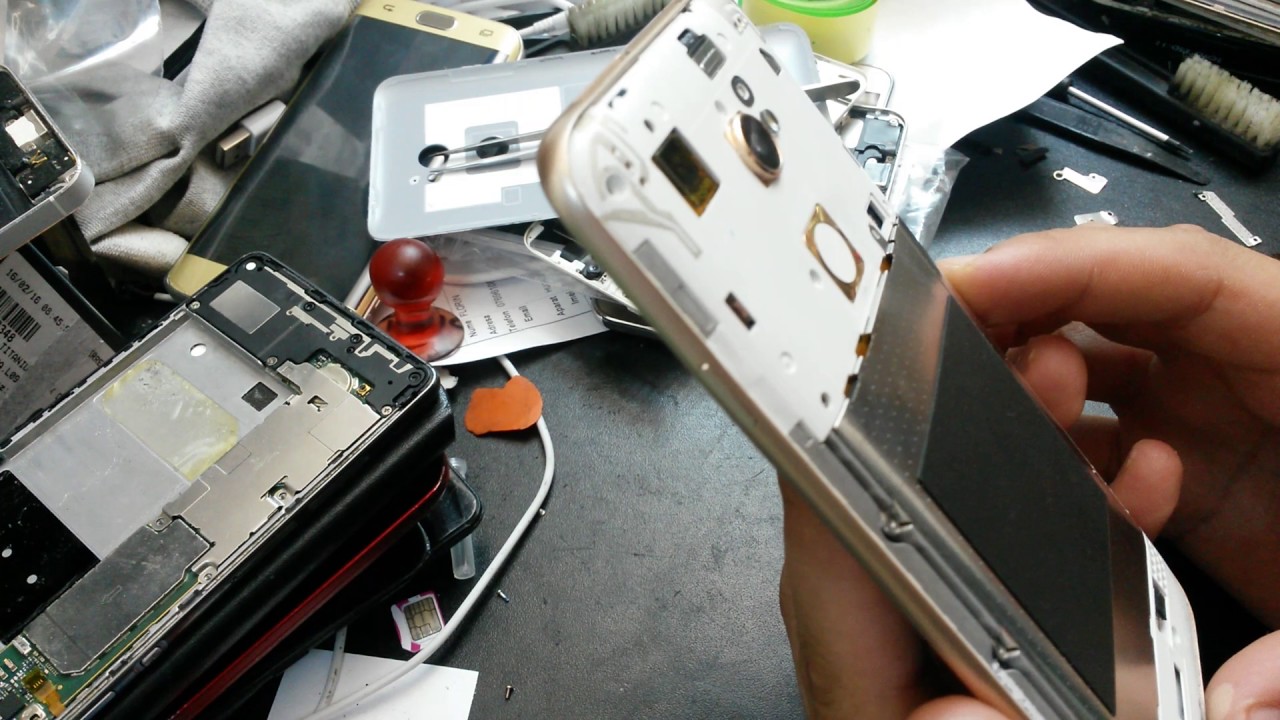
I think it's plastic, but I wouldn't be risked off to take it off by my hand. Furthermore, I have to be sure to cut off all the glue around the phone, and it's a little lift up. Yeah, the glue is over here. As you see, I need to have to see here why it won't and there is a hero. Yes, whoop whoa, look how strong this glue was wow.
The plastic is lift. No, the glue was very, very hard anyway. Now we need to unscrew the screws it's up screws too. Some of this is um. Torn stretch thing.
Okay, we are in now lift this little thing here: oops, that's it now remove this, and we're going to be lift the battery okay wow, it's hot, very, very easy. If its hot okay looks good now we're going to be tried this same time like same type like in iPhone. It's a good quality. I think HTC has got very good quality in my opinion. Okay done, so the battery connector is in, so now I'm going to be tested the phone, because I have uh three batteries, so I'm going to choose the best one here, I'm going to test it turn on.
As you see, I have here too many two more battery, so I'm going to be test uh, three of them. The red lamp is its blinking, so it's totally charged it up. Maybe some of this battery is in better condition. Yup this battery is charged, so it'd, be probably will be much better. Date is same in all the phone on the battery and that's it now um to assembly.
This part. You need to have uh placing this here and next place this here with all the screws and after that uh you need to clean all this glue around the back cover it with glue, see it's not plastic, so we need a good job, don't destroy it without reinstalling this, after that, when you um clean this glue from here around the phone to place. This glue here around the phone place the back cover, and you should end your walk and that's it. I hope the video is helpful for you. If, yes, you can leave like leave, comment and leave subscribe.
That's it for now and see you bye. Next, video, hey.
Source : GSM DIY
Phones In This Article

Related Articles


![OPPO Reno4 Z 5G Full Review [Is the Dimensity 800 Any Good?]](https://img.youtube.com/vi/dy4APVDLMx8/maxresdefault.jpg )


Comments are disabled
Latest Articles


