How To Use Your Smartphone As A Webcam For Zoom / Google Meet By Versatile Knowledge
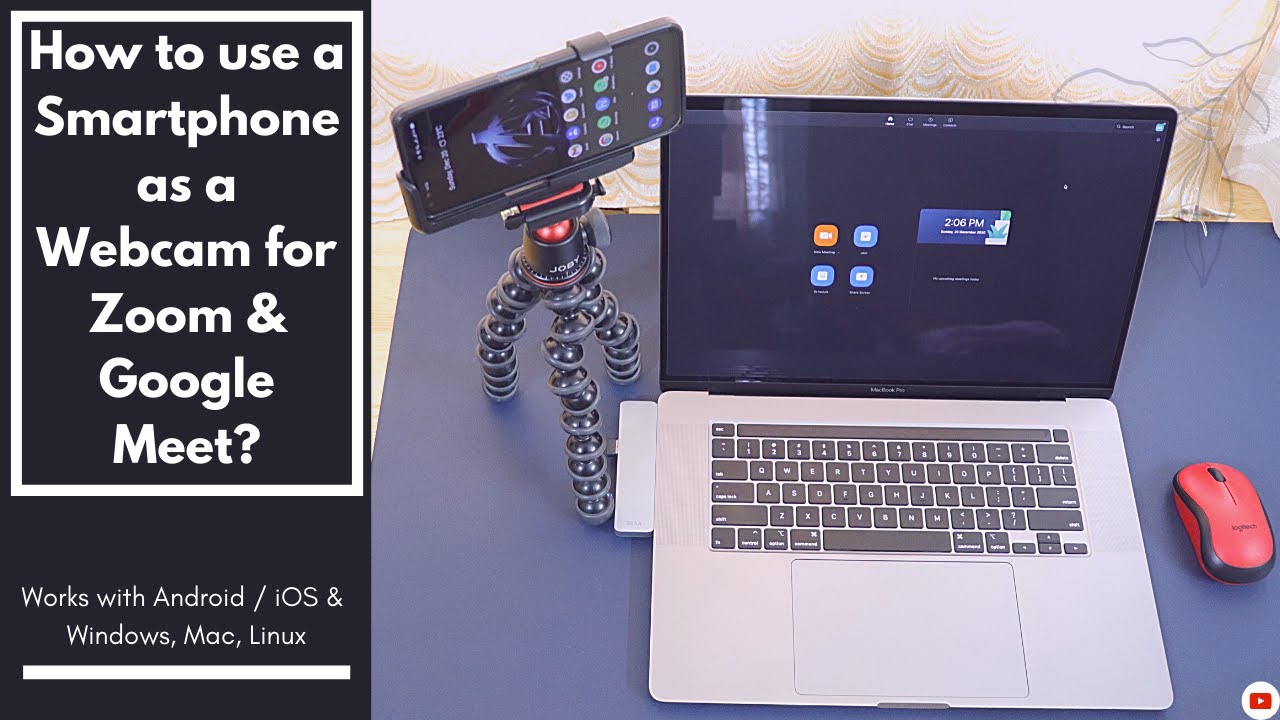
Hey guys welcome back to versatile knowledge, and this will be a tutorial video about how you can use your smartphone as a webcam for Zoom meetings. It's been a long time since period tutorial videos. We have been dealing with making smartphone videos making videos about product reviews, the in-depth explanation, videos in depth, reviews it's 2020 and most of our meetings happen on zoom, google meet or Microsoft Teams, and many other tools as such and showing your face on video calls is one of the best ways to have an effective communication on your video conferencing, but most of the laptops that we have either it is a windows laptop or a Mac laptop, come with absolutely trash webcams, even the MacBook Pro 16 inches. The top of the line laptop that apple makes has a 720p webcam, which is just HD, and the quality that comes out of the webcam, even though you have the fastest of internet connection is just absolute crap. The solution for that is to just use the front camera or the rear camera of the existing smartphone that you have as a webcam. So the important things that you need to have your smartphone as a webcam is just one application on your smartphone and a computer, and in order to mount the smartphone, you can use a tripod or just place it on a surface where your smartphone can stand still.
So, let's get straight away into the tutorial so guys. The first step of the process is to download the application on your smartphone, so this works on both the android smartphones, and on iOS devices. So the first step is to download an app called. I run, so just go to the Google Play Store and just type, I r, I, u n. So this is the application called I reuse.
So it is the Irene 4k webcam for PC and mac. So this is the applications. Mobile client and also next step would be. We need to download the application on our computers as well, which I'll be showing in the next step, so just go ahead and install this app on your smartphone guys, as you guys can see, the app is also available on the iOS platforms and also is available on the iPad devices as well guys. So you can download the app, and it is a very small application.
So once the application is downloaded on your smartphone, just go ahead and open the app guys. So this is the application, and it says, Irene. Webcam turns your android's phone into wireless webcam, install needed drivers and use your mobile camera in your PC as any webcam. So just click on continue, and it will show a couple of things that is present over here. Just click on allow just click on allow and waiting for connection.
So that means your applications. Mobile client has been set up successfully now straight away. We can go ahead and dive into our computer and check out the next step of the process so guys. The next step of the process is to go to your computer and open the Google Chrome browser or any other browser that you like in the Google Chrome search bar just type I reuse, so just type Irene and Irene is the website guys. This is the website and the link for this website will be given in the description also, and you need to download the desktop client for this.
So, as you can see, it says webcam for windows, webcam for mac webcam for Ubuntu. It says the version of windows. You need version of mac and version of Ubuntu that you need to make sure that this app runs successfully on your computers. So just click on webcam for mac and the Irene package will be downloaded on your computers, guys. As you can see, the package has been successfully downloaded on my computer and the installation process is just like installing any other software on our computers.
Just go to the folder where this was downloaded, and you just installed this application. Just click on continue and just click on agree and click on install and the application will be installed successfully on our computers, guys, as you can see, the application installation was successful. It does not have a graphical user interface or something like that. It just runs along with our zoom application. Now we have installed our Irene application on our computer.
What we have to do is we have to just go ahead and open this zoom application on our computer and set up for a Zoom meeting, as you guys can see, we have successfully logged into our Zoom meeting on our computer and the next step of the process we have to do is to set up the mobile phone on a tripod. You can use any tripod guys I'll be giving the links to some very good quality tripods in the description. In this case, I already have access to job, 3k, tripod, and I'll, be using this in this demonstration purposes and along with the tripod, you also need to have a mobile phone holder to make sure that you mount your smartphone on a tripod successfully. If you do not want to invest on a tripod and a mobile phone holder which will cost you somewhere around thousand rupees, you can just get rid of this totally, and you can just place your smartphone on a flat surface so that it can light properly horizontally on a surface and the camera can easily face your direction. So now I'll go ahead and mount my smartphone that I'm using in this case, which is the realm x3, it supports 1080p on the front camera, and it supports 4k on the rear camera.
So let's go ahead and put the mobile phone inside this mobile phone holder and also, let's mount the mobile phone holder on a tripod that we have. Let's make sure we keep the tripod in the proper direction towards our face, so that we are clearly visible in our Zoom meetings. So guys, as you can see, I have kept my smartphone on a tripod that is the job tripod and also have mounted on the phone holder, and it is placed successfully next to our laptop, where we are going to do the Zoom video conference by connecting this smartphone to our laptops. Guys next step in the process is to connect our smartphone to our computers, using the USB cable that is being provided so guys. As you can see.
I have connected my smartphone to my laptop using the USB cable that has been provided and now what we'll have to do is we have to just go ahead and open the zoom application, and once we open the zoom application, it will automatically show that the iron webcam has been activated. But one thing is: if you do not have a tripod at your vicinity, if you do not have a mobile phone holder, that's totally. Fine hardware is not at all the important part. The application that is the iron application on your smartphone and also on your laptop, is the important part. So, as you guys can see, this is how the complete setup looks like when we have kept our mobile phone on a tripod and have connected to the computer, and we are ready for a Zoom meeting by using our smartphones, front camera or a rear camera by using the Irwin application, and this whole setup actually looks really professional, and this is how the video conferencing should be now.
What I'll do is I'll just record my screen of my laptop, and I'll be showing you guys the complete tutorial about the next steps. So, as you guys can see, we are here in the zoom application, and I am going to click the new Zoom meeting. This will be a test Zoom meeting, and I am running on a fast internet connection as well. Now, as you guys can see, the Zoom meeting has started, and there is this icon on stop video and there you can choose the run webcam, just select the Irene webcam and your computer's webcam will be switched over to your mobile phone's webcam or your mobile phone's front camera as a webcam and, as you can see, the quality of the video call has improved by at least 10 times when compared to our trash webcams and also to get the best quality. Audio, just use any good pair of wired earphones and connect it to your laptops and the mic of those earphones will act as an excellent audio driver.
Now I'll just go ahead and rotate the smartphone or use the smartphone's rear camera as the Irene webcam, I'm placing the tripod in the reverse direction. Right now, and as you can see, the tripod is placed in reverse direction and the rear camera is taking the feed as the Zoom video conferencing camera, and it looks fantastic, and also we can use the flash. And this is how it looks and if you're sitting in a dark room or a dark condition. And if you want to show your face in the crystal clear quality, you can use the flash as well and also if you want to use a perspective view, you can use the smartphone by keeping it in a different direction. And if you want to have a different perspective in your regular video conferencing and daily, you are keeping it straight to your face.
This view can be perfect and, as you guys can see, this is how the whole setup looks like when we are keeping the tripod or when we are keeping the smartphone behind our laptop, and it looks really professional. This is one of the best setups for our work from home purposes, and if you want to show your face on any sort of video conferencing and if you are feeling that the flashlight just hits your face during your video calls, you can even keep your tripod or your smartphone in a different angle, just like how I am showing right now, and this can be used for all your online colleges, online schools and many other online conferences as such and the whole. I reunite software for both the mobile phone and also for our laptop, is completely free of cost. Now I'll go ahead and show you guys how you can use your smartphone as a webcam during the Google meet meetings, if you are using google meet instead of zoom initially, when we turn on a Google meet, and it is using the laptop's webcam as a source for video. This is how the quality of video looks like, and it is completely trash now I'll, go ahead and show you how you can use your smartphone as a webcam in this purpose for Google meet as you guys can see.
I have opened the Google meet by using our Gmail IDs, and I'll just go ahead and start an instant meeting, and it will ask for a little permission. Just click on allow just click on alert and just click on join now, and the iron client will automatically start recognizing if your smartphone has been connected to your computer and when we click on join now, you can just make sure that the iron has successfully activated for your google meet. As you can see, it has been recognized and my phone is actually acting as a video source in the Google map. Let's go to settings over here in the Google meet and in the video we have to actually set the maximum resolution to 720p. That is HD in order to make sure that we get the best quality video for our google meet meetings.
As you can see, the quality has drastically improved when compared to how it was when we started initially. So this is the HD feed in the Google meet meetings and also even in google meet. We can use our rear camera as a source of video, and this IU in webcam software also works on most of the video conferencing applications that is available in today's day and age. So guys, that's it for this tutorial about how you can use your smartphone as a webcam on your Zoom meetings or on your google meet meetings. I have shown on both the platforms how you can use this ID in application, also how you can use your smartphone for your Zoom meetings in both google meet and on Zoom.
You have the facility to enable HD video calls and also the HD audio responses as well, so just make sure that you enable both of them to have effective communication during the meeting. So if you guys have liked this video, please hit the like button share this video with your friends and subscribe to the channel for more interesting content ahead. Thank you for watching guys.
Source : Versatile Knowledge
Phones In This Article
Related Articles

Comments are disabled
Latest Articles


