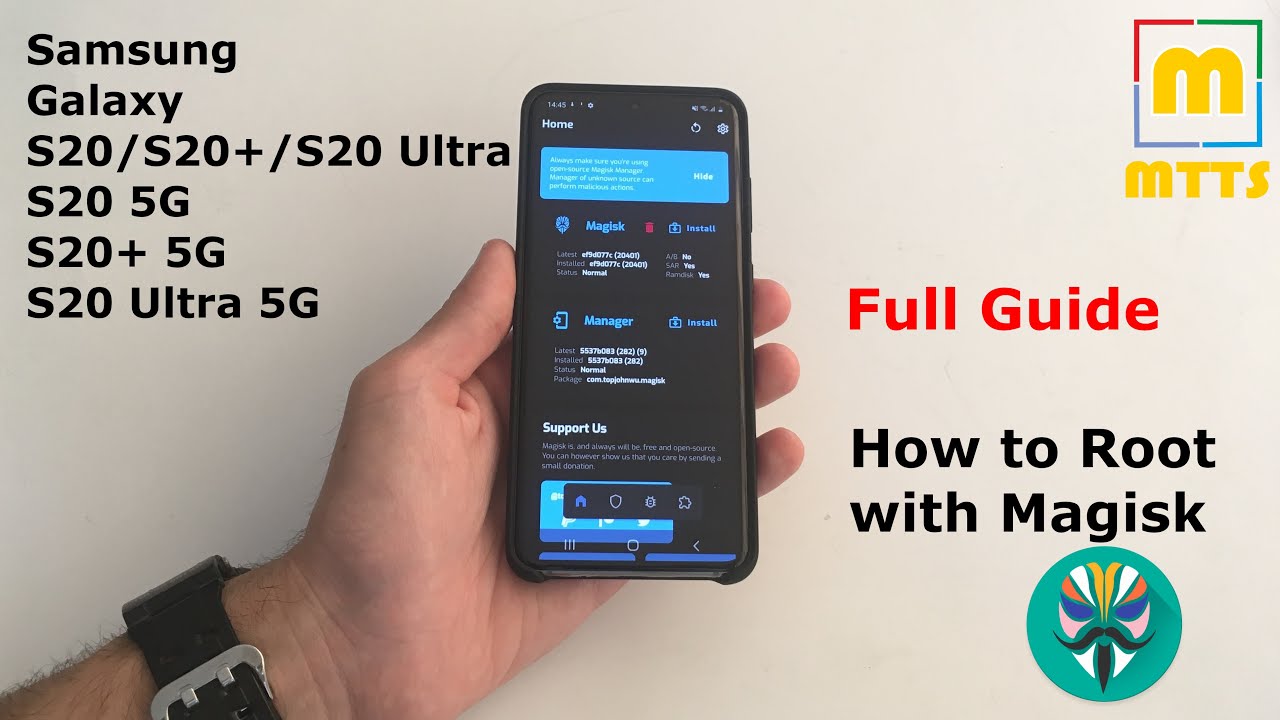
How to Root Samsung Galaxy S20/S20+/S20 Ultra/Note 20 - Magisk - Full Video Guide By MikeTheTechSavvy
Hello everyone- this is Mike. Welcome to my channel, made the tech-savvy in front of me. I have a standard stock, Samsung, Galaxy, S, 20, and today I will be showing you how to route it. It's pretty important to note that this method works on all Enos based as 20s, so s 20 has 20 plus and s Pony ultra and on the 5g versions as well. Please do not try it. If you have a snapdragon based Samsung Galaxy s 20, it will definitely not work, probably it is needless to say, but it does avoid the warranty.
Any kind of software modification of this kind does void the warranty and there is a risk involved in order to minimize it as much as possible. Please make sure you follow the steps that I will be showing you right now. I chose to have a fully standard as 20 devices, so I can show you the exact steps in order to reduce the possibility of good loops I know. Probably a lot of you have bought this device, and we're looking for a method to route it, and given that these days we do have a lot of time to spend in the house, I hope you're staying indoors as much as possible. I.
Suppose it's a pretty important video. You will definitely have the freedom to do whatever you wish with your device after rooting it you have a couple of requirements. Of course, you'll need a Windows PC and you will need 7-zip Odin, the latest magic manager, cannery APK, and they stock Samsung firmware download. You can use either Sam front or a website to get this just make sure you get the correct one for your model number. In my case, the S 24 G International Version has the model number SM g, 980 f.
I will link all of these in the video description below now. Let's go forward with the main steps. These are not the complete steps, but it's a let's say a quick summary. We do have here a full stock, Samsung, Galaxy, S 20. You can see that the NOX is not triggered.
This trigger usually voids the warranty. So take note that this will definitely happen if you use this method or well any other method to root your device. This is my phone model. It's the international version of the Samsung Galaxy s, 24g version the first thing. We need to do this one of the bootloader, and you know that to do that, we need to go into settings about phone software information and now tap the bill number five times until you turn on the developer mode, go back into settings, you have developer options here and tick.
The OEM unlocking box just be aware of the fact that when you unlock the bootloader, the device will be wiped so make sure you have a backup, or you make a backup beforehand. Otherwise, you will lose all the data on your device, and this was the first step now we need to turn off the device wait for it to vibrate. Now, you'll have to be ready with a powered USB. Type-C, cable I, already connected it to the PC. Here you can already press the key combo for download mode volume down and volume up, keep them pressed and insert the USB type-c.
Cable here we go, this is the download mode. As you can see, we do have a device unlock mode volume up long press once again, as you can see right here, this operation deletes all personal data, so perform the factory data reset, make sure you make a backup beforehand. Now you will receive this warning message because the bootloader is unlocked and while its standard procedure for Android devices now the phone will reset, and we'll put up normally after the phone has booted up, we can simply skip through the setup wizard, but this is a mandatory step. We need to perform it and we're done. The phone is now formatted and with the unlock bootloader, we can now put the device aside and take a look at the next steps.
We don't need to download on the PC the latest magic manager, cannery APK. We also need to have the latest stocks them some Fireman on our Windows machine, as you can see, I have them here. This is the latest magic manager APK. This is the stock Samsung galaxies 20 family, and this is Odin. The next step would be to extract this AEP file from here, which is quite simply done like this extract to folder.
It shouldn't take that much time only a few seconds once it's done open the folder and from here we need the boot image which should be in this format, so boot dot, image, dot lz4. We need to tar up this file with 7-zip, so just right-click, it is 7-zip add to archive and in the archive format we need to choose star and type in okay. We have it here, and now we need to transfer to our device this star boot image and the latest magic manager APK. Once that's done, go back to the mobile phone and go to files should be here in Samsung. Here we need to install magic manager.
This is the latest canary version. You also need to connect to the internet. I'll go to install, allow select the boot image that you just extracted from the stock fear mode, and here we go now. You have a third file here, a boot image which was patched with magic. Of course, it's a tar file, so this means that we have to flash it and Odin, but from now on, the procedure is quite simple.
First, you need to copy this patched tar file back to the PC and once you've done that you need to turn off the device. They change this, and I'm to use ds-10 so power off the device and get it ready for download mode, of course, make sure on the PC. You have all the necessary Samson drivers installed in order for Odin to work properly, press the key combo, which is volume up and volume down at the same time, insert the cable. You can see that the patched magics file is already here on my PC. Now you can simply open Odin with admin rights.
There we go, and we need to place this patched star file into the P slot. You can go into options and uptick the auto reboot button. This is because after we flash this, we need to press the recovery, key combination, and I'll simply press Start. It should flash right away and that's it, and now we move back to the phone. We can remove the cable we are done, and we can now restart the device into recovery mode.
How you do that we use volume down left side key first to restart it, and immediately we press volume up when the device turns off I, keep pressing volume up what the device to go into recovery mode. Once we see the Samsung logo, we can let it off once we're here into recovery mode to perform a factory reset. You can navigate very easily here through the volume keys, wipe data/factory reset', now press the power button factory data reset. Yes, here we go, you have everything confirmed here, and now you can simply reboot into system, and now we are booted up configure it normally, once you've finished going through the setup wizard, so adding a Google account and everything you need to copy the magistrate BK once again into one of the folders open my files, you will see it here, install it once again. Now you will need to tap yes, and it will automatically boot.
You will now get this error message as well, because the phone detected that the boot image is not the stop one. You now open marriage manager. Where are you here, and it's all good, let's just test it out with an application. Let's install phone name for Samsung, which is probably one of the most useful pieces of software you can install on a Samsung device. It shows you a lot of things once the application has installed.
You can just open it, and it will request your superuser access just grant it, and you will see some really nice information here. You can see exactly how many times the charger has been connected to the phone and how many cycles does the battery have, which is pretty, pretty interesting in the past. I know it showed you the number of times you've connected the headphone jack, but of course this device doesn't feature a headphone jack anymore, so it makes no sense to show that, of course, you can use whatever app you want to check the root access if you want to reboot your device, let me just okay much, much better. Now. Okay, if you want to restart your device, you can simply well restart it from here or power off and turn it on.
You do not need to press any key combination in order to have the root access. I know, I've written it here. The fourth point, but I will delete it right now. You do not need to press any key combination to put into the correct rooted system. Let me just give you a quick demo now and there we go magic is installed, so I guess.
That's it one more word of notice. If you want to update your device right now to the next security patch level or whatever the procedure is a bit different, you cannot simply go into settings software update and that's it. Naturally. What you need to do is to download the new firmware. We are old and extract the stock boot image patch it we are magic manager, just like you did before, install allow and select a patch a file here, bring it back from the phone to the PC and now put into download mode flash the stock firmware.
So, basically, exactly what you downloaded from the website or from Sam firm flash it in download mode on this device. Wait with auto reboot and ticked, of course, make sure you flash the home CSC and not the CSC file. Otherwise, you would wipe your device once the phone has been flashed. You need to once again we put into download mode with the usual key combo. If you somehow didn't catch it, you can simply press the power and volume down and the device will reboot automatically, and you can try again once you're in download mode again.
You can simply flash the boot image that you previously patched in Maggie's manager and just reboot, normally the device, the method isn't that complicated. You just need to be careful when doing it. Furthermore, you no longer have to reboot into recovery to be able to put in a rooted system. I've listed all the files here in the video description. Of course, if you have any questions, feel free to ask them in the comment section below this was the video for today I hope, you've enjoyed it.
If you did, please press the thumbs up button if you'd like to see more similar videos in the future, also press the subscribe button, which will be displayed right here in the bottom left parts. This was my detective II I wish you all great day, bye.
Source : MikeTheTechSavvy
Phones In This Article


Related Articles


Comments are disabled
Latest Articles


