How to Record the Webcam on Chromebook - External USB Camera Setup and Recording By Gauging Gadgets
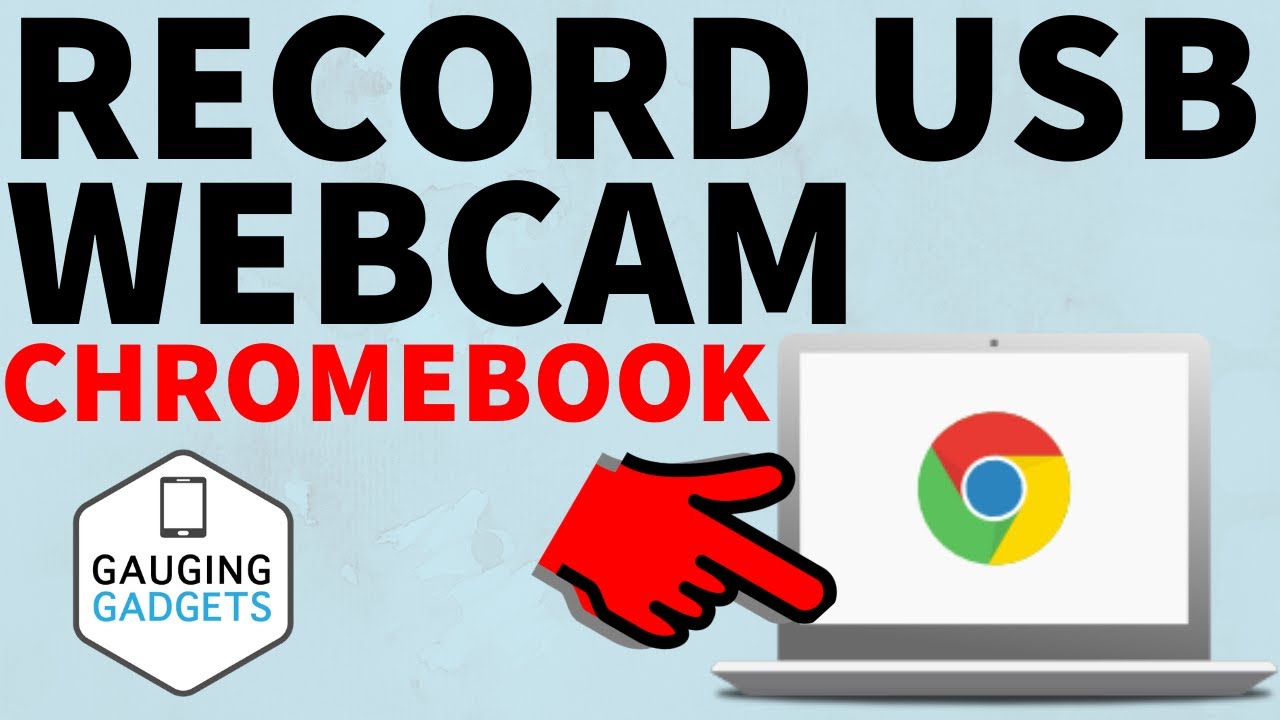
Hey guys welcome to another aging gadgets. Chromebook tutorial video in this video I'll be showing you how to use a USB webcam or an external webcam with your Chromebook. So right here, I have a Logitech, C, 270, and I'll be going over the steps to actually plug this into the Chromebook and use it as your webcam, and also your microphone when you're recording video. Now, if you've stumbled on this video, and you're, just looking to record video using the webcam that was built into your Chromebook, all you need to do is just look through the apps that you have on your Chromebook search camera, because there will be a built-in camera app on your Chromebook. So you don't have to do anything special. But if you're trying to use an external webcam such as this you're gonna need to download an extension.
So let's go ahead and get started into how to use an external webcam with your Chromebook. So the first thing we're going to need to do is just simply plug the USB connector on your webcam into your Chromebook. So that's very simple: just find the USB connector on the side should have a symbol like that and then just plug it right in like so alright. So now that we have our actual webcam connected to our Chromebook, the next step is to simply open up the Chrome Web Store on our Chromebook, because we need to install an extension from there now. Just real quick during this fourth tutorial I will be filming the screen of my Chromebook with a camera, and that's because the software I usually use for recording my screen on my Chromebook is actually the software about to install, so I can't show you how it works and record my screen at the same time.
Alright. So the first thing we need to do to open up the Chrome Web Store. They simply hit three dots in the top right of Chrome and then go down to more tools, select more tools and then in the options under more tools, go to extensions. Alright. So now that we're in extensions, what we need to do is select the three horizontal lines to the left of its stations and then in the sidebar that opens up go to the bottom, and it will say, open Chrome, Web Store.
So this will open up the official Google Chrome Web Store for all the different apps and extensions that are available for your Chromebook. All we need to do now is just go into the search bar and search. Nimbus and I am be us when the search results come up, go ahead and select the first option, which should be Nimbus, screenshot and recorder, go ahead and open that up and check the description, because I'll have a direct link down there to the Nimbus video recorder extension for Chrome. So you don't have to go through all the steps of finding it in the chrome store. You could see that it has been downloaded over a million times, and it has a very high rating of almost 5 stars from almost 12,000 ratings.
So that means it's a pretty highly trusted app. So now we need to do is select, add to Chrome. It does need some permissions so that it can actually record your screen or your webcam, so go ahead and select, add extension to allow those, and then it will install the extension to your Chromebook. In the meantime, while it's installing I'm just going to go ahead and mount my webcam up on my Chromebook right there, alright, so and once the extension has been installed to our Chromebook there'll, be a new icon up in the top right of Chrome right here and to record our webcam. All we need to do is simply select the icon, then, in the options that open up go to record video- and here we have several options, and I'll go through those shortly.
But the first thing we need to do is go to video settings open that up and then under webcam. We need to select a little drop-down right there, and should see the webcam that we have plugged in, so you'll see the first one. That's going to be the built-in webcam for your Chromebook and then the second one down will be the new webcam that we've just attached to our Chromebook with the USB cable, so select that you can make any changes you want to in here, I'm just going to leave it default. So I'll go back when I'm done so in here we have some other options that are more related to recording your screen. So all we need to do now if we want to record our webcam only it's just select webcam only down here and then go to start record.
So on my webcam you'll see the light turn on once it starts recording, and then it comes up- and you can see me right here, and it's currently recording my webcam now I control, the recording by using the Nimbus app right up here, so go ahead and select that, and I'll have the option to pause the recording. It also shows me how long the recording has been going on, and then I can stop the recording. Now, if I pause, the recording I can resume it anytime, I want to, and then I can stop the recording by just like ting stop. This will open up a new tab in my Chromebook it'll show you a quick example of what the video sounds like and looks like, so you could see it and then right here, I can save the video to my Chromebook by just selecting, save video, and then I can save it is'll download right here now. You can also have it save automatically to Google, Drive or Dropbox, and you can also automatically have it published to YouTube, which is pretty cool.
Alright. So that's how you use an external webcam with your Chromebook. If you have any questions about this, leave a comment below I'll get back to you as soon as I can, you'd like to see more Chromebook tutorial videos check the links in the description. If this video helped you give it a thumbs up, and please consider subscribing to my channel aging gadgets, more gadget, reviews and tech tutorials. Thank you.
So much for watching.
Source : Gauging Gadgets
Phones In This Article
Related Articles


Comments are disabled
Latest Articles


