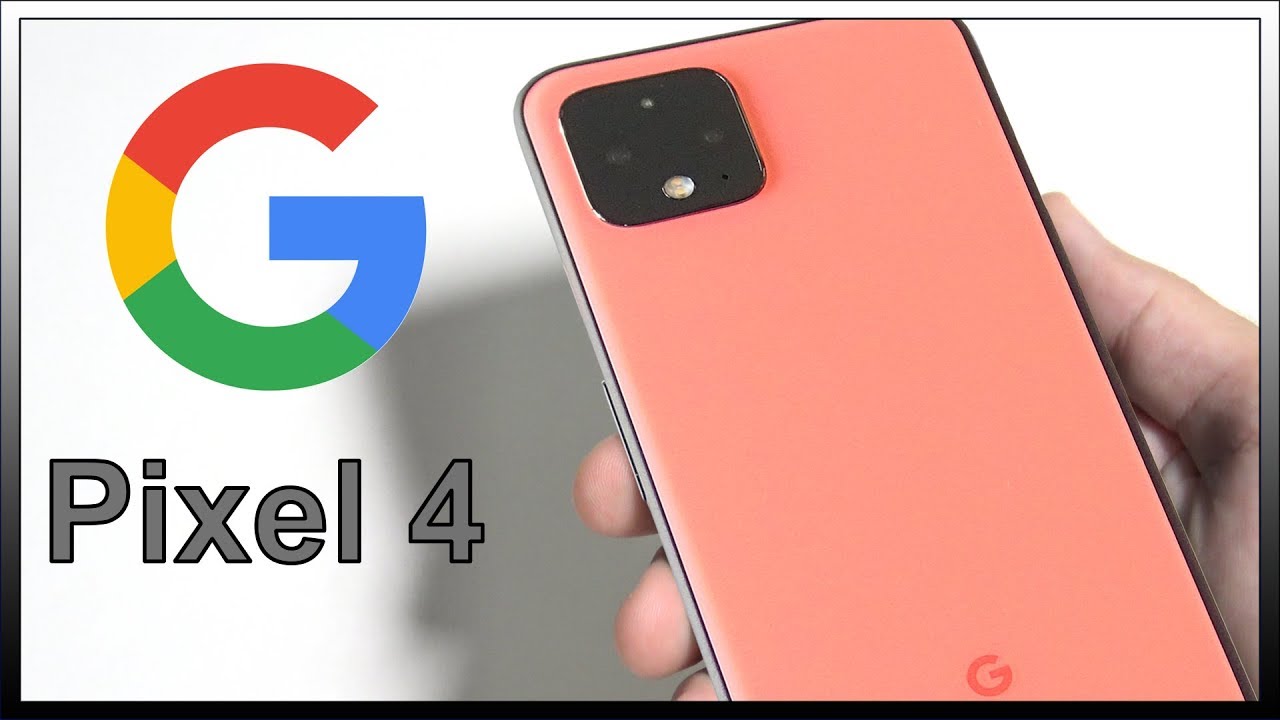
Google Pixel 4 Quick Disassembly Teardown Repair Video By PBKreviews
You're watching the Google Pixel for disassembly go ahead and pop out that sim tray now you're going to want to heat the back-up, so you can loosen up the adhesive and then use a pry tool to pry the back off. Okay, now you're going to lift the back up towards the left side of the phone, but be careful, there's still a cable attached underneath it over here now you have five t4 screws you have to remove over here, so you can get access to the battery cable and disconnect it okay, once the screws are removed, you can lift and remove this shield, and then you can disconnect the battery cable, which is this black one over here. You now have two more t4 screws. You need to remove, so you can remove the back cover once those screws are removed. Furthermore, you can remove this metal plate I, just lifting it up, and then you're going to disconnect this cable over here now. Here is your wireless charging pad right here, as you can see, it's basically tipped on to the back, and these gold contacts over here make a connection with the board and that's what gives it signal? Are you have nine more t4 screws? You need to remove throughout the phone go ahead and remove those.
Now we can remove the top shield over here and this bottom one over here in the corner. Now we have several cables throughout the phone we need to disconnect. So let's go ahead and disconnect those, and, as you can tell the camera cables over here, that run underneath the board and back over the top, and then they connect on top of the board over here you know: cellphone wire, cable over here in the corner, go and pop that up. Okay, now you have one more t4 screw over here in the corner. You have to remove now you can lift and remove there's top piece over here and this house is the sensors in the front and the front-facing camera.
That's why I was replacing that battery goes. You have three easy pull tabs located over here. They're marked in yellow, you can basically just remove the shield over here once you remove the back, disconnect the battery cable, pull up these tabs and room with the battery so replacing the battery basically would be much easier than most phones all right now. In order to remove the main board you're going to have to pull up these two pry tabs, just lift them off the main board since they're glued onto it, and then once you have these two lifted, you can go ahead and lift the main board. So here's the backside of the board.
You have a square thermal pad over here that touches the mid-frame and here's a closer look at the front side of the board. So here are the cameras, as you can see, they both have image stabilization now, the loudspeakers located down here. If I take this out, it's basically tucked in to the frame you're going to pull it out. Here's a better look at the speaker. Now your vibrator motor or haptic feedback motor is located over here, and it connects right here to the charger port, flex, cable and here's your chargeable right here.
Charger port is replaceable, so you'd have to basically first remove the battery because the cable is running underneath it. You also have four to four screws. You need to remove first before trying to remove the charger port. There's one over here, one here, your one on this corner, and you got one on that corner right there. The main microphone that you're speaking to is located over here against the wall of the phone.
This is gold, colored piece right here square one. You also have one over here on the top and last but not least, you out here earpiece speaker over here on top, so that's pretty much it. If you want to replace this screen, basically would have to eat the front up and then just pry. This screen off apply new adhesive and apply the new screen back on and reverse the whole process of taking the phone apart. So now, let's go ahead and put this guy back together.
Now, once you've got all the screws in place and everything connected apply new adhesive, if you need to and reapply your backplate, and you're done, thanks for watching guys, I'll see you guys in the next video.
Source : PBKreviews
Phones In This Article

Related Articles


Comments are disabled
Latest Articles


