Blackberry Motion Teardown - Do not trust around Water... By JerryRigEverything
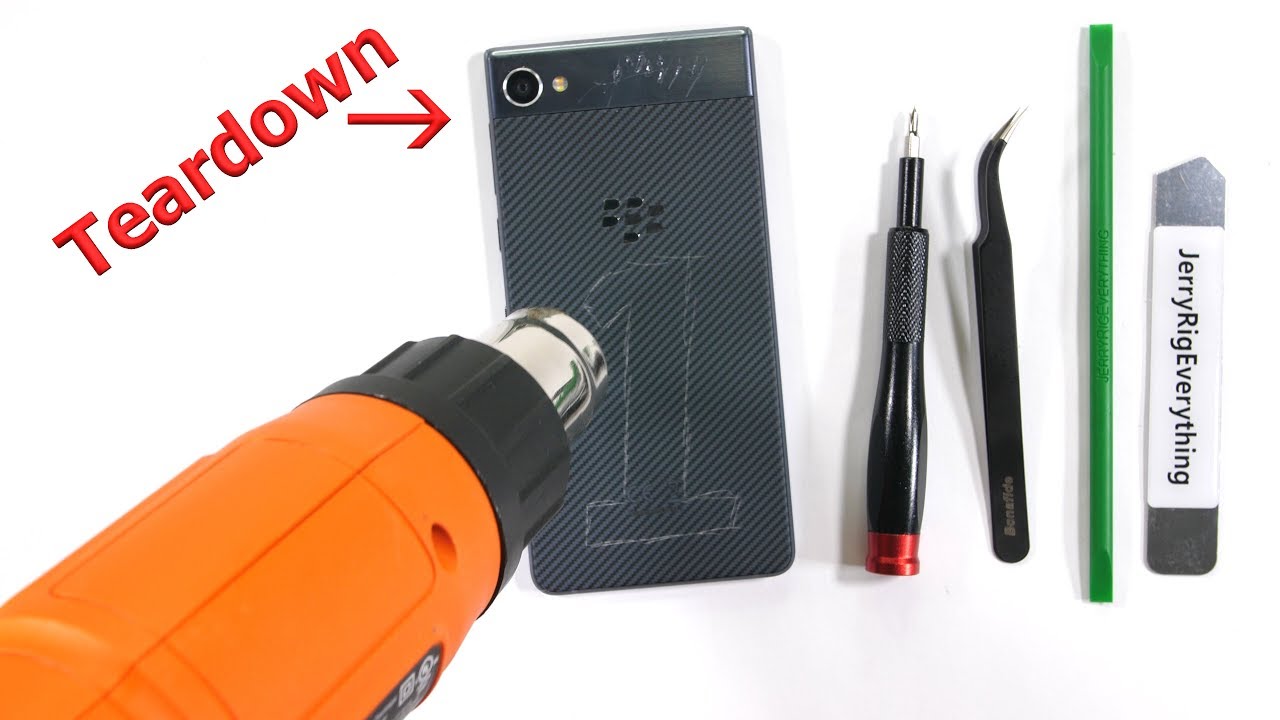
The BlackBerry Motion survived my durability test, and now it's time to tear it down, see what makes it water resistant, and learn how to replace the individual components. Let's get started. BlackBerry decided to forgo the iconic keyboard with it's full screen flagship, which is totally fine with me. Keyboards are cool, but screen real estate is much better. Wrong! Mr. Mobile? A physical keyboard is the best reason to buy a BlackBerry.
But please, keep going... don't let me stop you. Yeah.... um, totally. So there are no visible screws on the exterior of this phone, but it is ip67 water resistant.
I know there is adhesive adhesive inside, and heat usually helps with that. I'll use my heat gun and then slip my thin metal pry tool between the metal frame and the slick rubber backing. The whole back panel comes off the phone surprisingly easy. I doubt it will every come off on it's own, but normally the adhesive on water resistant phones is much stronger than this. I actually fully agree with you there.
I'm still sad about drowning my LG V30. Yeah, but look at this adhesive – it's barely there. Getting inside an ip68 phone, like Samsung or LG, is much more difficult. I would not trust this BlackBerry Motion around water. Okay, looks like there are 6 Phillips head screws surrounding that top plate.
Pull that black piece up and away from the phone and set that off to the side, revealing quite a few isolinear optical component things that use.... okay, Zack, I am sorry, I should not have taken the mic. Why don't you take over again? I mean, it is my channel. I've unplugged the battery Lego style connector. And over here on the left we have a very unique connector in the middle of a cable, bridging the three of the volume, power, and better Bixby buttons.
It's interesting to see the connector in the middle of the ribbon instead of on the end. I'll unclip the extension ribbon at the bottom, and then the screen ribbon cable, both unsnapping like little Legos. It's still impossible to remove the battery at this point, so I'll mosey my way down to the bottom of the phone and remove the 7 Philips head screws, which allow for the loud speaker and plastic shield to come away from the phone. This loud speaker does have a little rubber ring around the opening, which rests up against the water resistant mesh at the bottom of the phone. It is the largest opening into the device, so it's good to have multiple layers of liquid protection.
Getting the battery out of this phone was actually much harder than I anticipated. There are no visible pull tabs that I noticed, so I assumed prying it out was my only option. Turns out I was wrong, and the pull tabs, there are 3 of them, are just tucked up underneath the motherboard, making a motherboard removal pretty much mandatory if you want to replace the battery. Remember to take out the SIM card tray first. Yeah, of course.
I usually always remember that part. It's got a little rubber ring to help keep water from ingressing through that little slot. The motherboard has two little wire connections along the bottom right side, and then one more Lego connection up at the top for the front sensors. Then the whole motherboard can lift up and out of the metal frame. We've revealed the front 8 megapixel camera and the real 12 megapixel camera.
Neither of which have optical stabilization, by the way. BlackBerry hasn't made a phone with OIS since the Priv in 2015. Which is rather unfortunate. OIS is really helpful on a cellphone. Luckily though, now we have access to the pull tabs hidden underneath the motherboard.
Like I said, there were 3, but now I'm down to one. Nice. And it broke. The Pry of Shame is the only option at this point. With two fragile communication ribbons underneath the battery though, I highly recommend against using very much force.
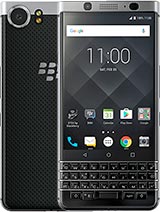
Fun fact: the battery on the BlackBerry Motion is 4,000 milliamp hours, making it about 14% larger than the battery on the previous KeyOne. Solid improvement. See what you can do when you remove the keyboard? As I get ready to remove the charging port, take a look at this golden extension ribbon. It says “krypton” on it. You know, the home planet of Superman.
I'll unclip that capacitive ribbon as well as the ever so useful headphone jack. And then pull the charging port from the frame of the phone, which also includes these circular vibration motor soldered into place, permanently. Normally we would see a large rubber ring around the charging port, like there's been on Samsungs, iPhones, and LG phones. But this little guy does not have much rubber at all. The water proofing of this BlackBerry Motion seems abnormally weak for an ip67 rating.
Pulling out the headphone jack and bottom microphone, we get yet another rubber ring larger than the charging port's for sure. So at least some holes are protected. I'll tuck everything back into place. Screen replacements are definitely going to be difficult. LCDs that are glued into metal frames are hard to remove successfully without cracking.
And since I kind of want this phone to work when I put it back together, I'm not going to attempt a screen replacement until the screen is actually broken. I'll put the battery in next, and I see here by the camera we have another krypton reference. Yeah, actually krypton was the code name for the BlackBerry Motion before it was released. Interesting. One more thing to point out before putting the phone back together is this water damage indicator.
When water does seep inside this phone, the circular white sticker will turn pink and you can see if it's pink or not simply by taking out the SIM card tray and peeking inside. I'll get the motherboard back into place with it's two wire cables on the bottom right side, along with that golden extension ribbon, the screen ribbon, the battery ribbon, and the side buttons get plugged in as well with that unique connector. Okay, I've got this part. The black plastic goes over the top of the motherboard with it's 6 Phillip head screws. And the SIM and SD card tray can slide right back into the slot it came from.
Nice work Mr. Mobile. The bottom plastics are in place with yet another code name krypton reference. And then the candy cane shaped back panel can latch on over the top of the phone and click down into place along the sides. Not too bad.
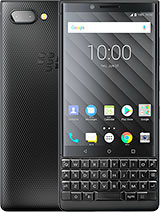
Not a super huge fan of how hard the battery is to replace, or that the water resistance seems less than optimal. Yeah. Not to mention the sub par camera sensor, the mushy haptic motor, and that fingerprint loving display. Definitely not giving up my KeyOne for the Motion. But I do admire the aesthetics to a point.
One last little trivia bit, it took BlackBerry 5 rounds of lazer etching on the back panel to get the design and texture it wanted. It's always fun to learn about the production process for this stuff. I think it's a pretty good looking phone. I definitely like that extra real estate. Huge thanks to the BlackBerry loving Michael Fisher for jumping into the video with me.
And check out his channel for some pretty indepth and cinematic tech reviews. Hey, sorry for all the interruptions, and a huge thanks for having me on Zack. Also, my dad says hey. I think he likes your videos even more than he likes mine. Well he must have excellent taste in YouTube videos.
Thanks a ton for watching, and I'll see you around.
Source : JerryRigEverything
Phones In This Article


Related Articles


Comments are disabled
Latest Articles


